Bruce Bump
Forum Owner-Moderator
The more I feed em, the lazier they get ")
LMAO! Great WIP Bruce. Its so cool to see your work come to life in the photos
Thanks
Randy
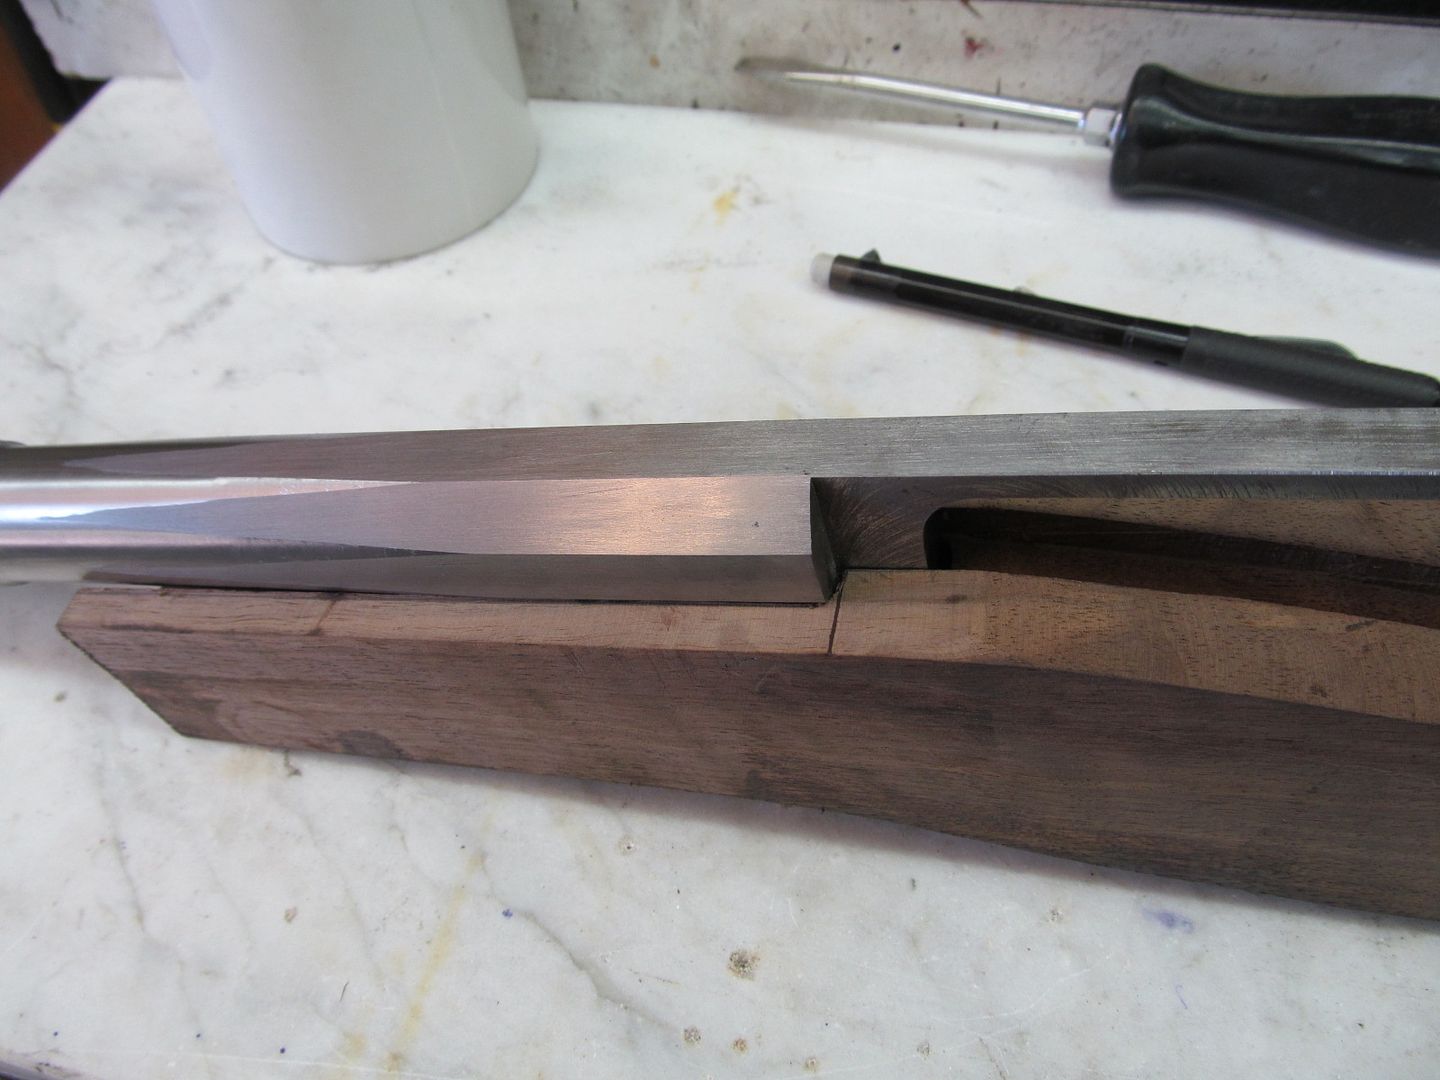
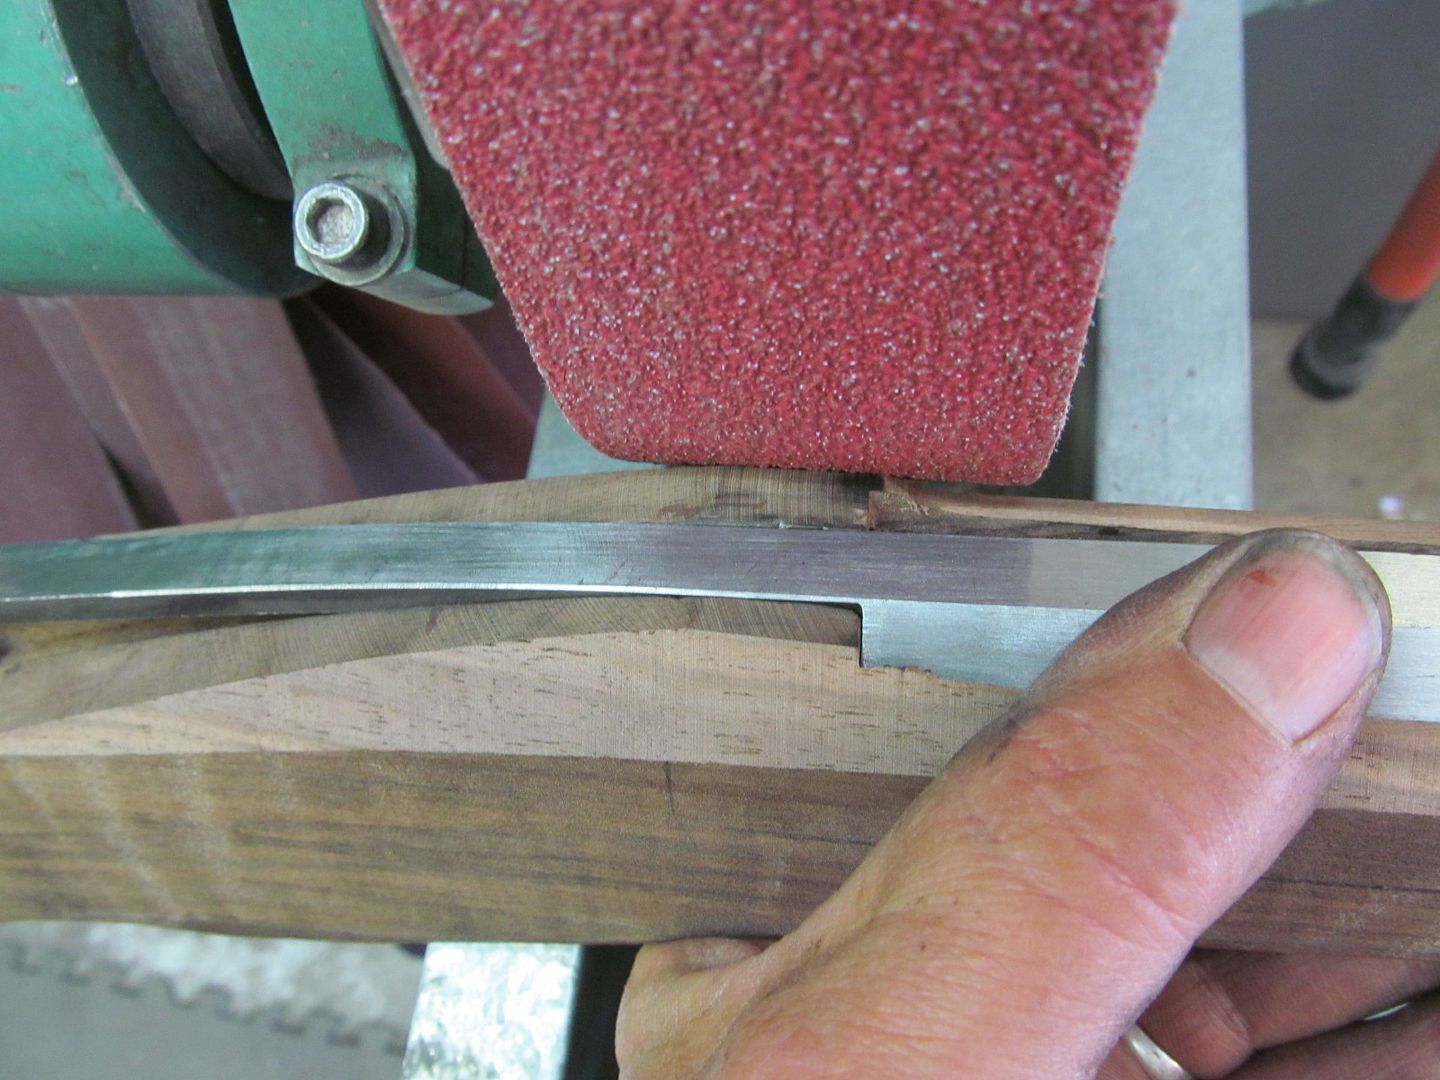
[/QUOTE]Magnetic Walnut!!! So cool. :9:
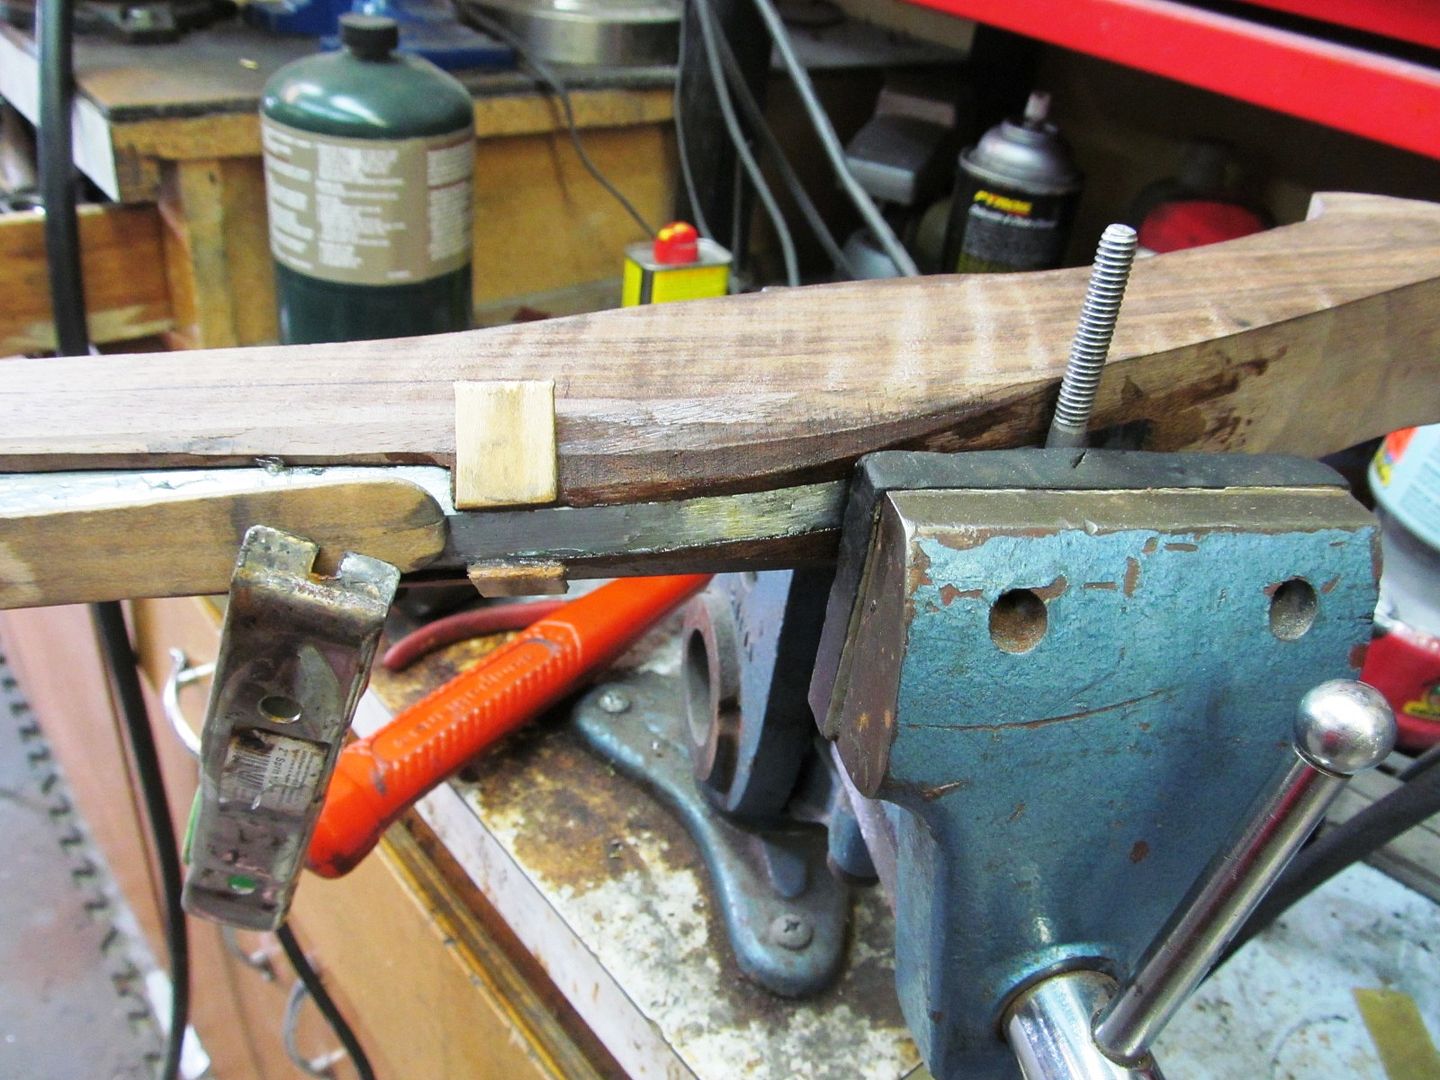
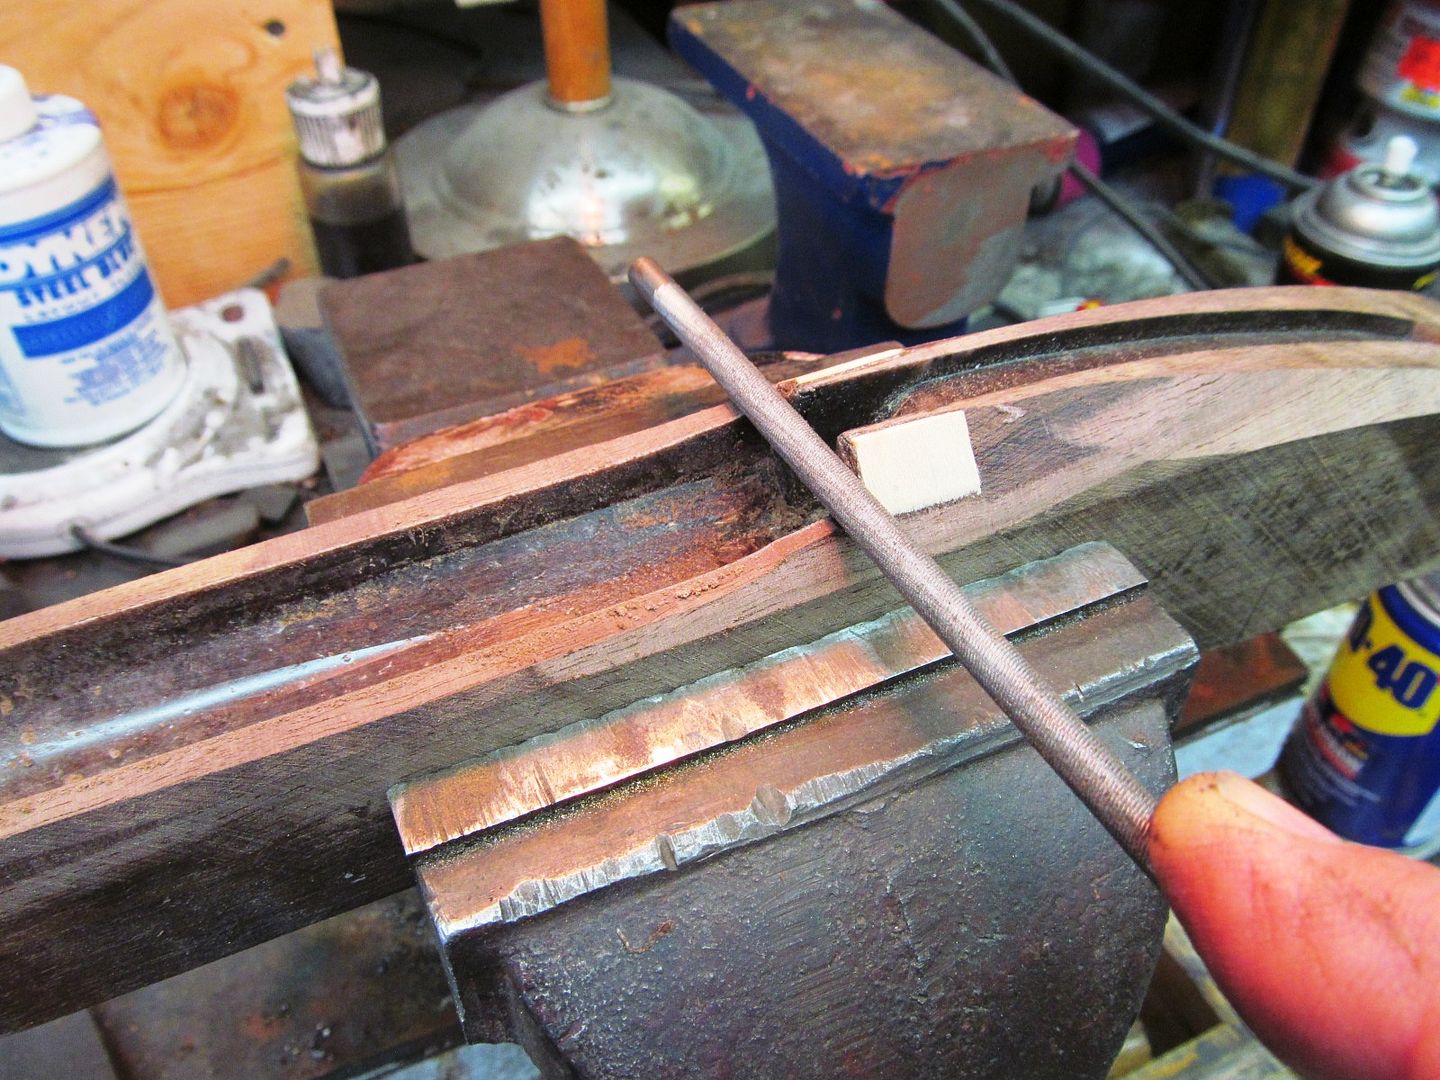
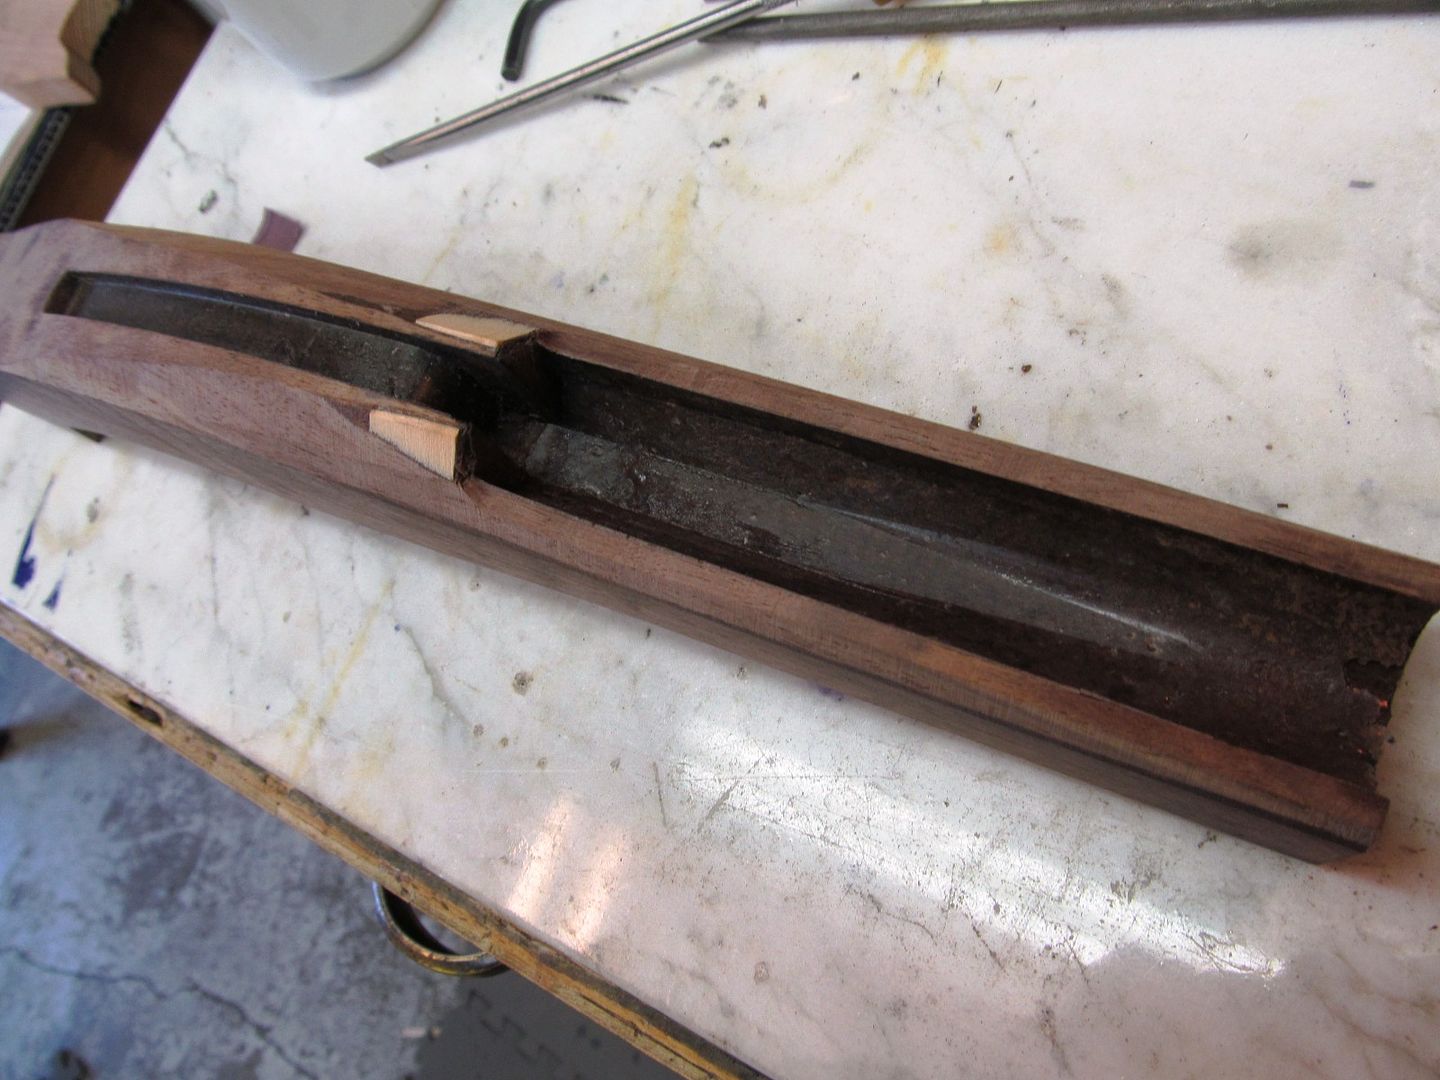
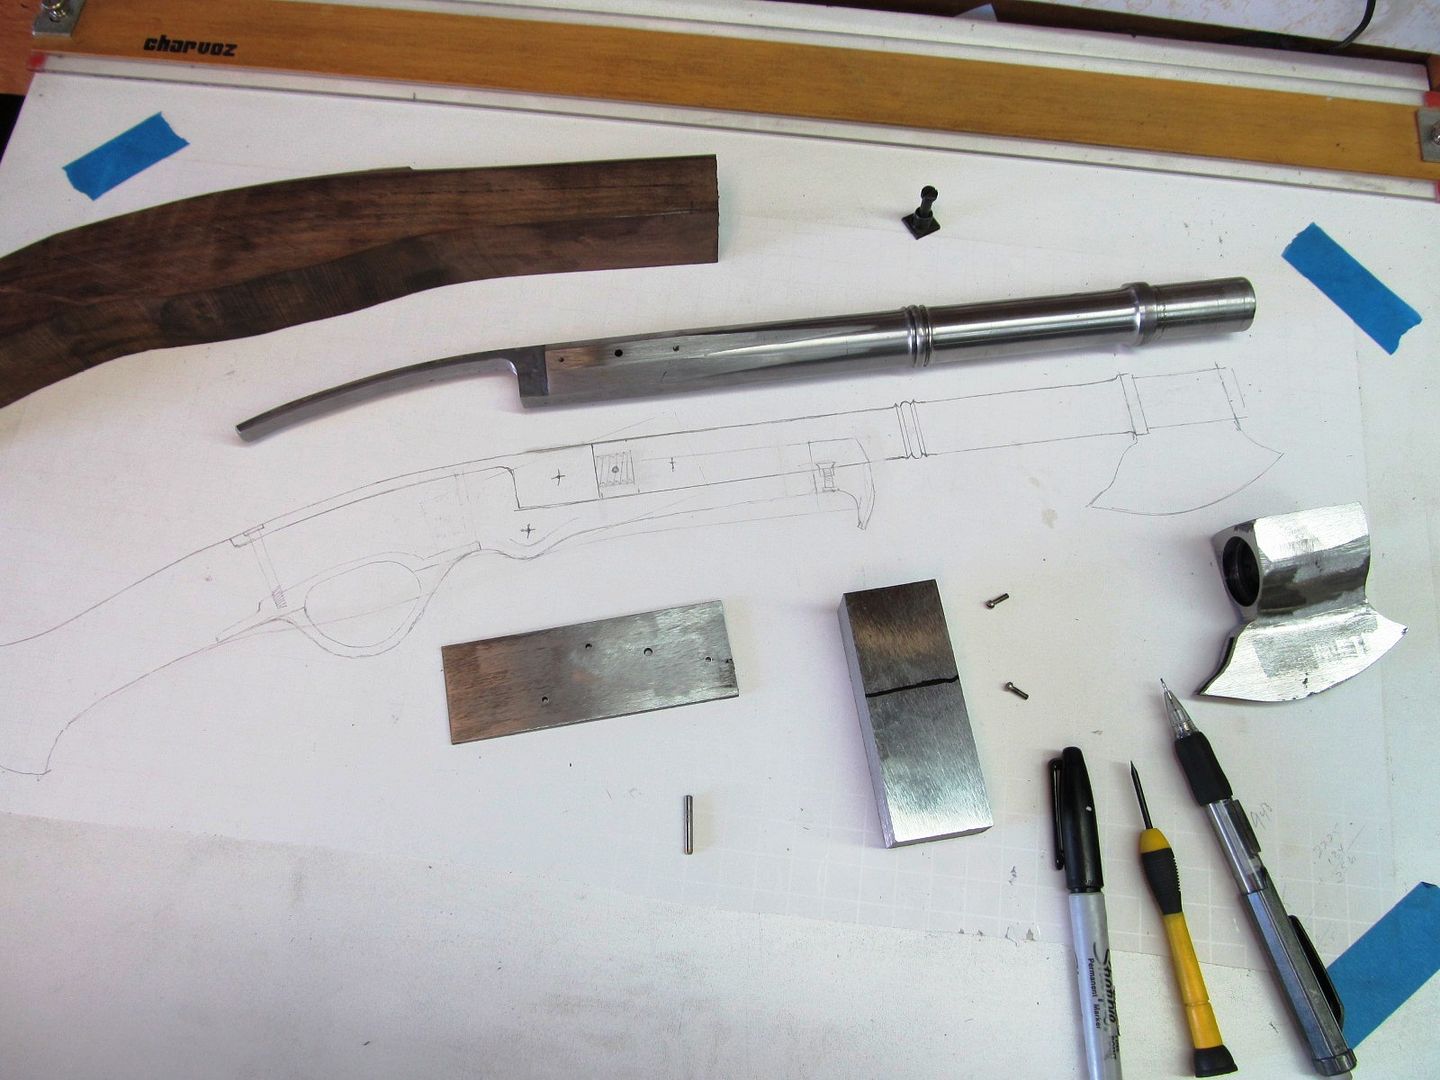
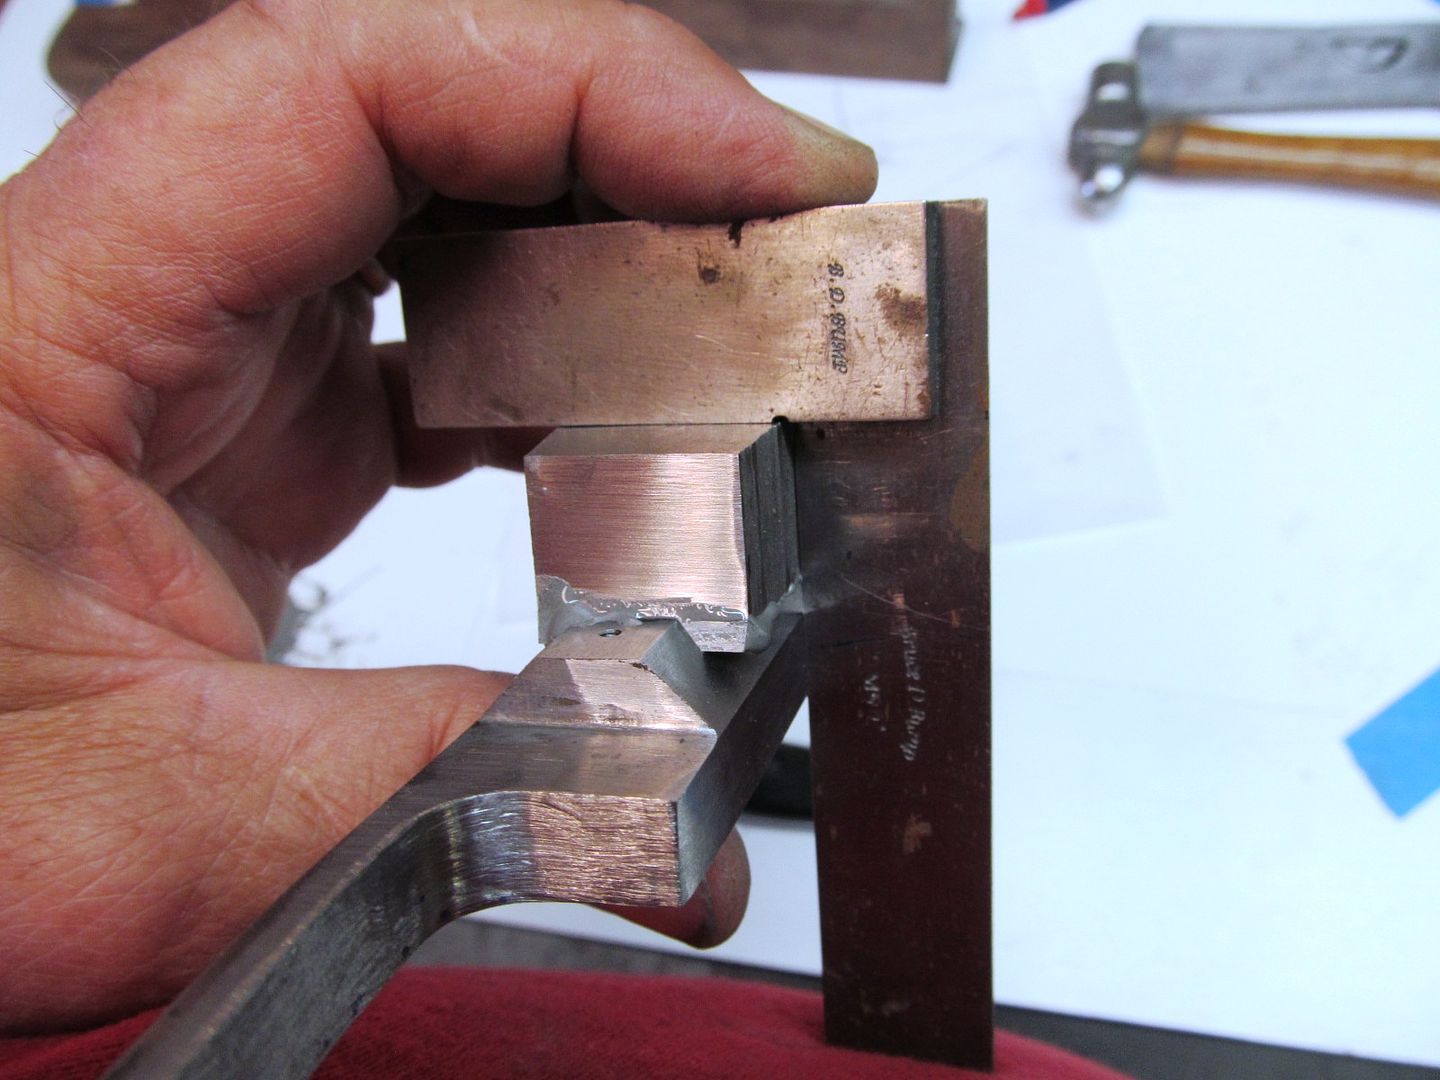
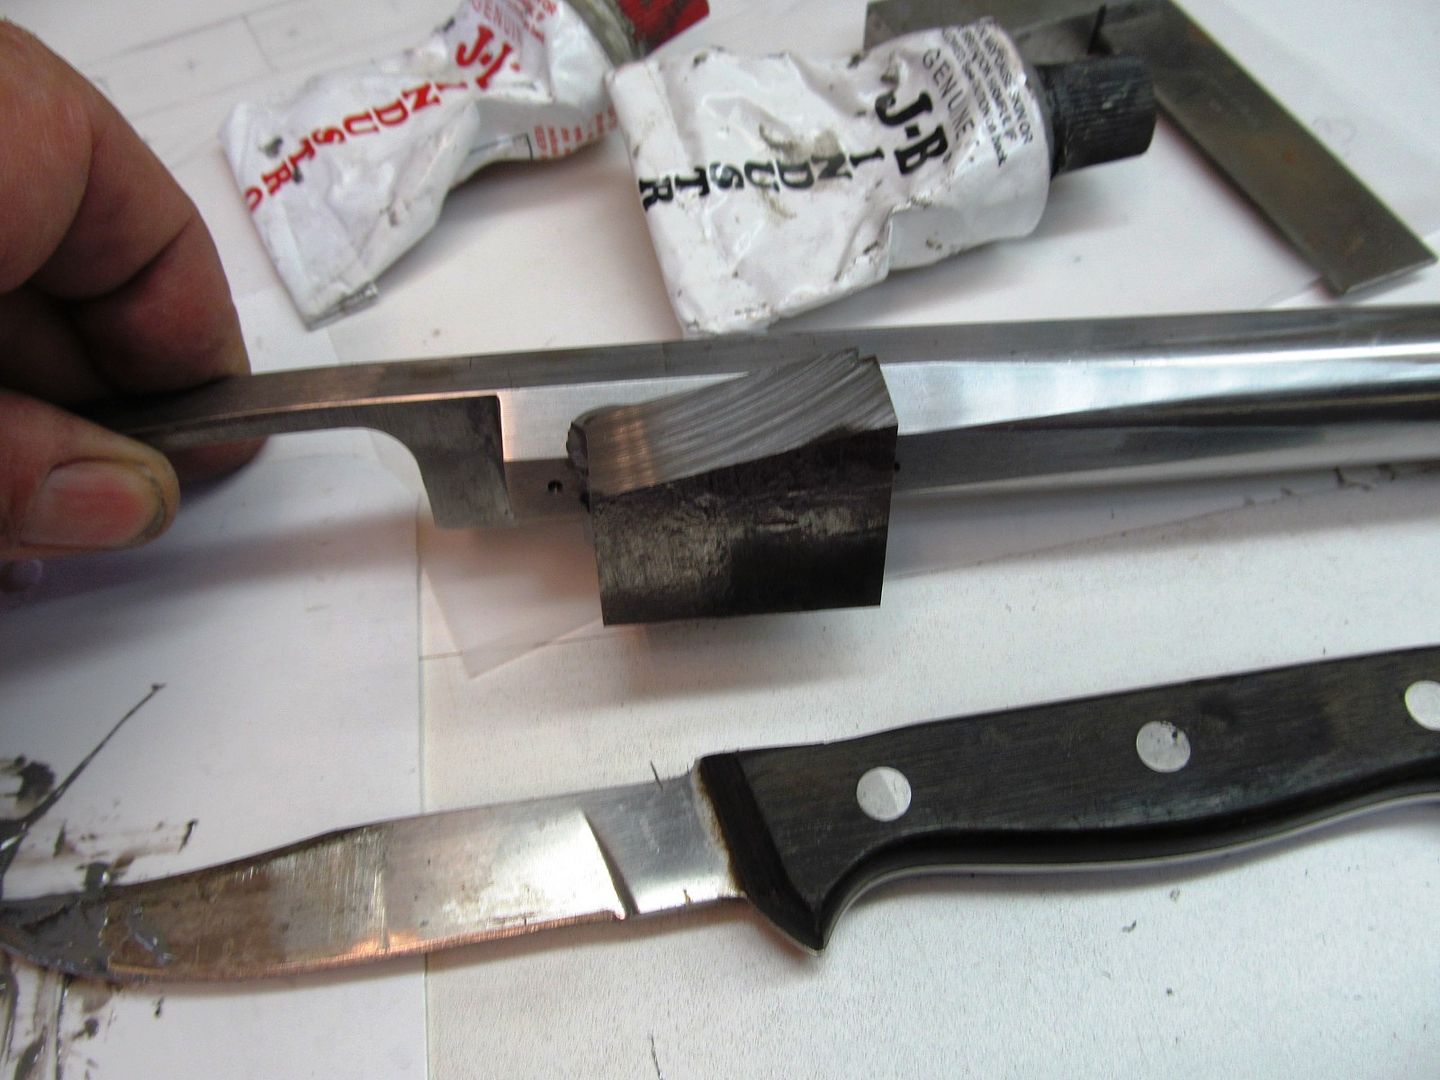
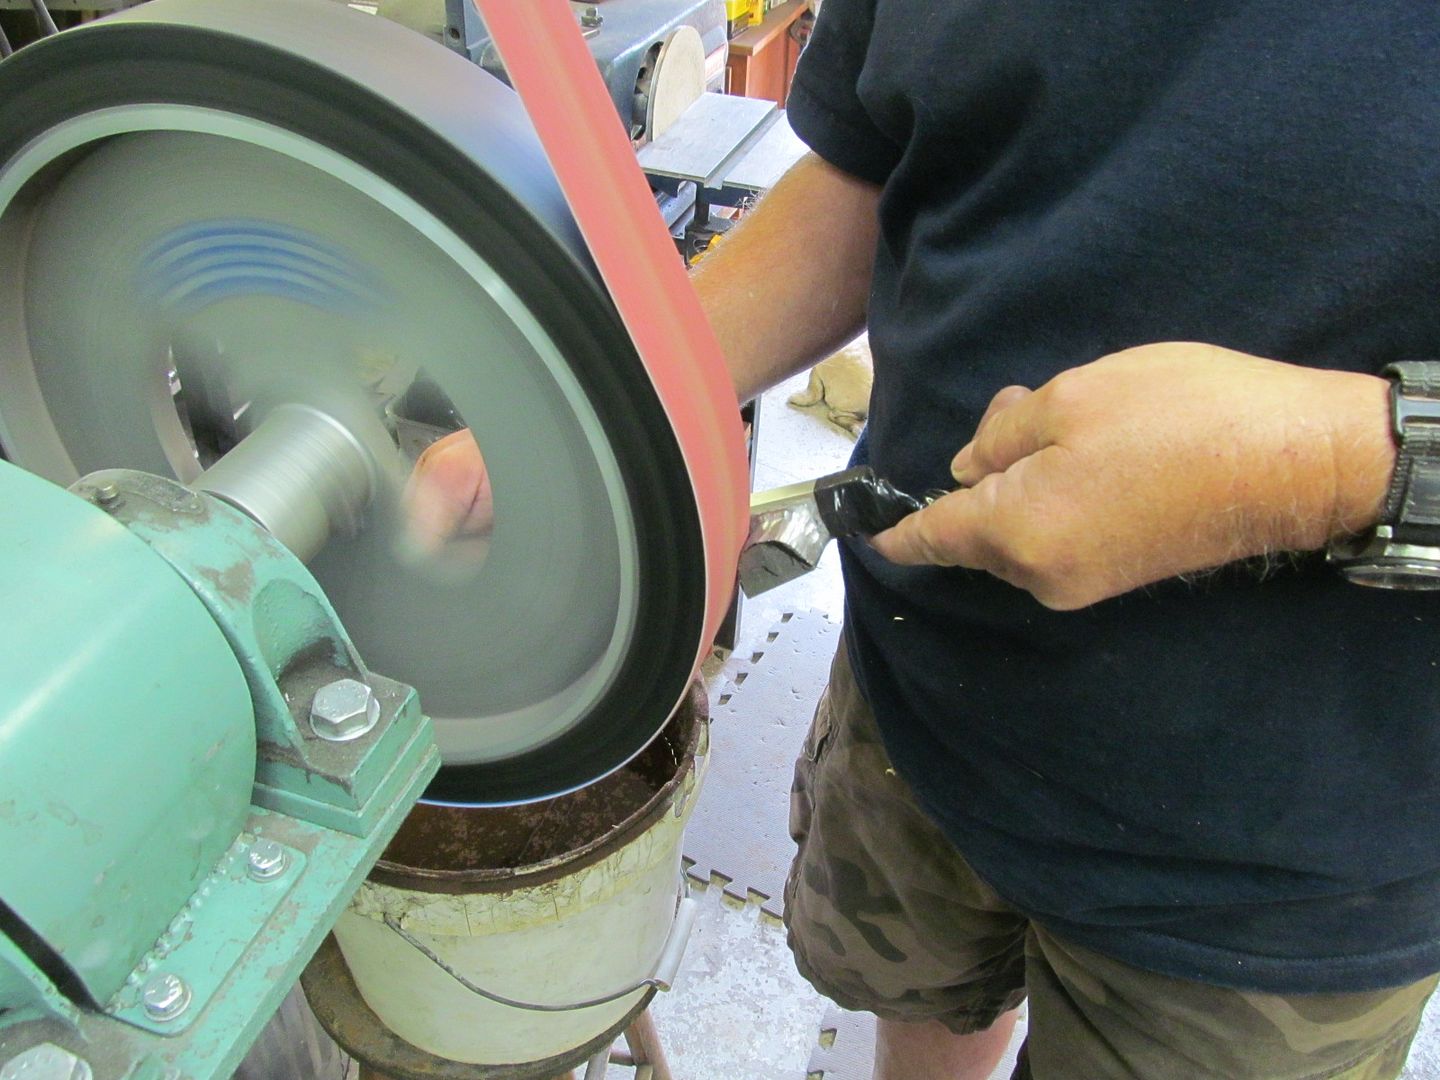
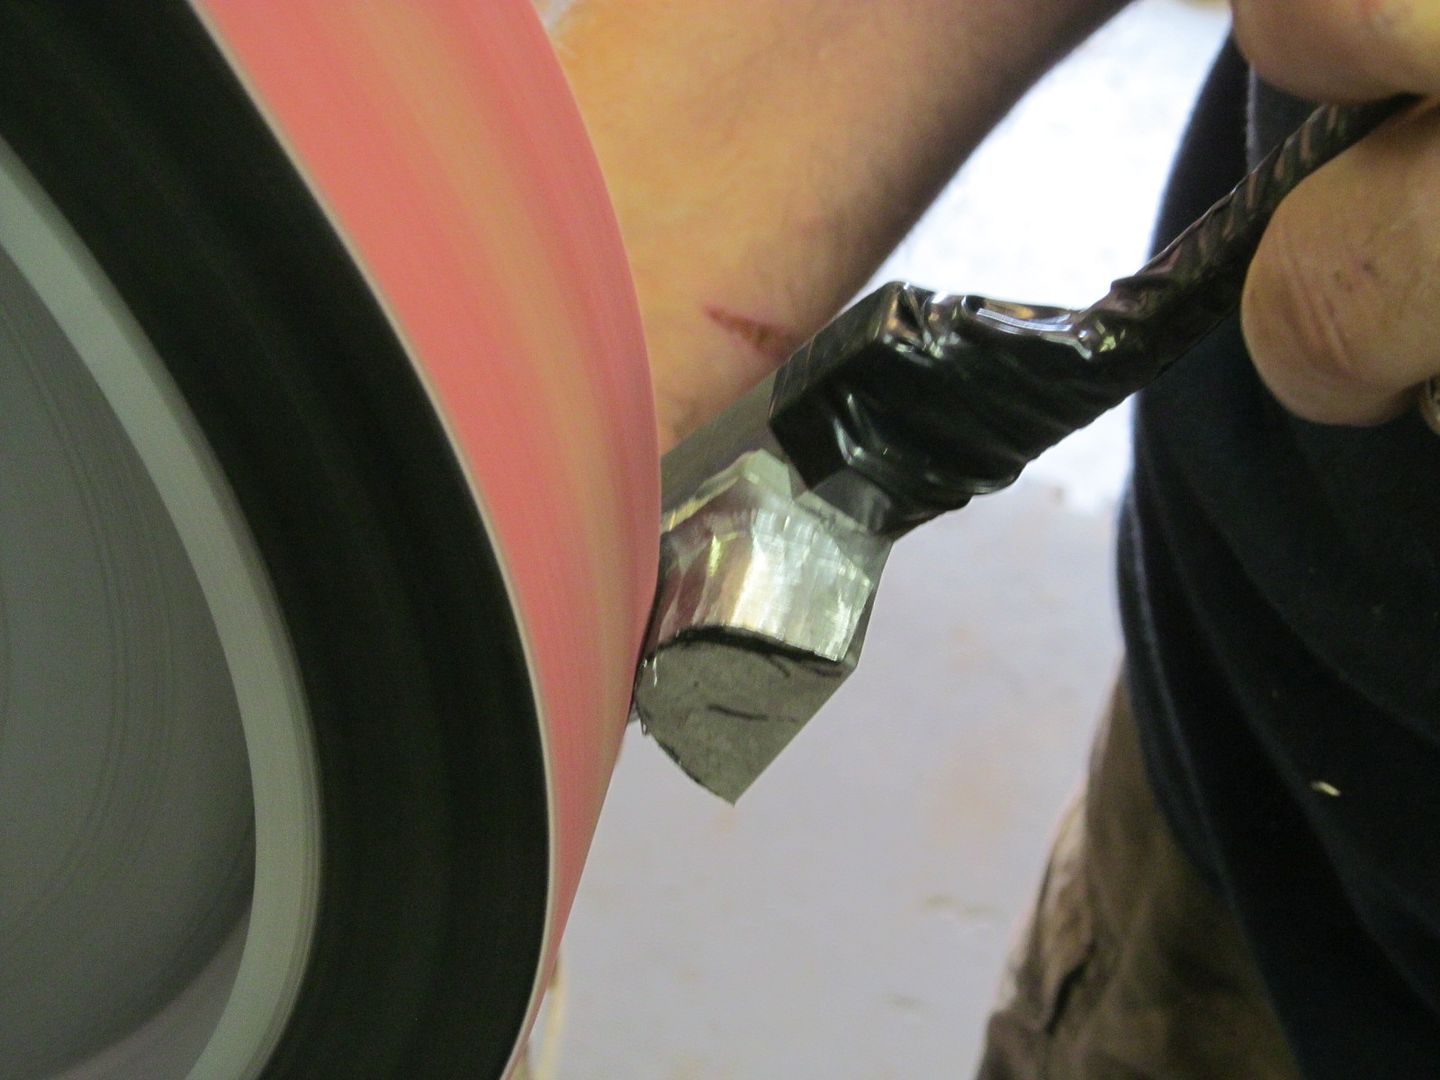
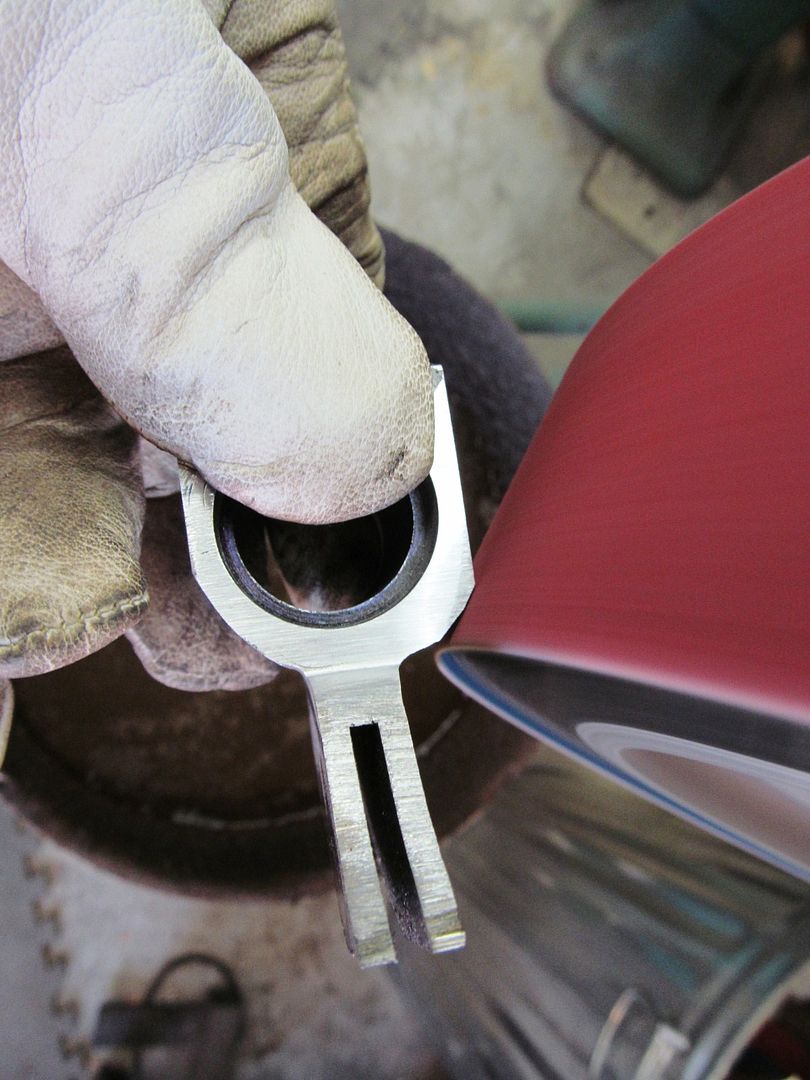
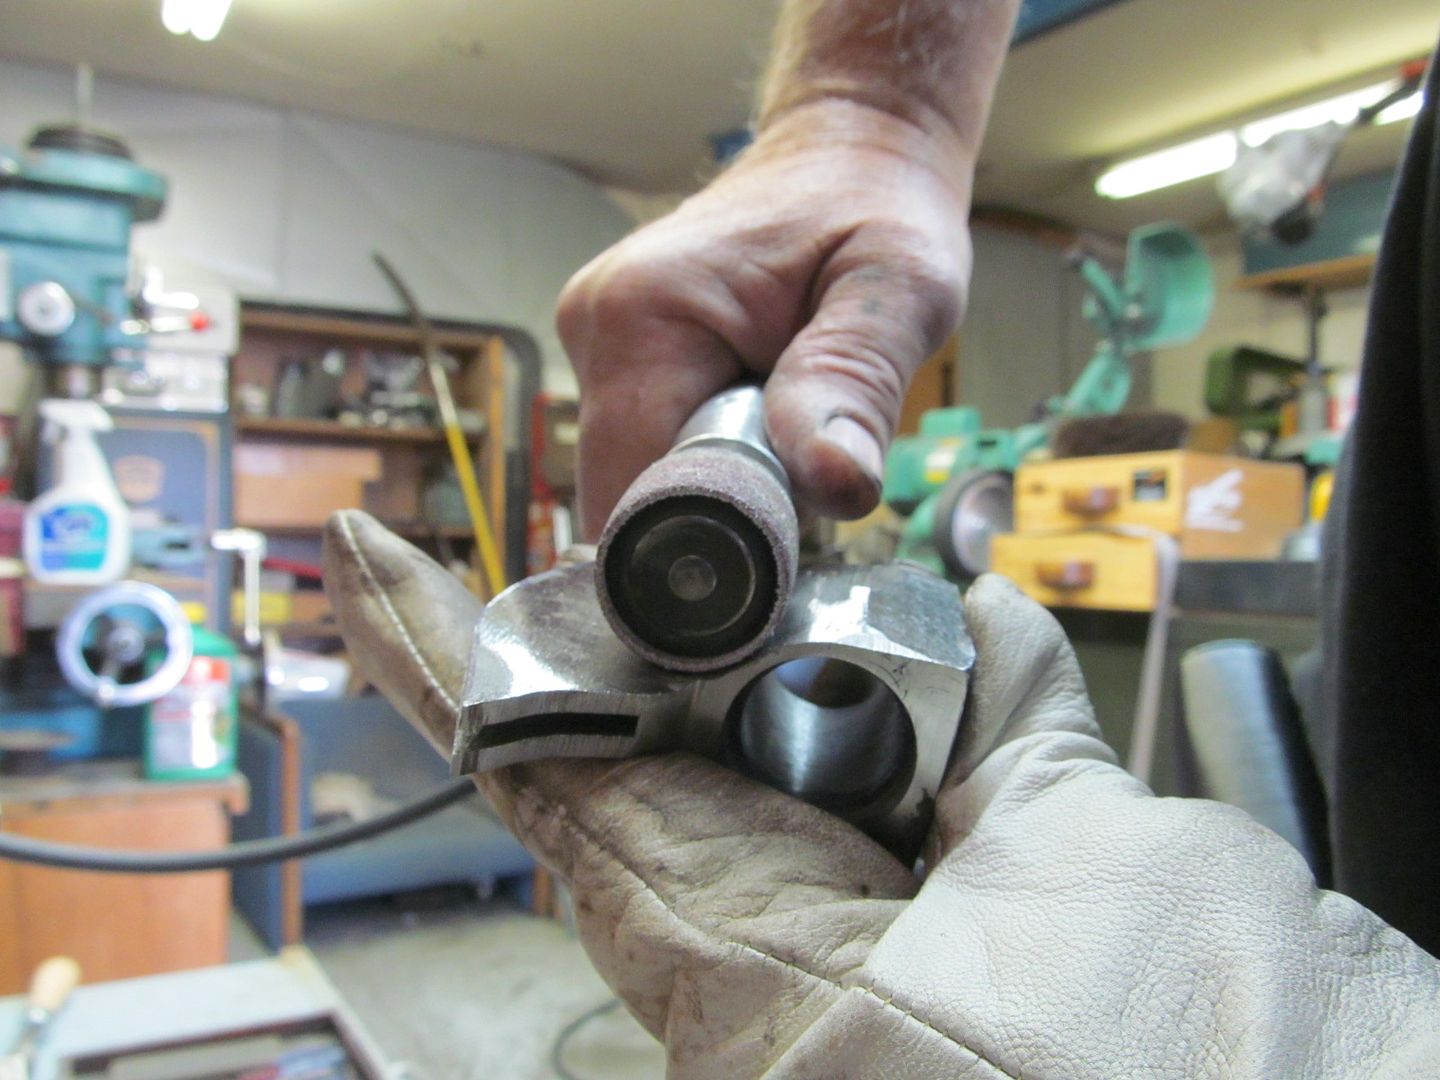
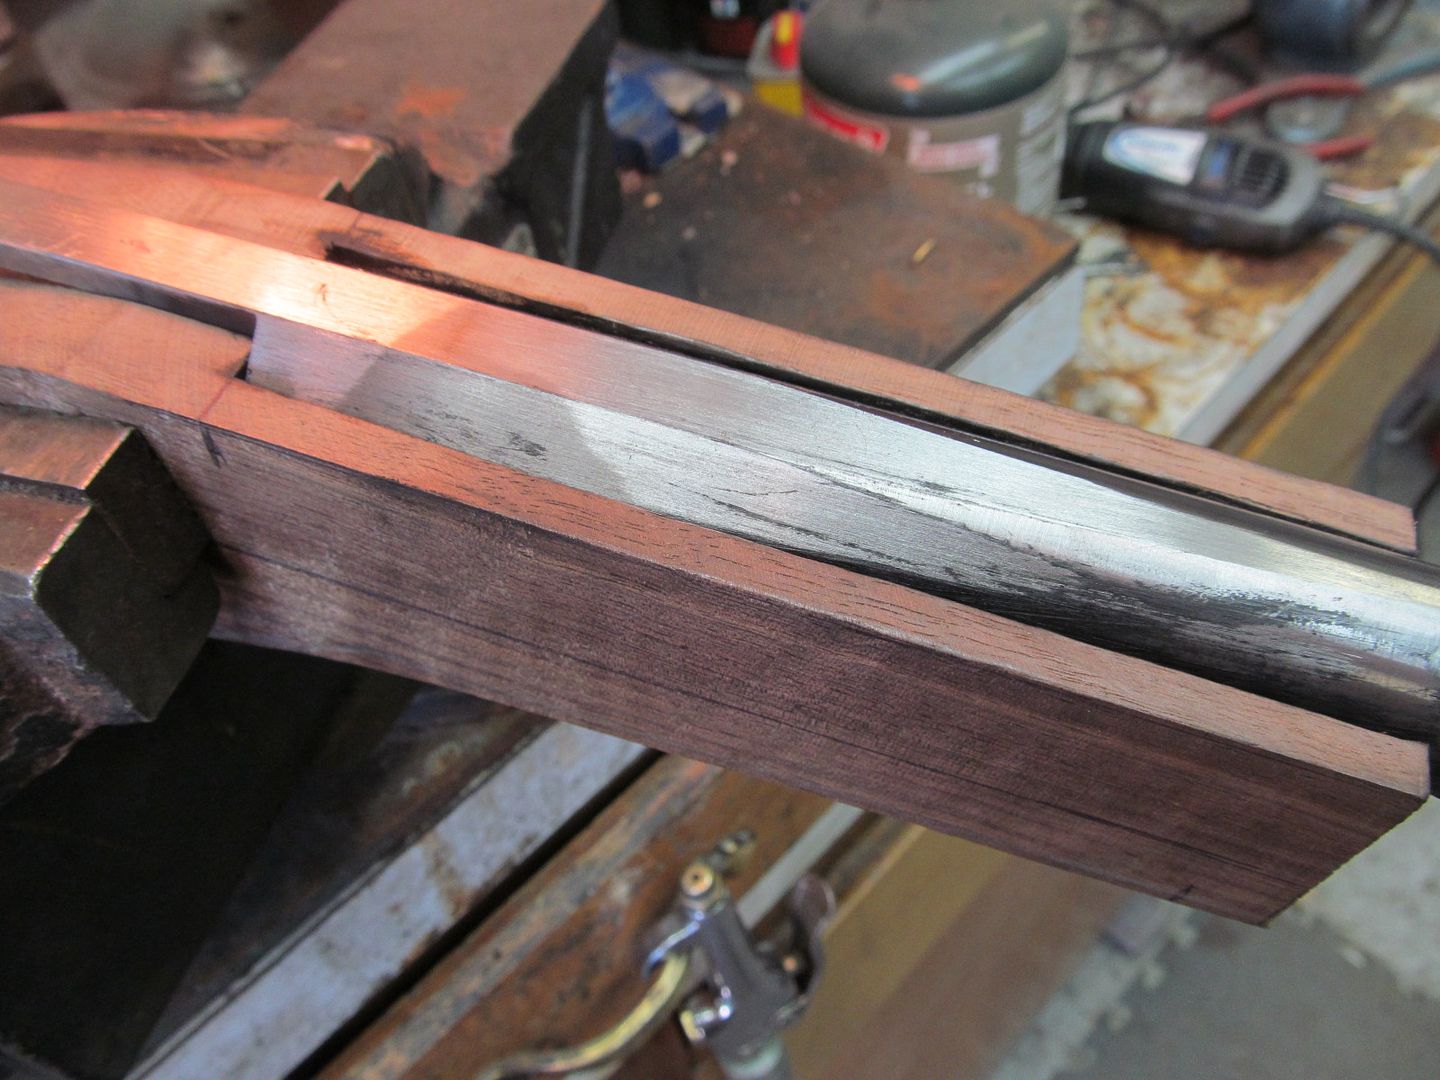
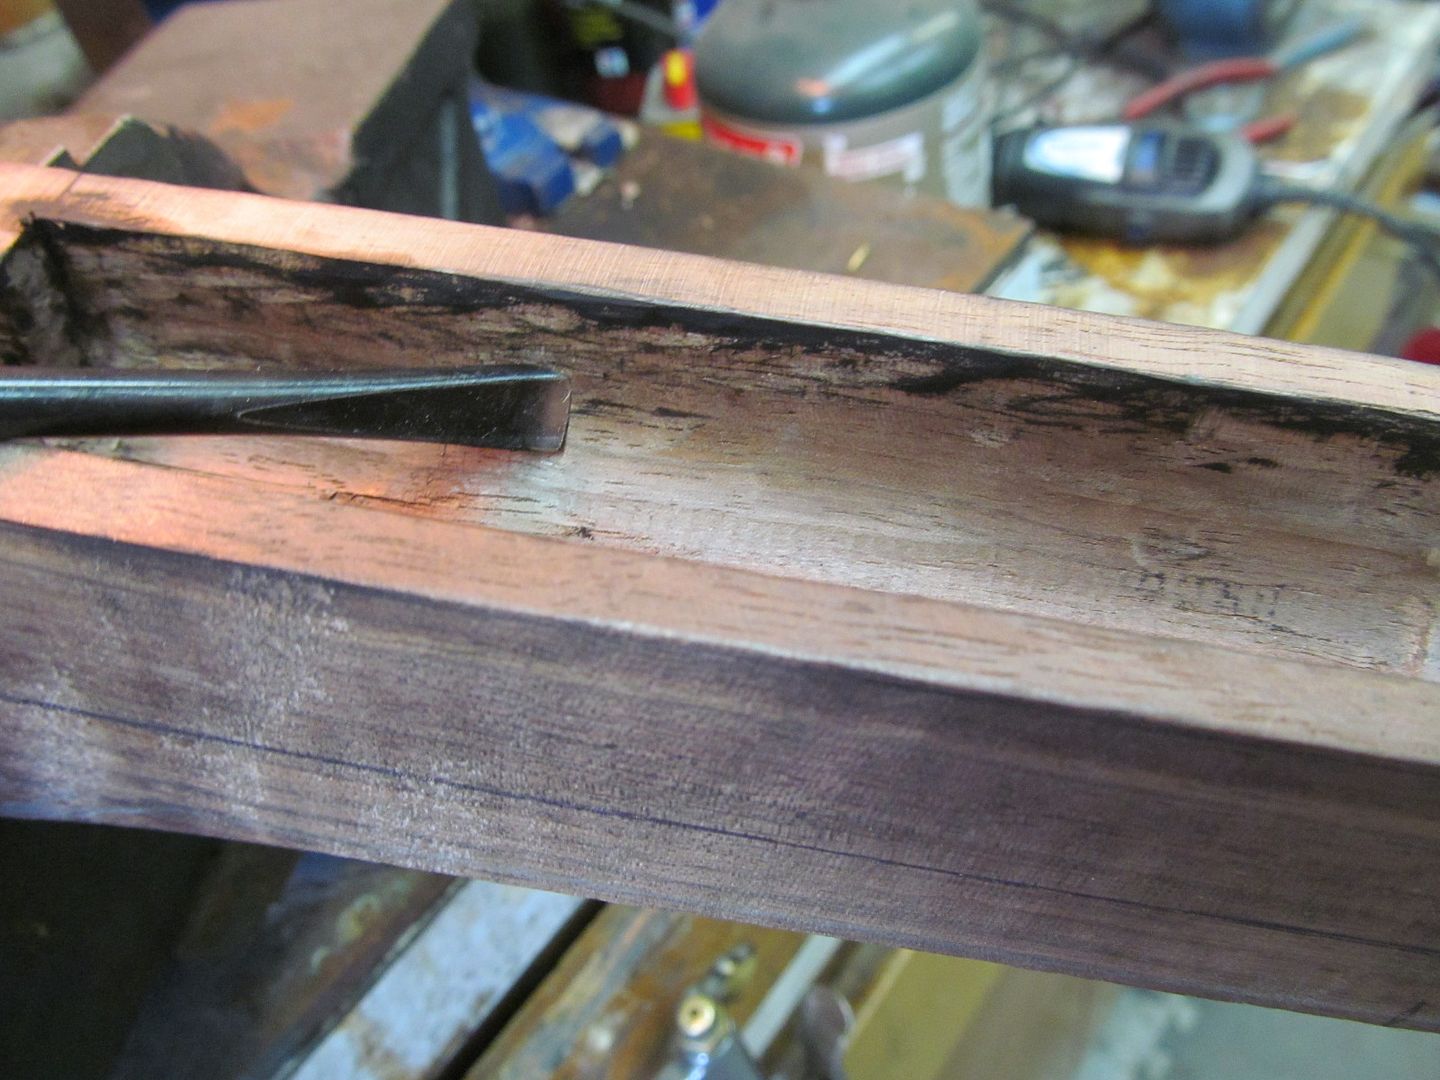
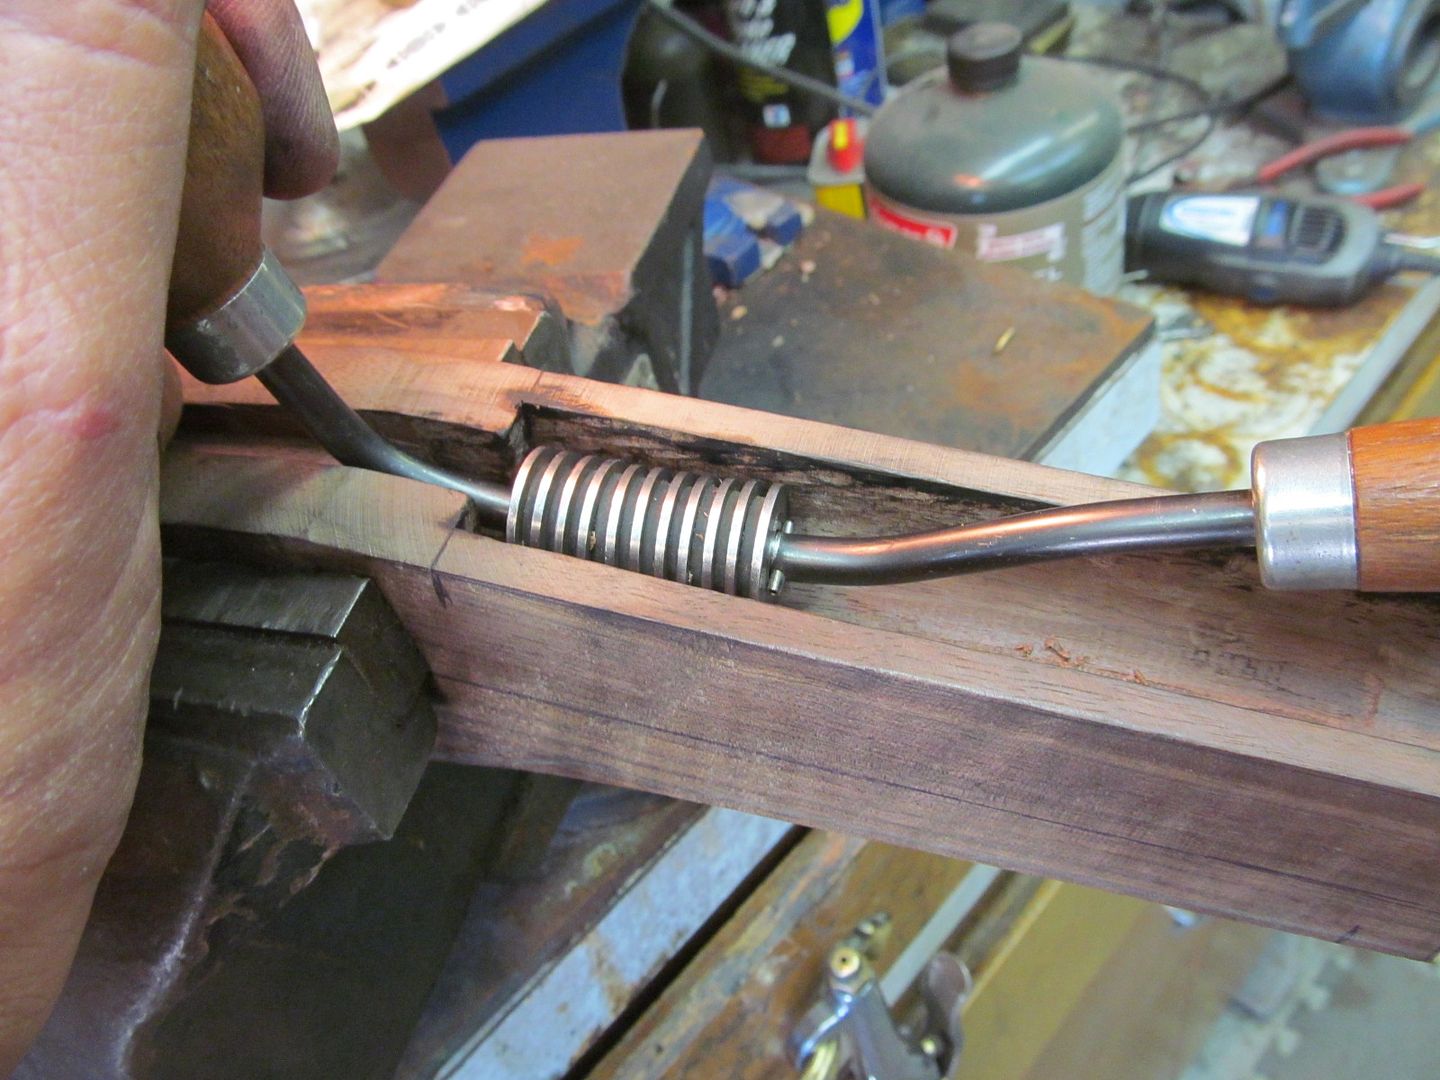
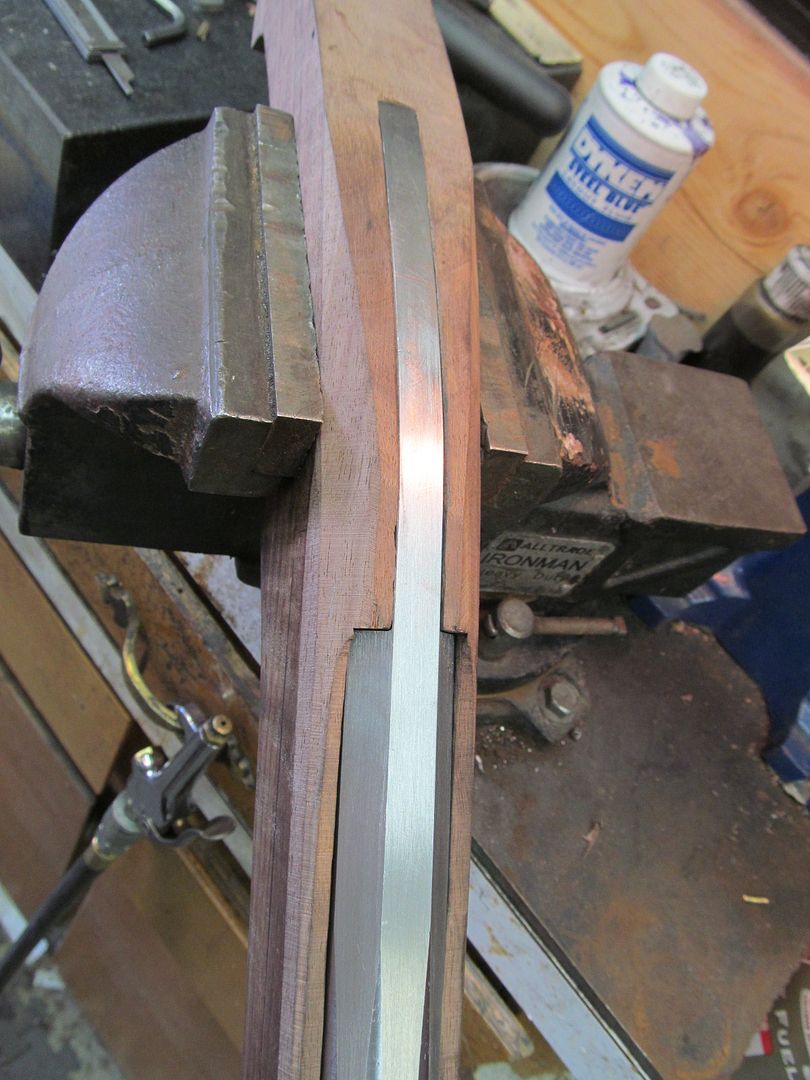
Bruce I believe that breech plug is from a site that sells parts for a traditional muzzle loader. If it is what I think it is they heat and bend that long tang to fit the curve of the particular stock they are working on, and then inlay the back of the breech plug and the tang into the wood and the long part the tang is drilled countersunk and screws hold it in place! But then I am sure you already knew all of this!:3:
Great progress!

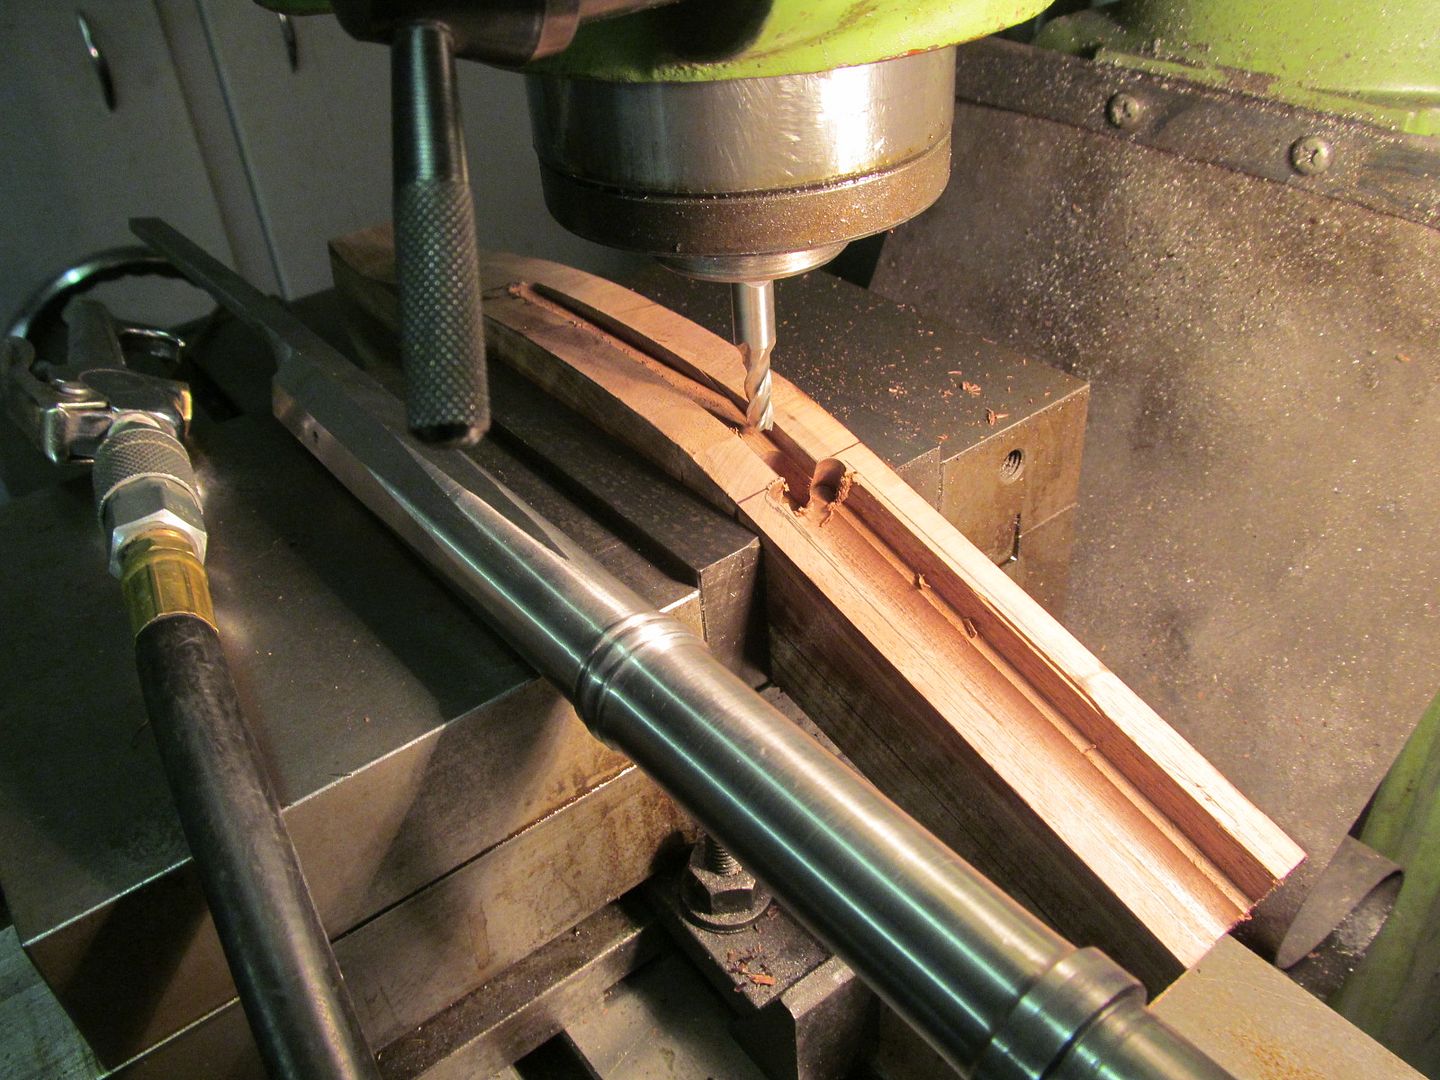
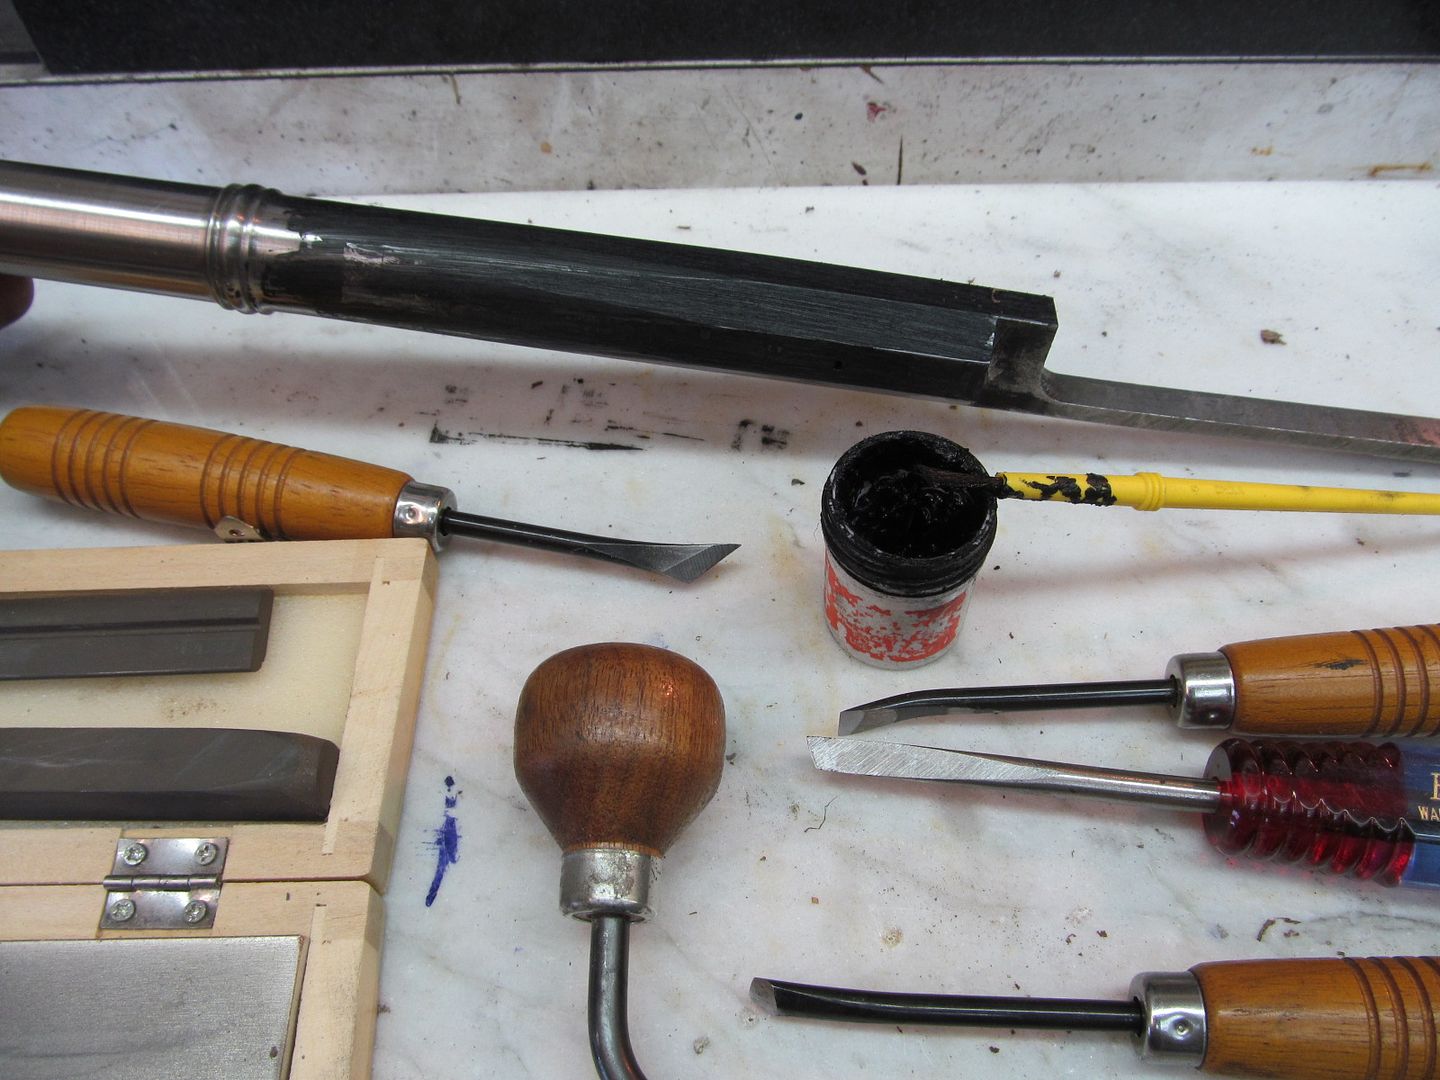
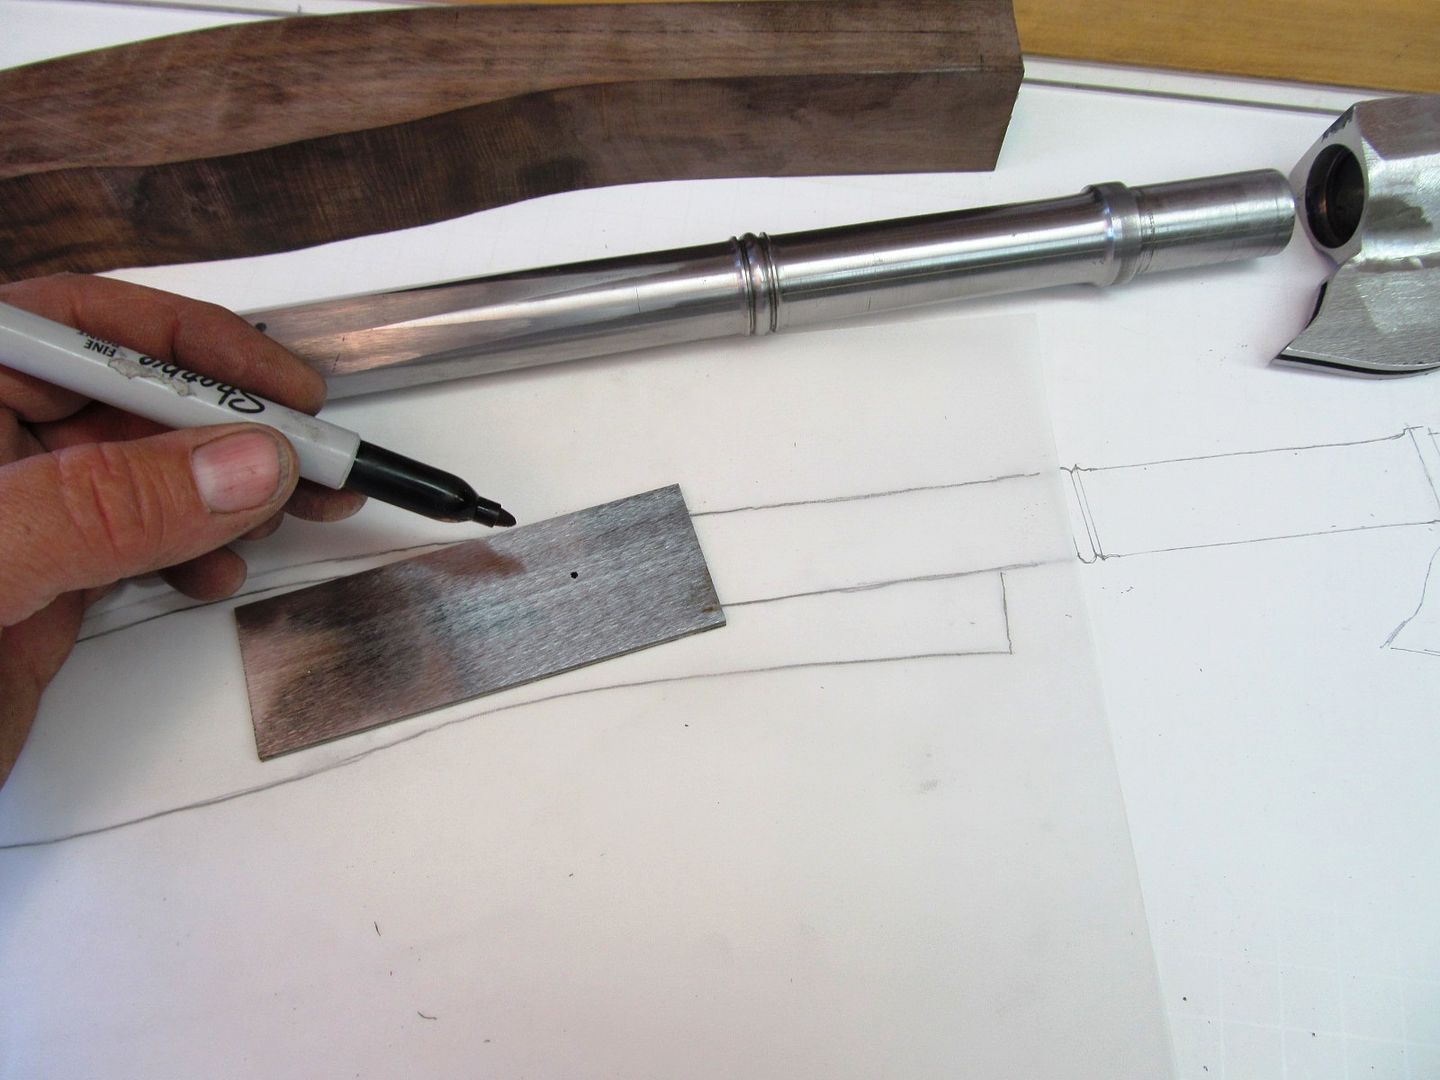
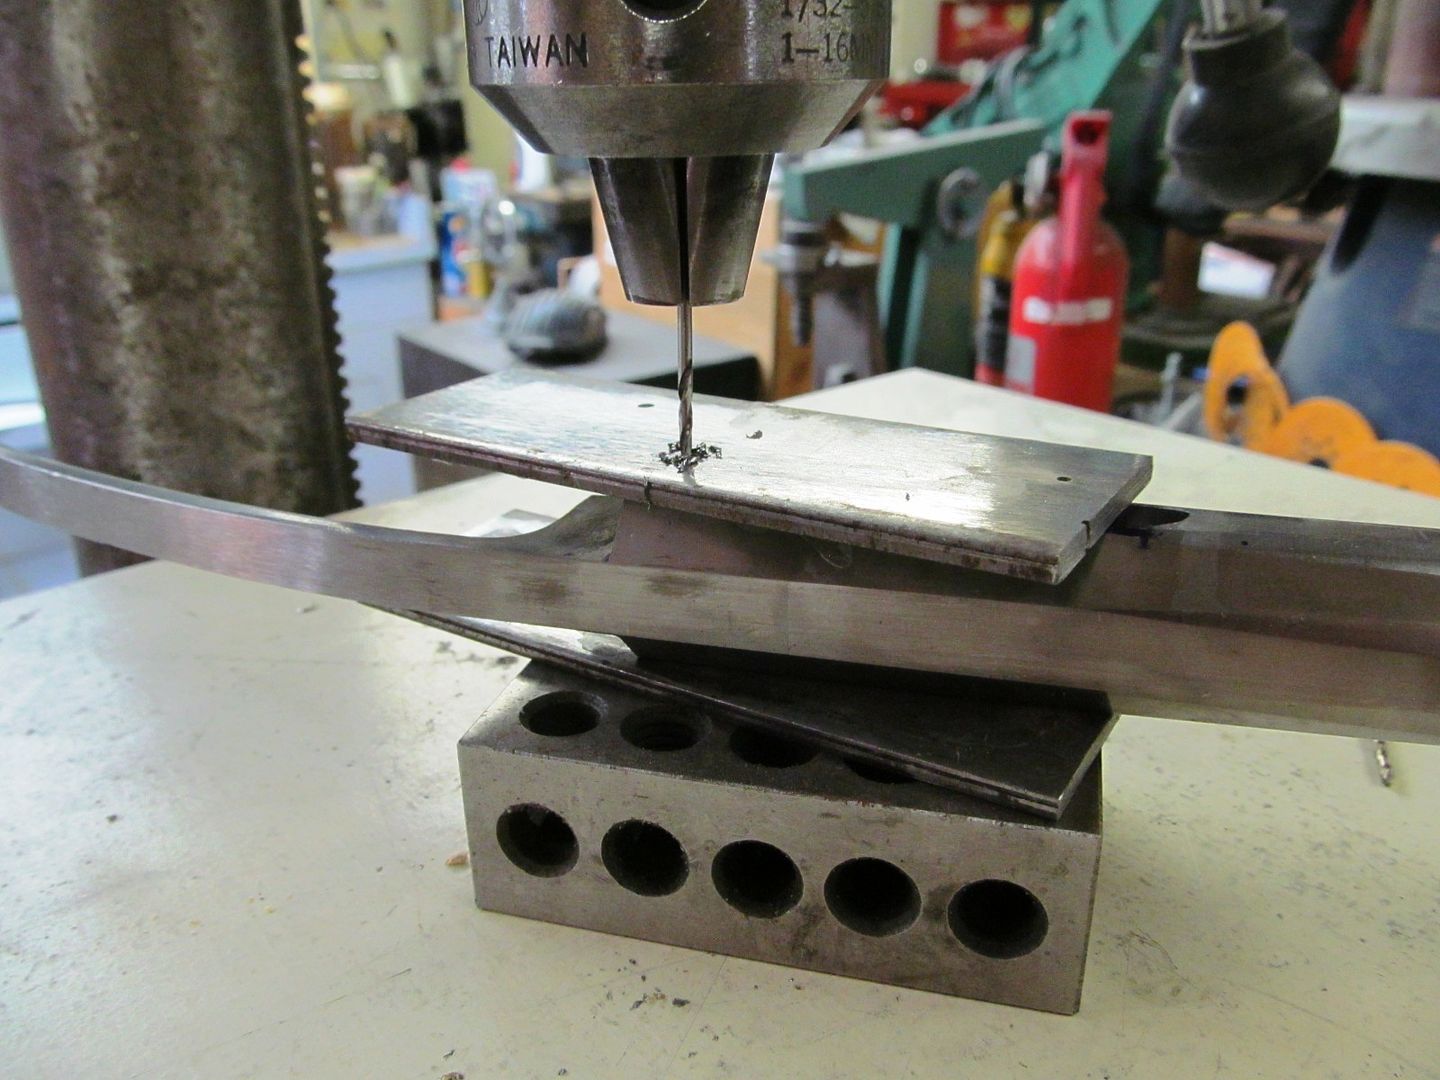
Bruce, what is that round scraper tool called? Too cool! Got to get me one of those, even if I never make guns.