fluidsteel
Active Member
Awesome!!! My mind is numb from trying to absorb and lock in all you are teaching us. Thanks Bruce!
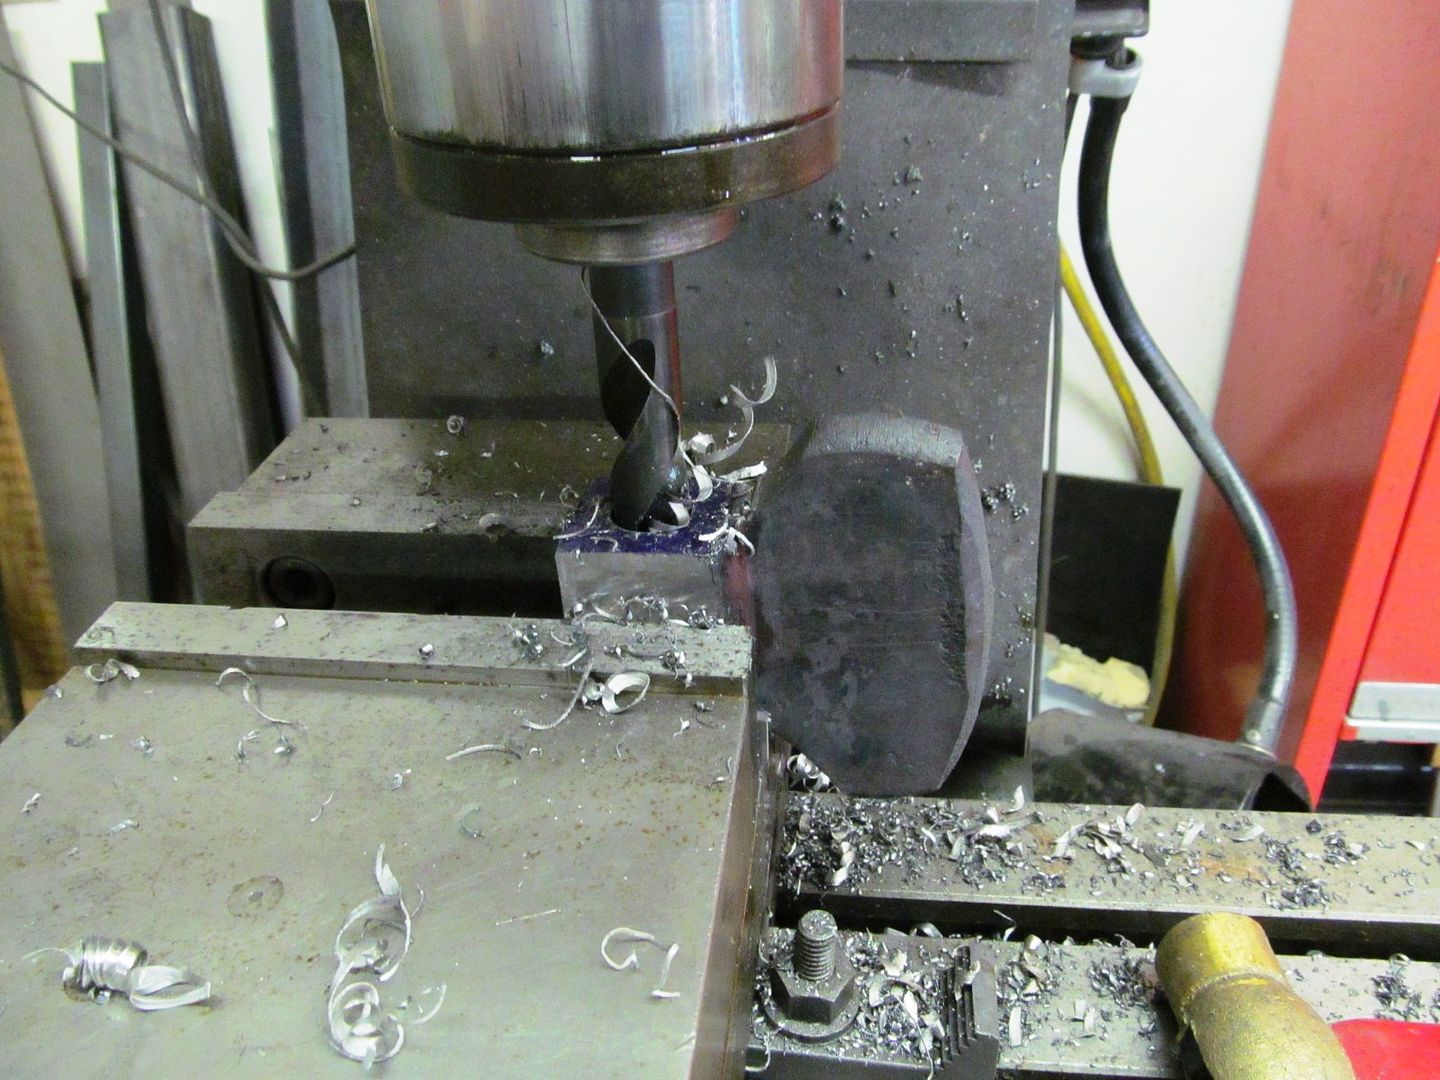
Although I'm sure it can be done in a mill, as much time as you have invested in that barrel, I'd take it to your buddy Lon's place and use his lathe.
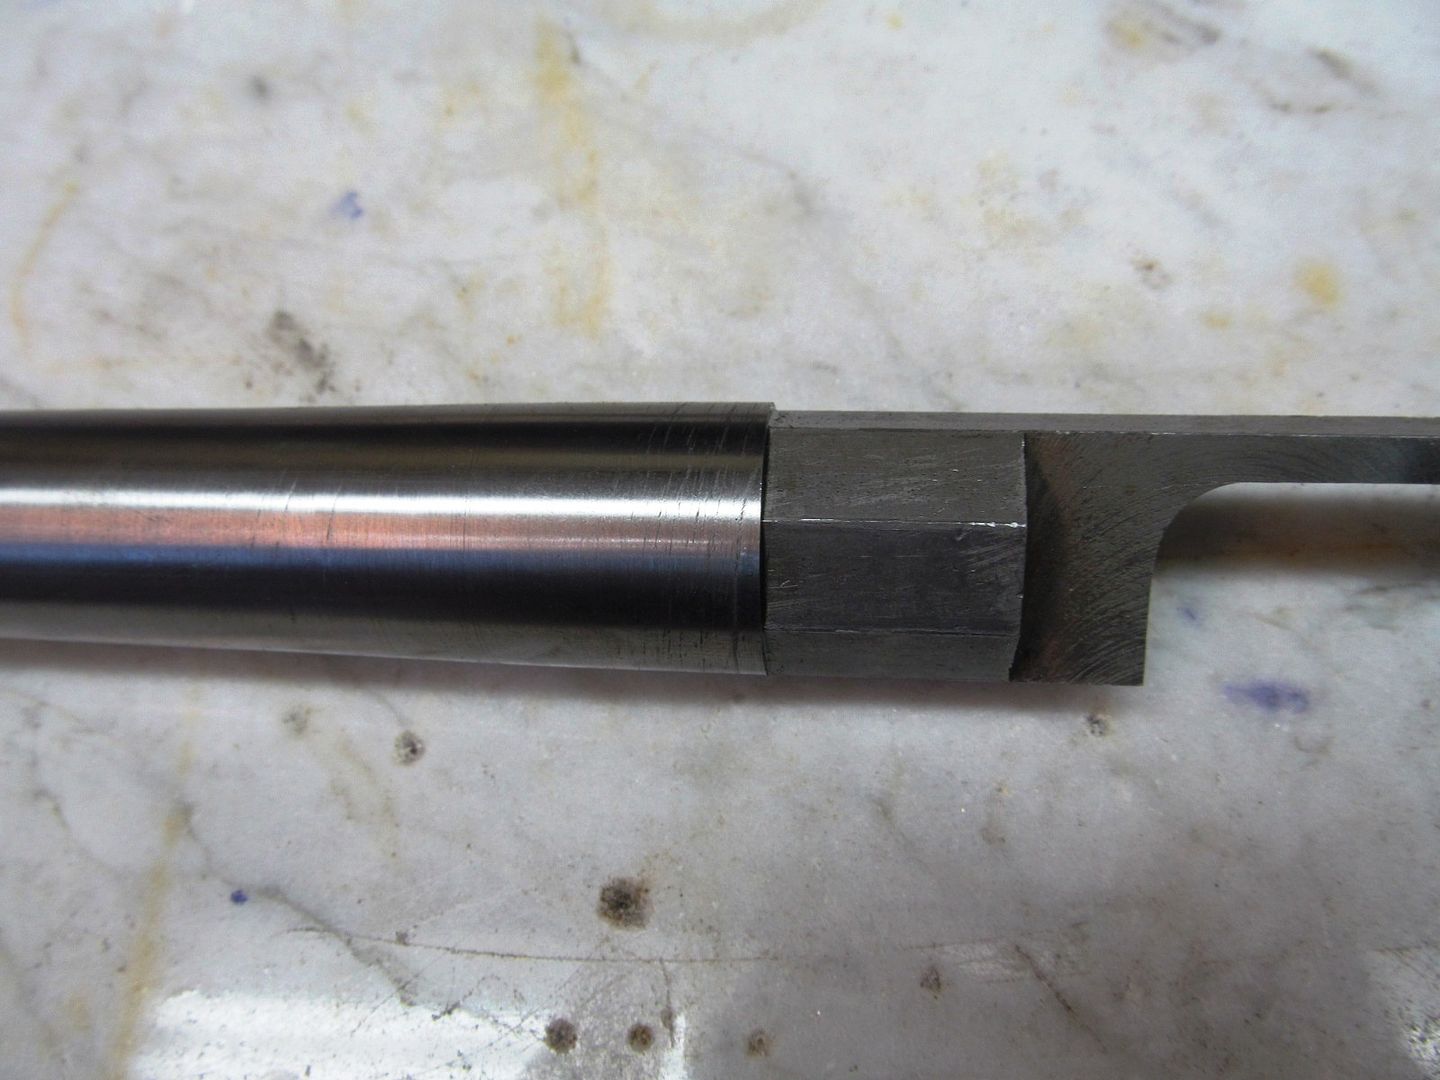
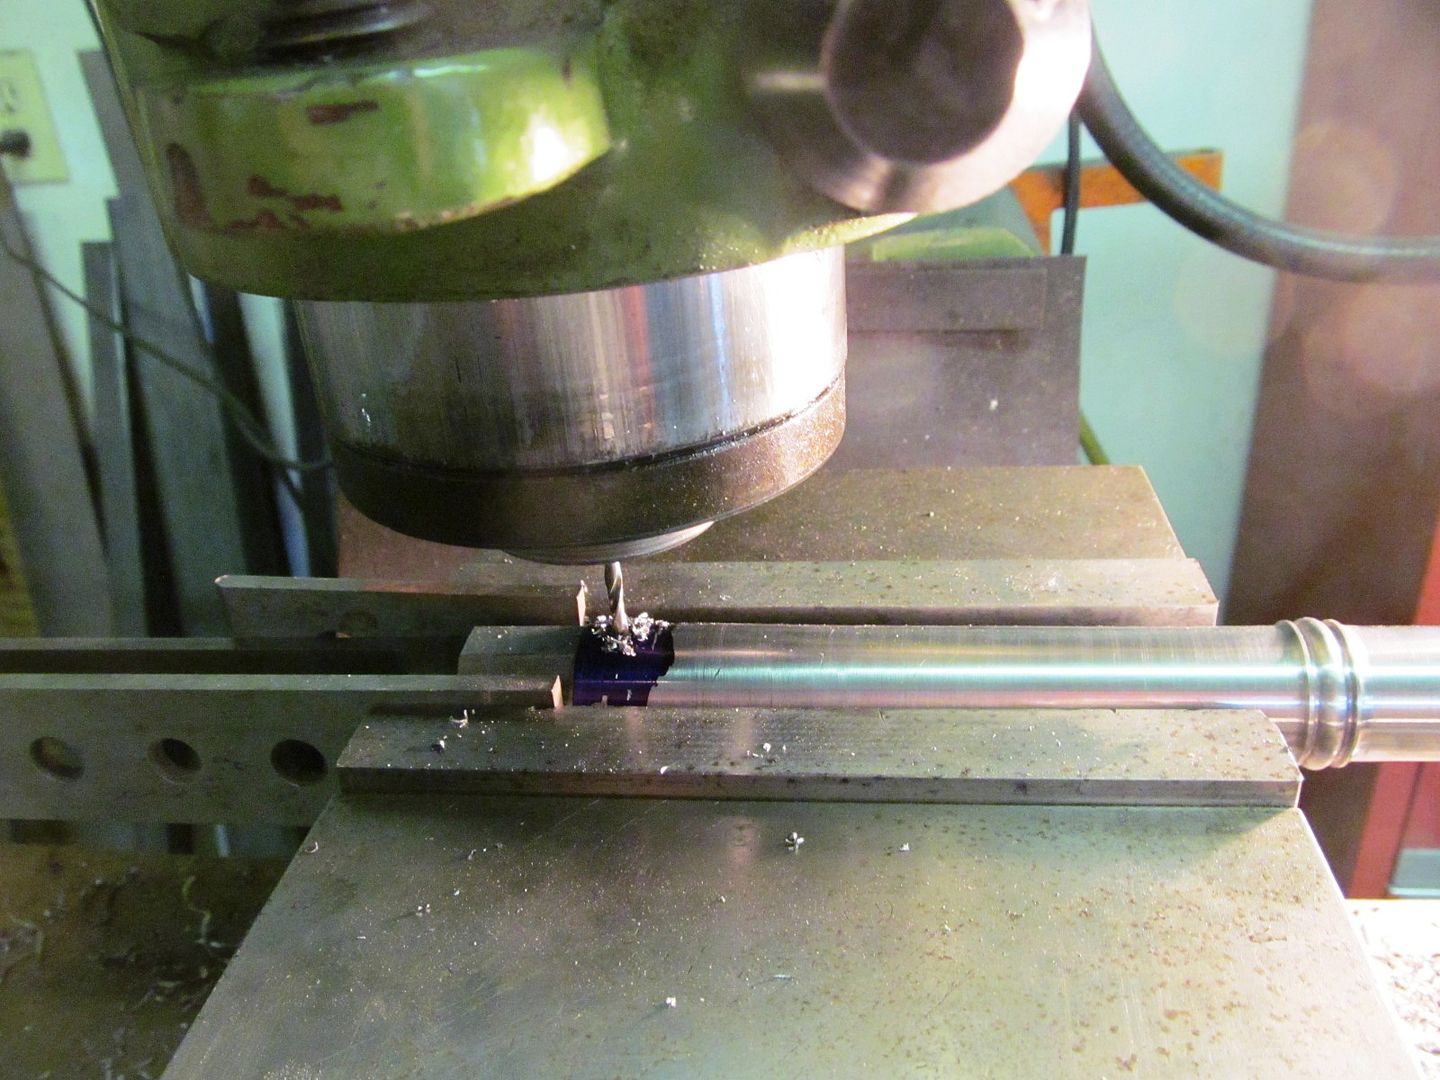
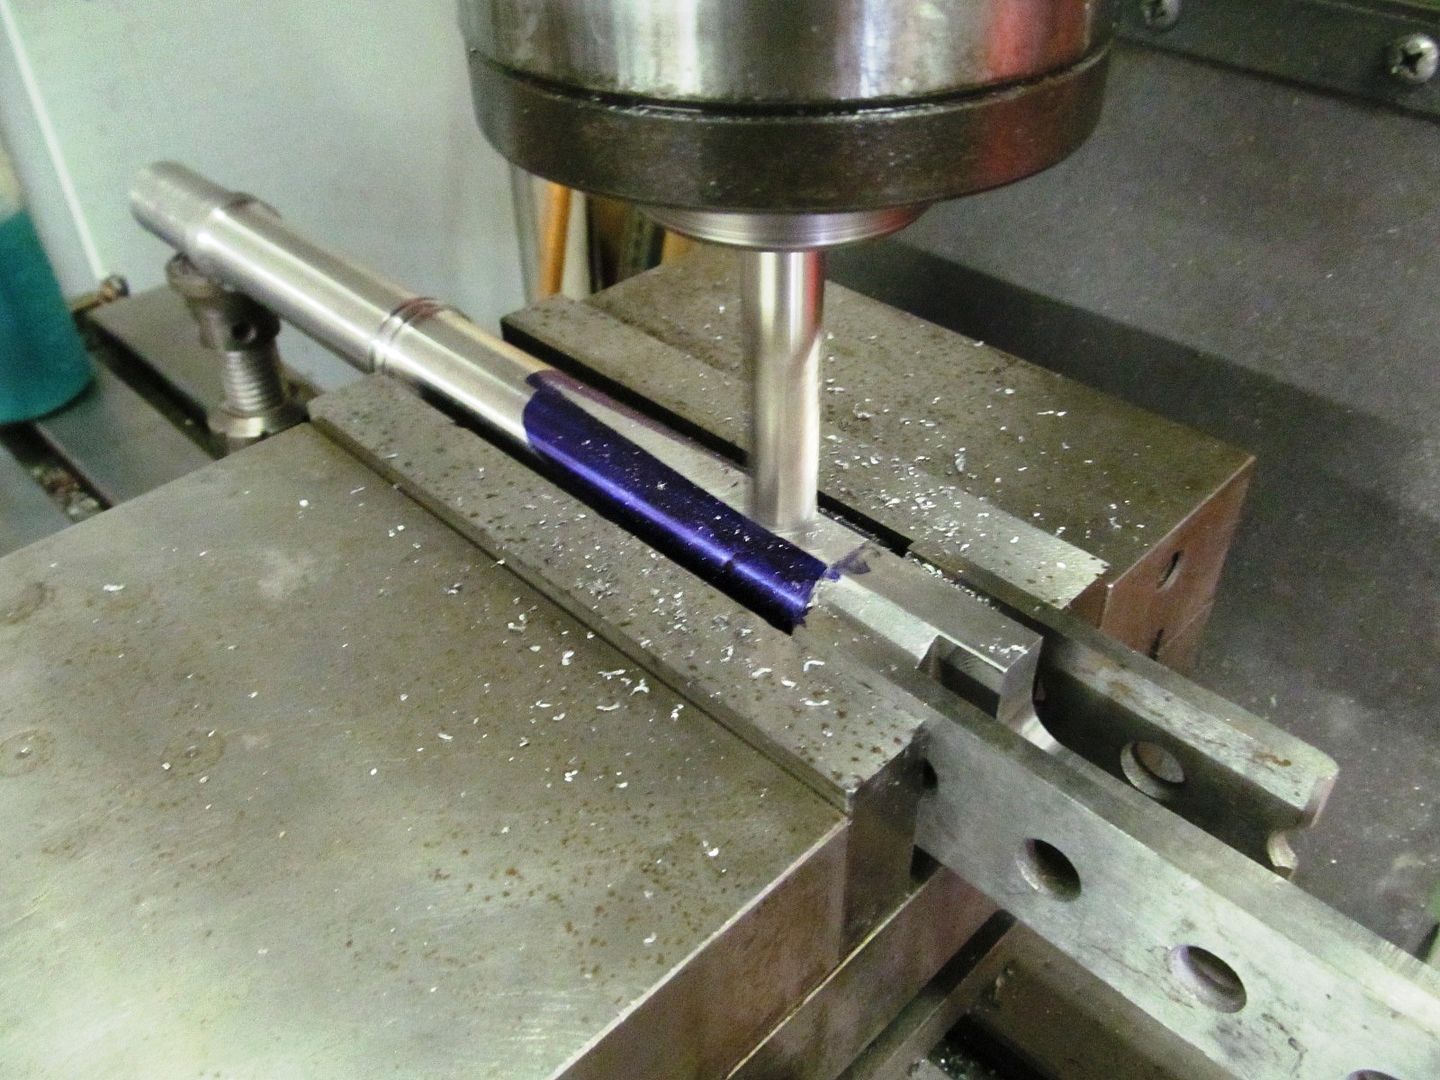
This barrel is far from finished. They stamped it as proof of the bore size so I can buy round balls for it. I think I'll slice it off and save it for the new owner. They stamped the wrong end or else I could make him a damascus pendant.")
If it gets a case, how about a custom made lock using the off cut as the outer, then a damascus button inner for the release mechanism.....
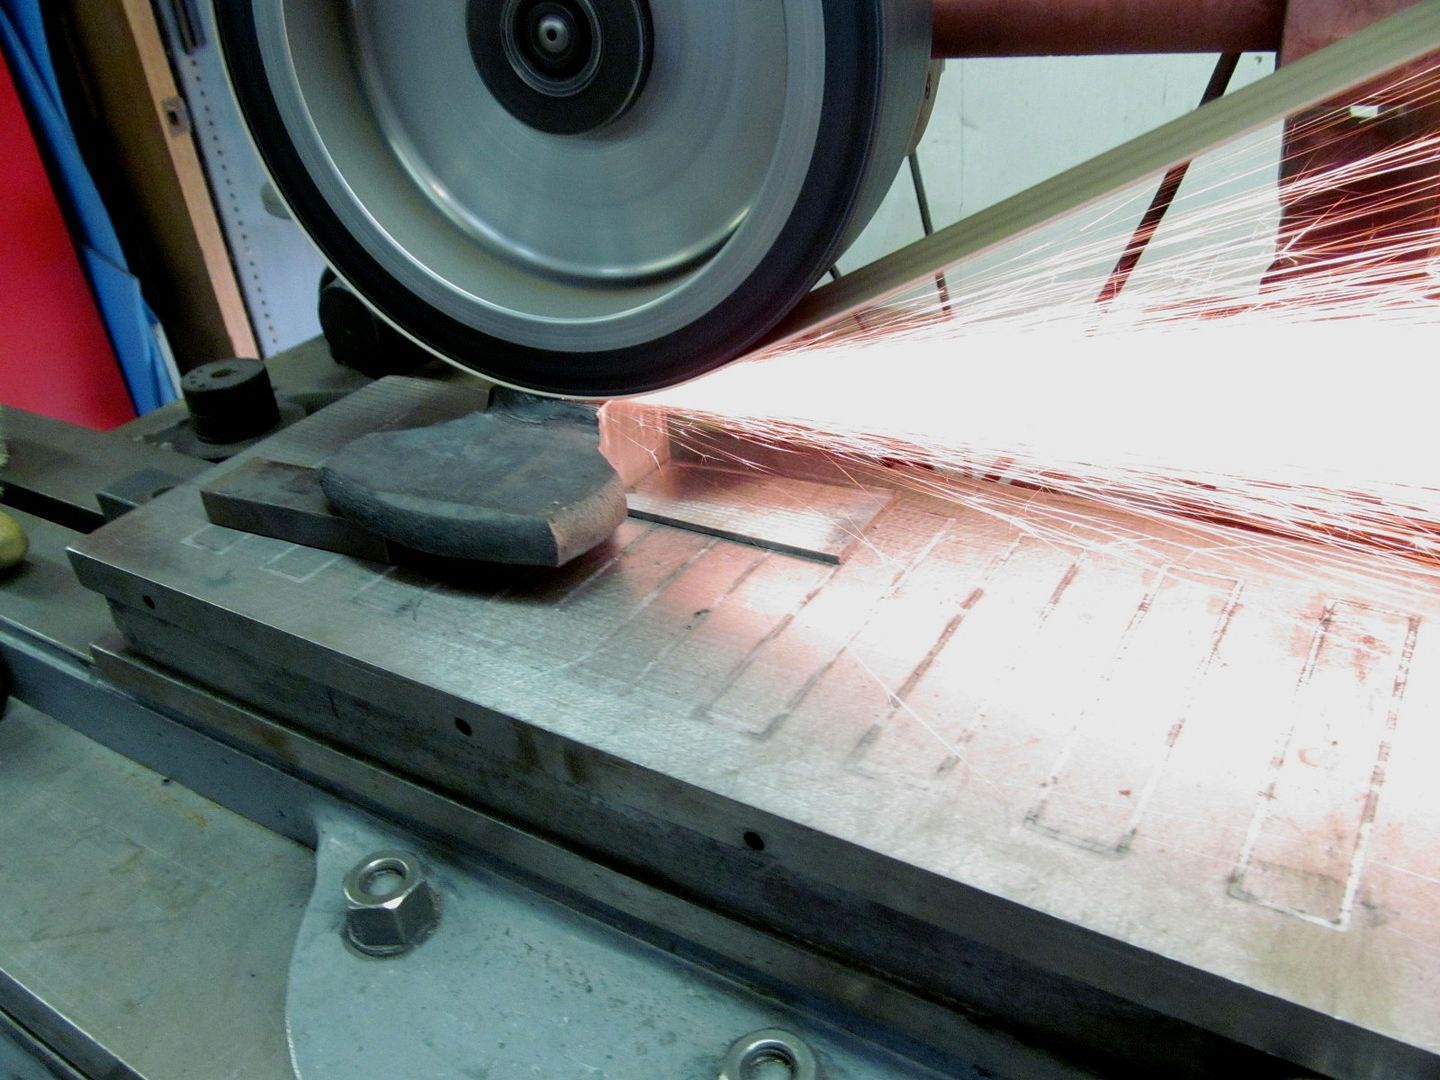
Not very accurate and certainly not good enough for a project like this.Bruce are you going to machine the sides of the octagon in? Just curious how you're planning to do that one. My low tech method would be to grind the flats flat.
Thanks Bruce, yeah, that's totally exciting! I dig this project, it's turned me on to no end.Hi Dave,
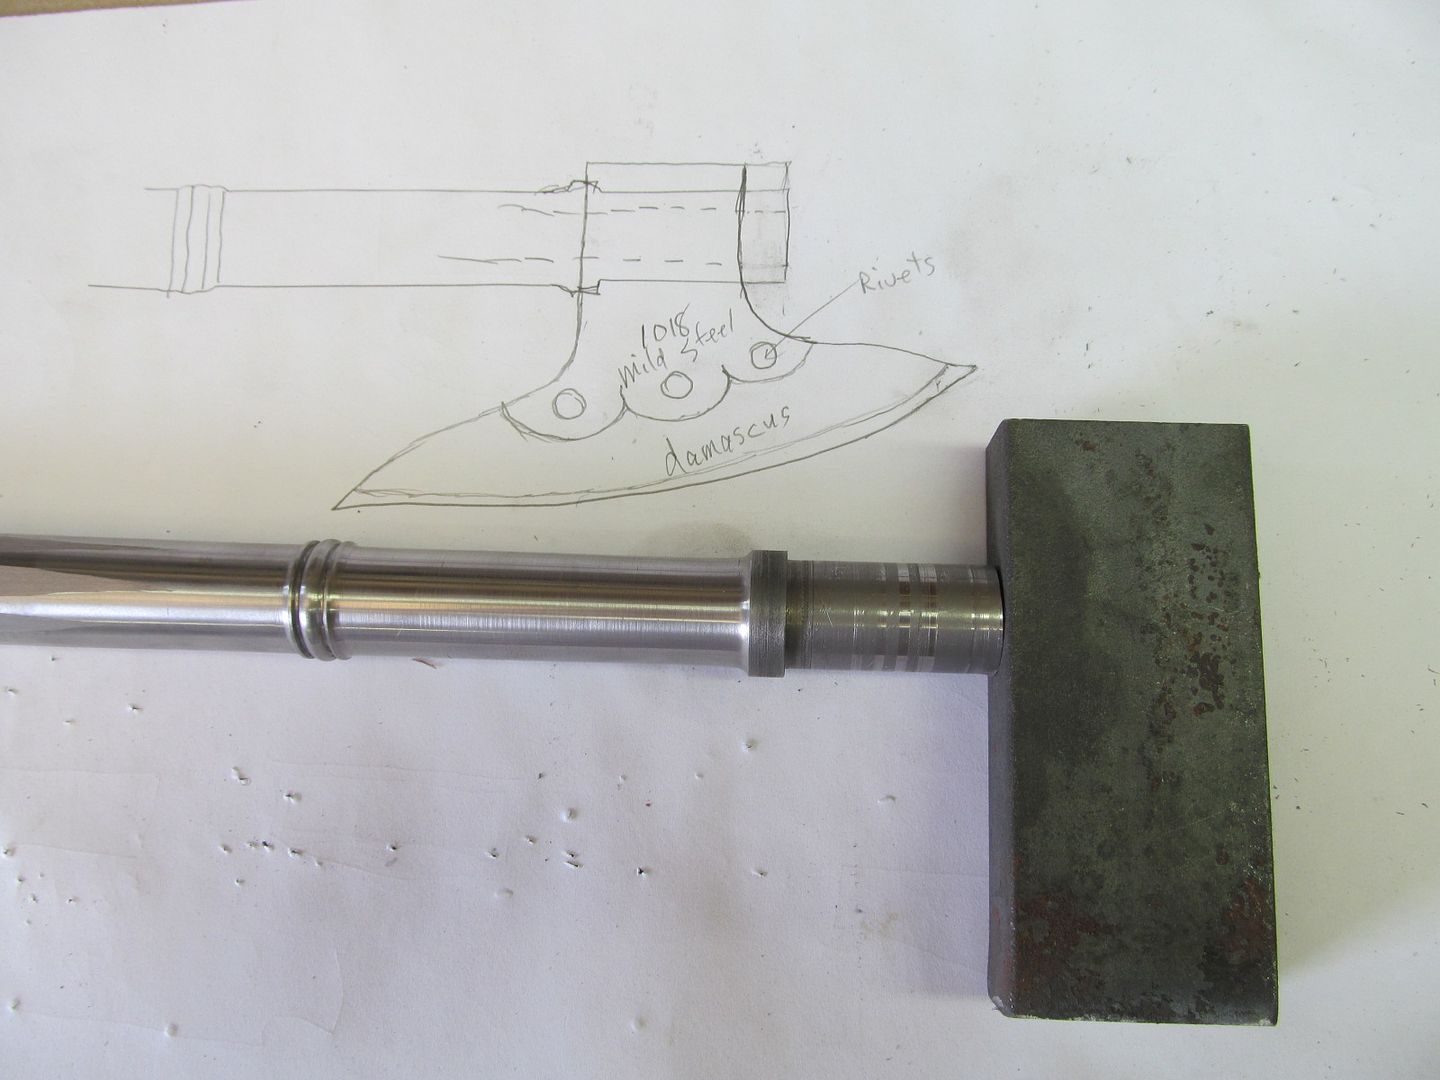
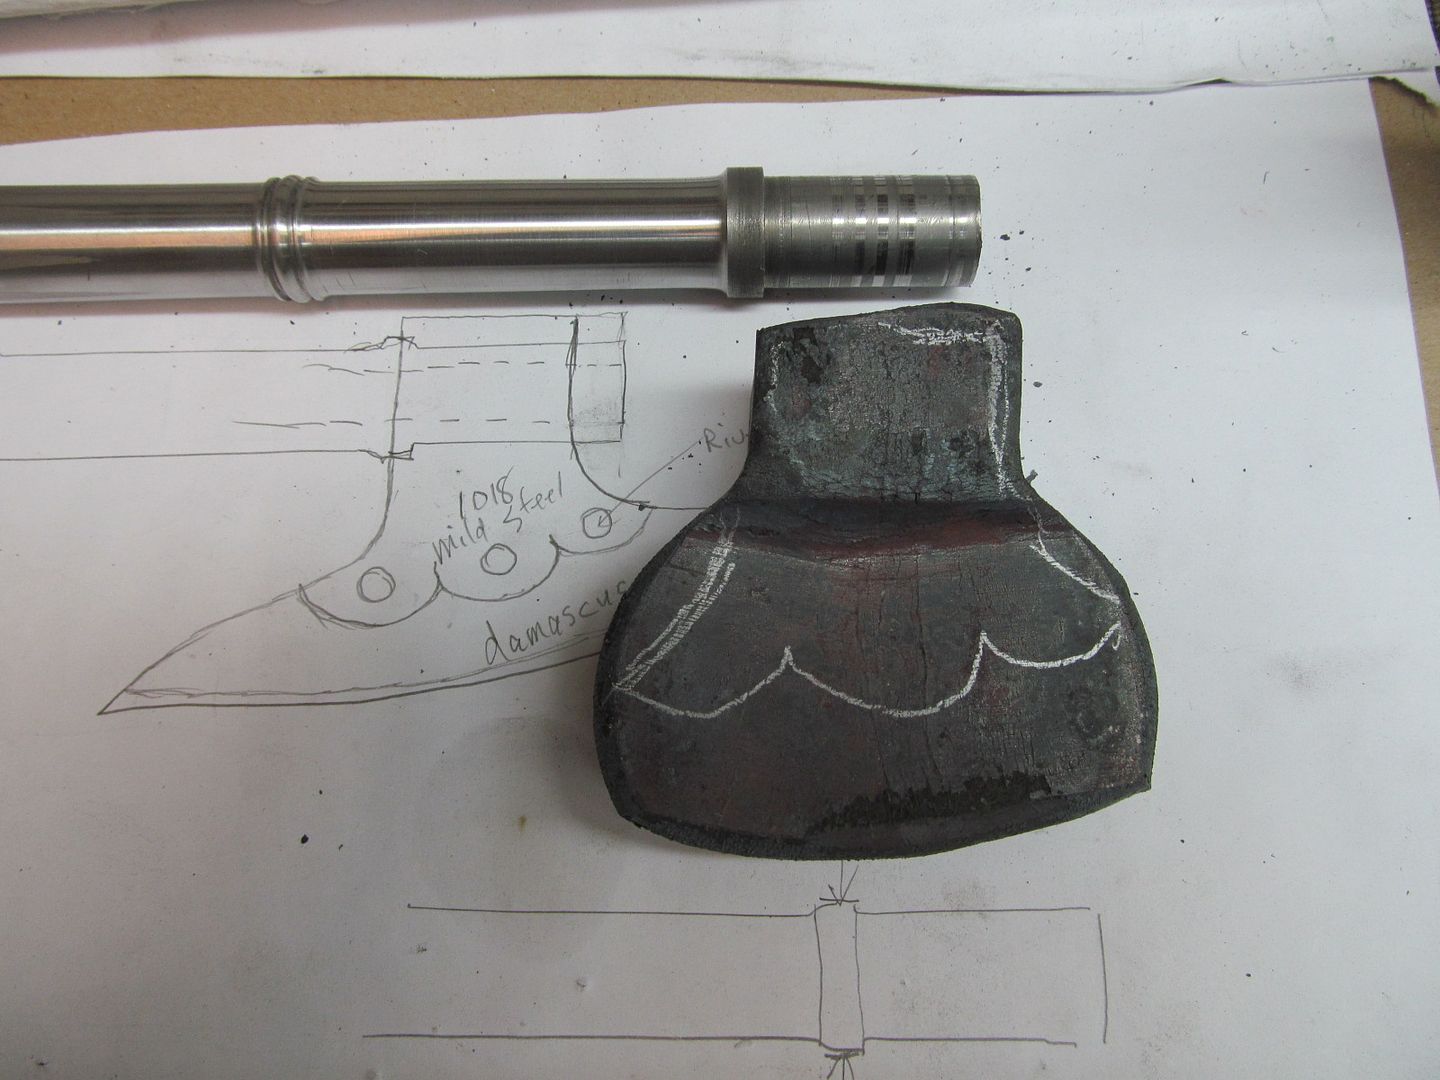
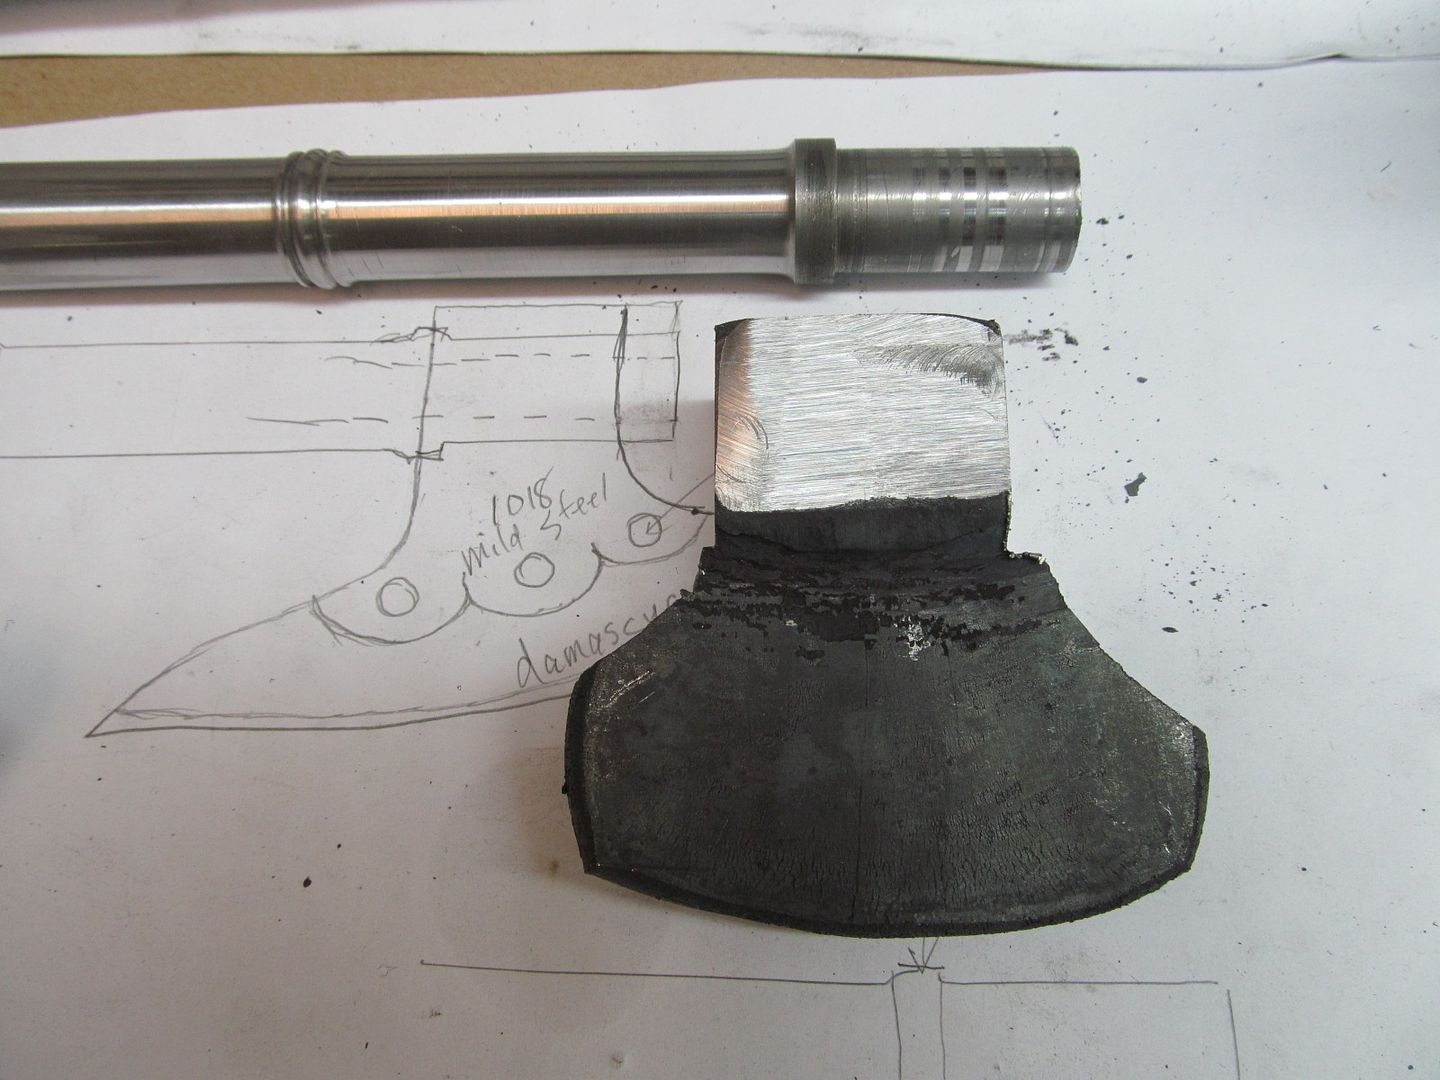
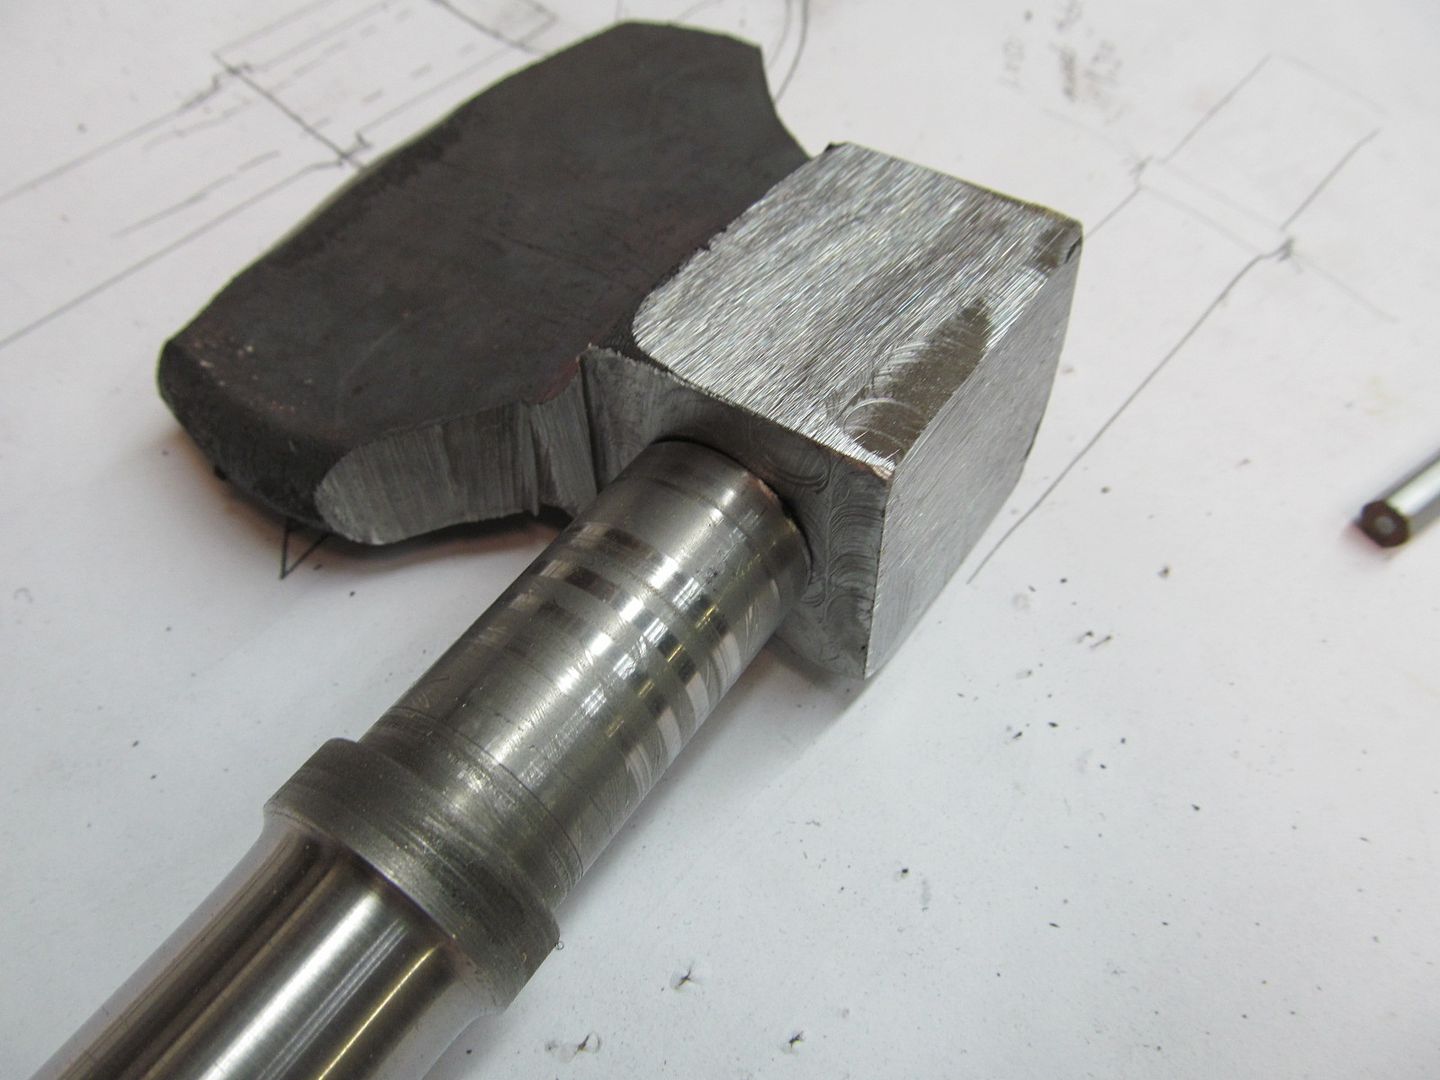
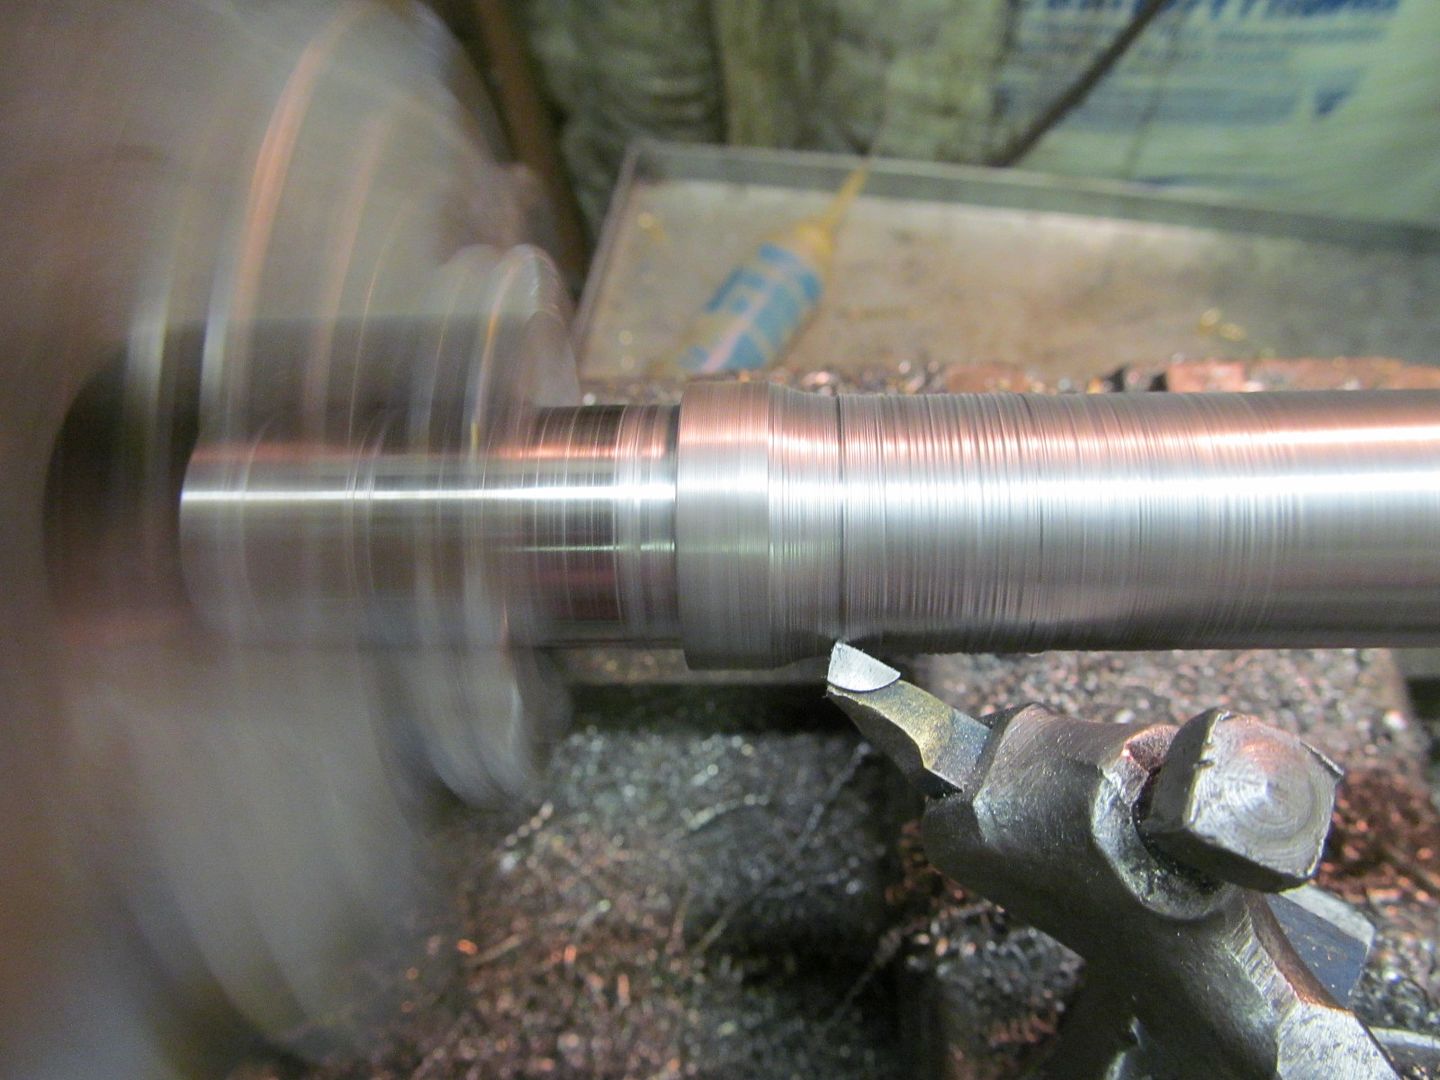
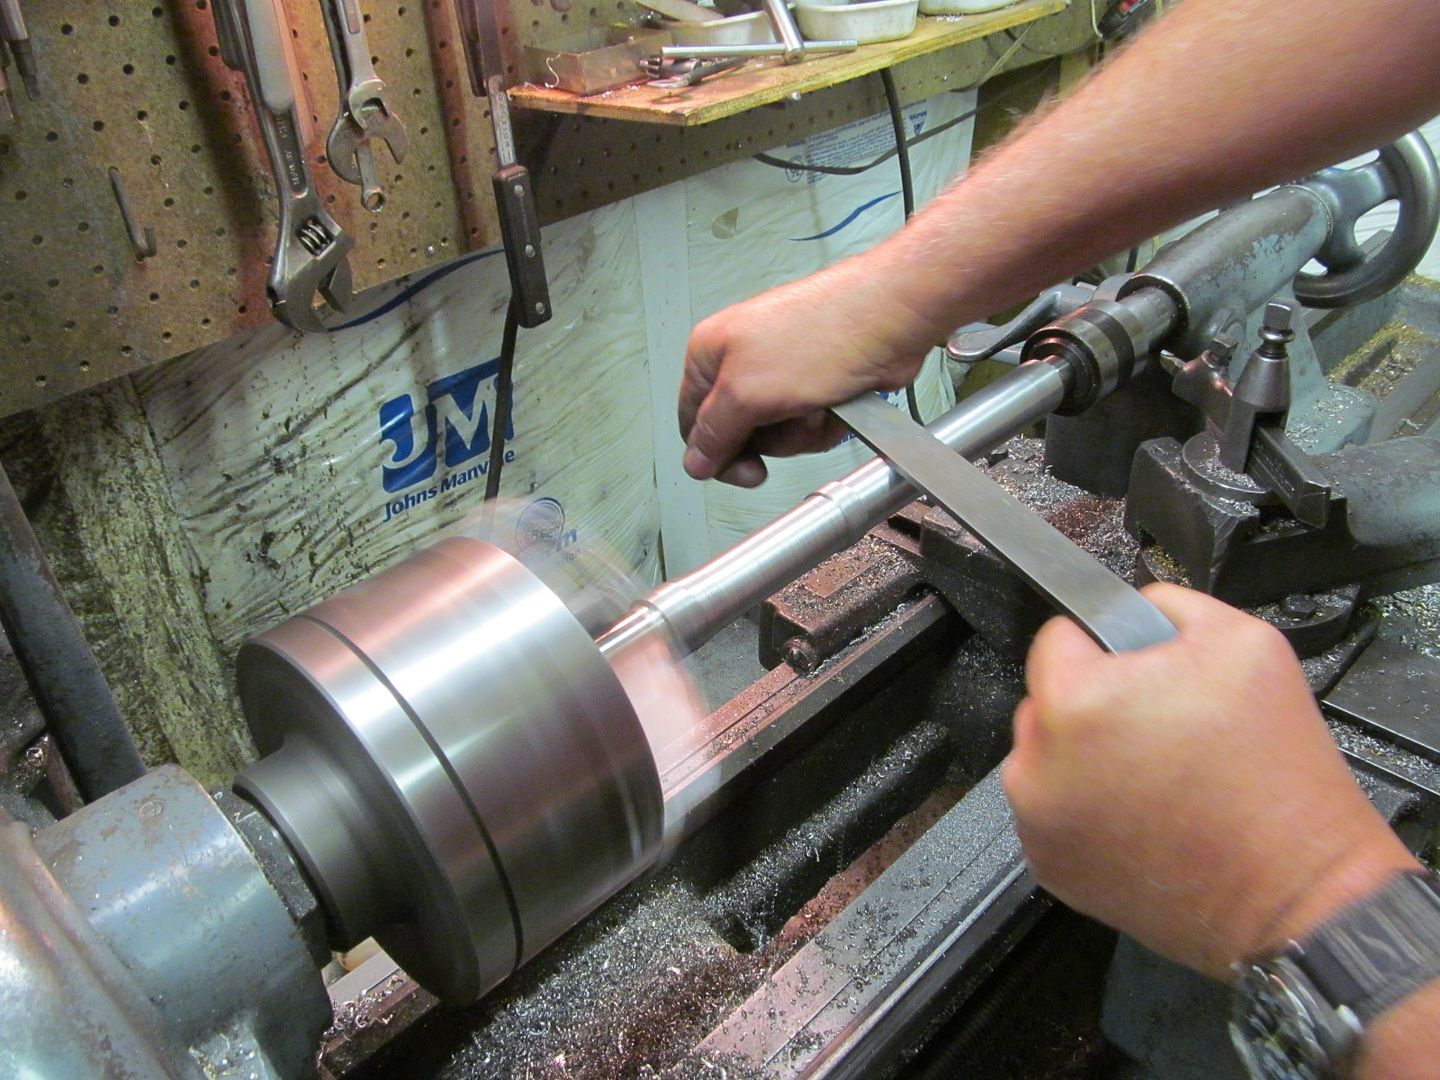
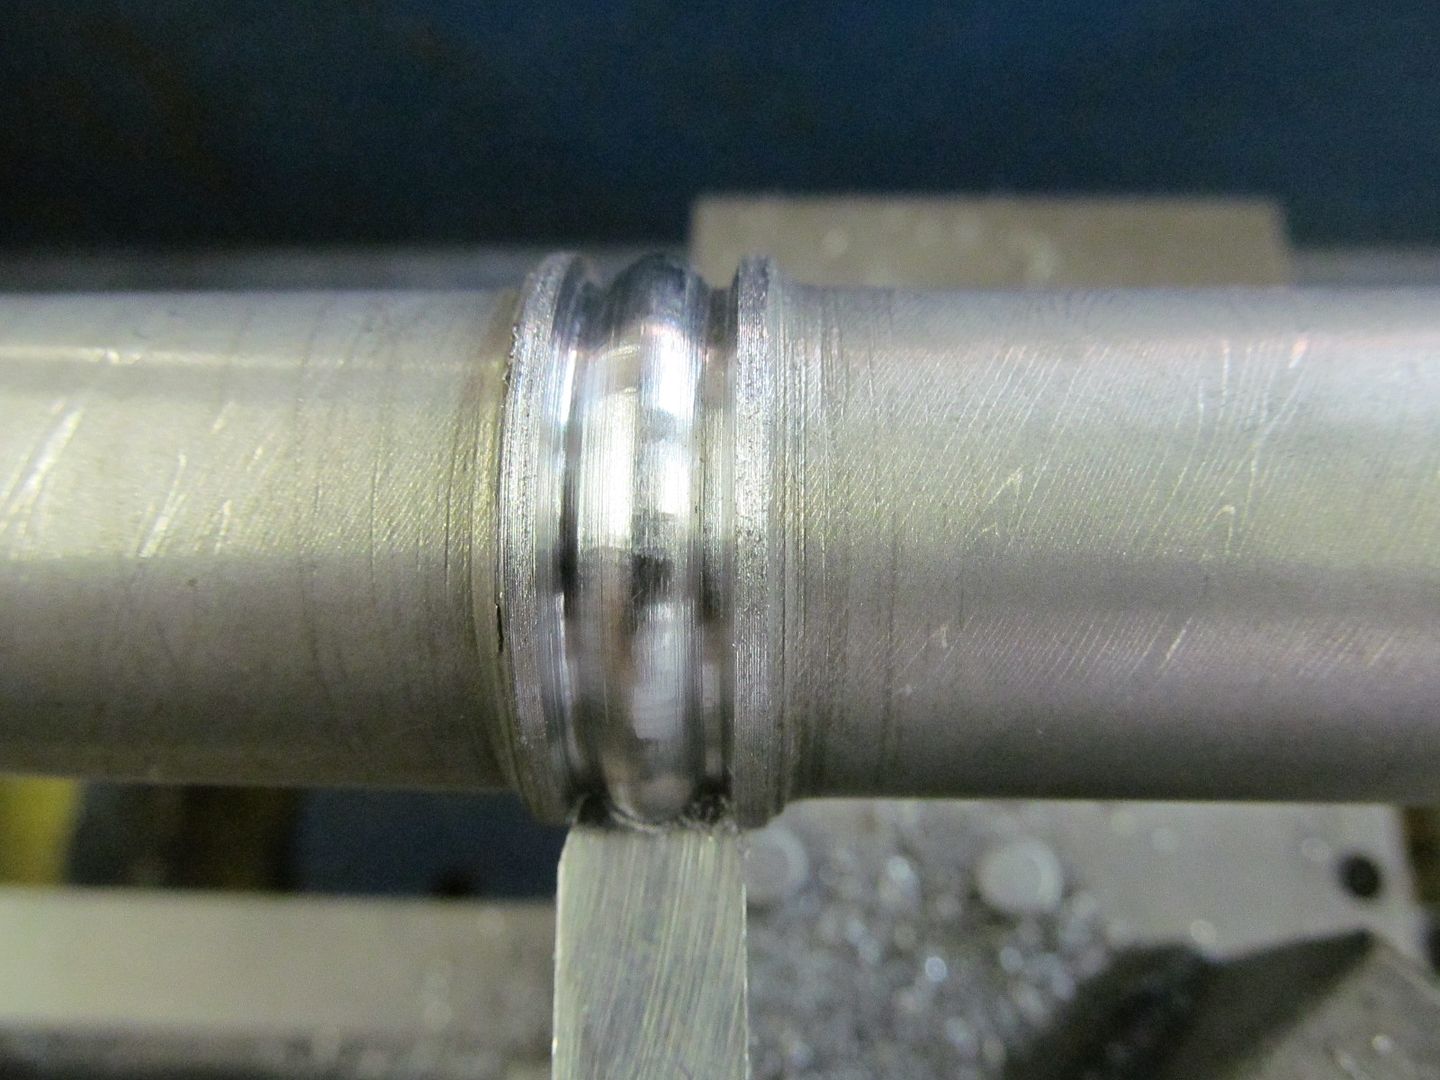
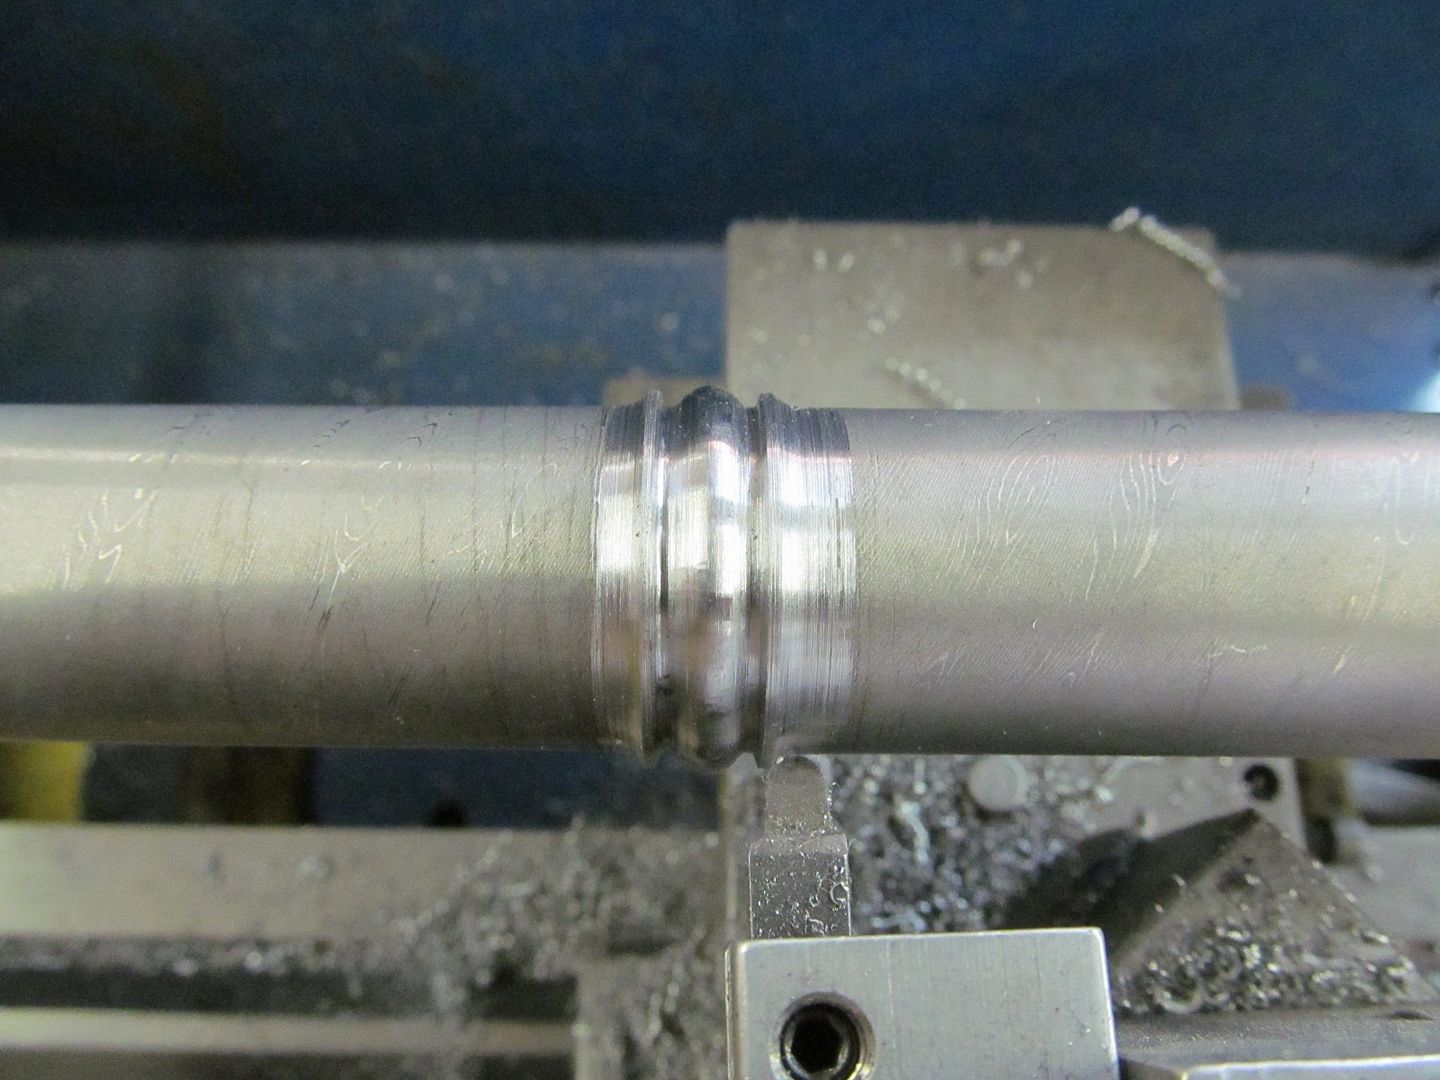
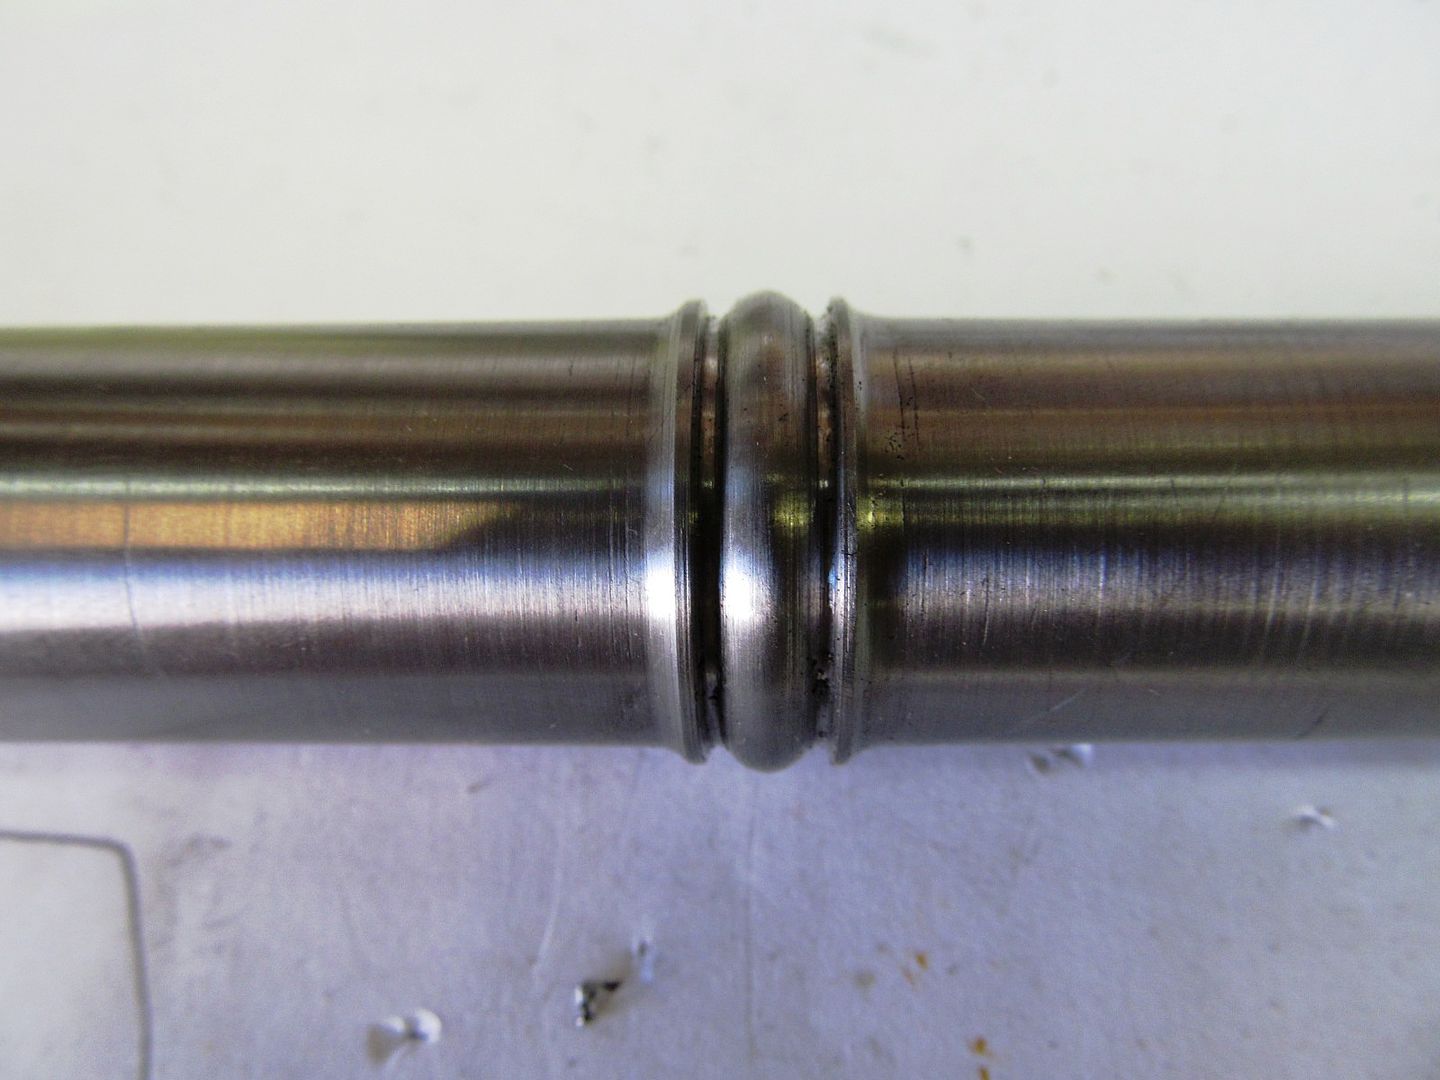
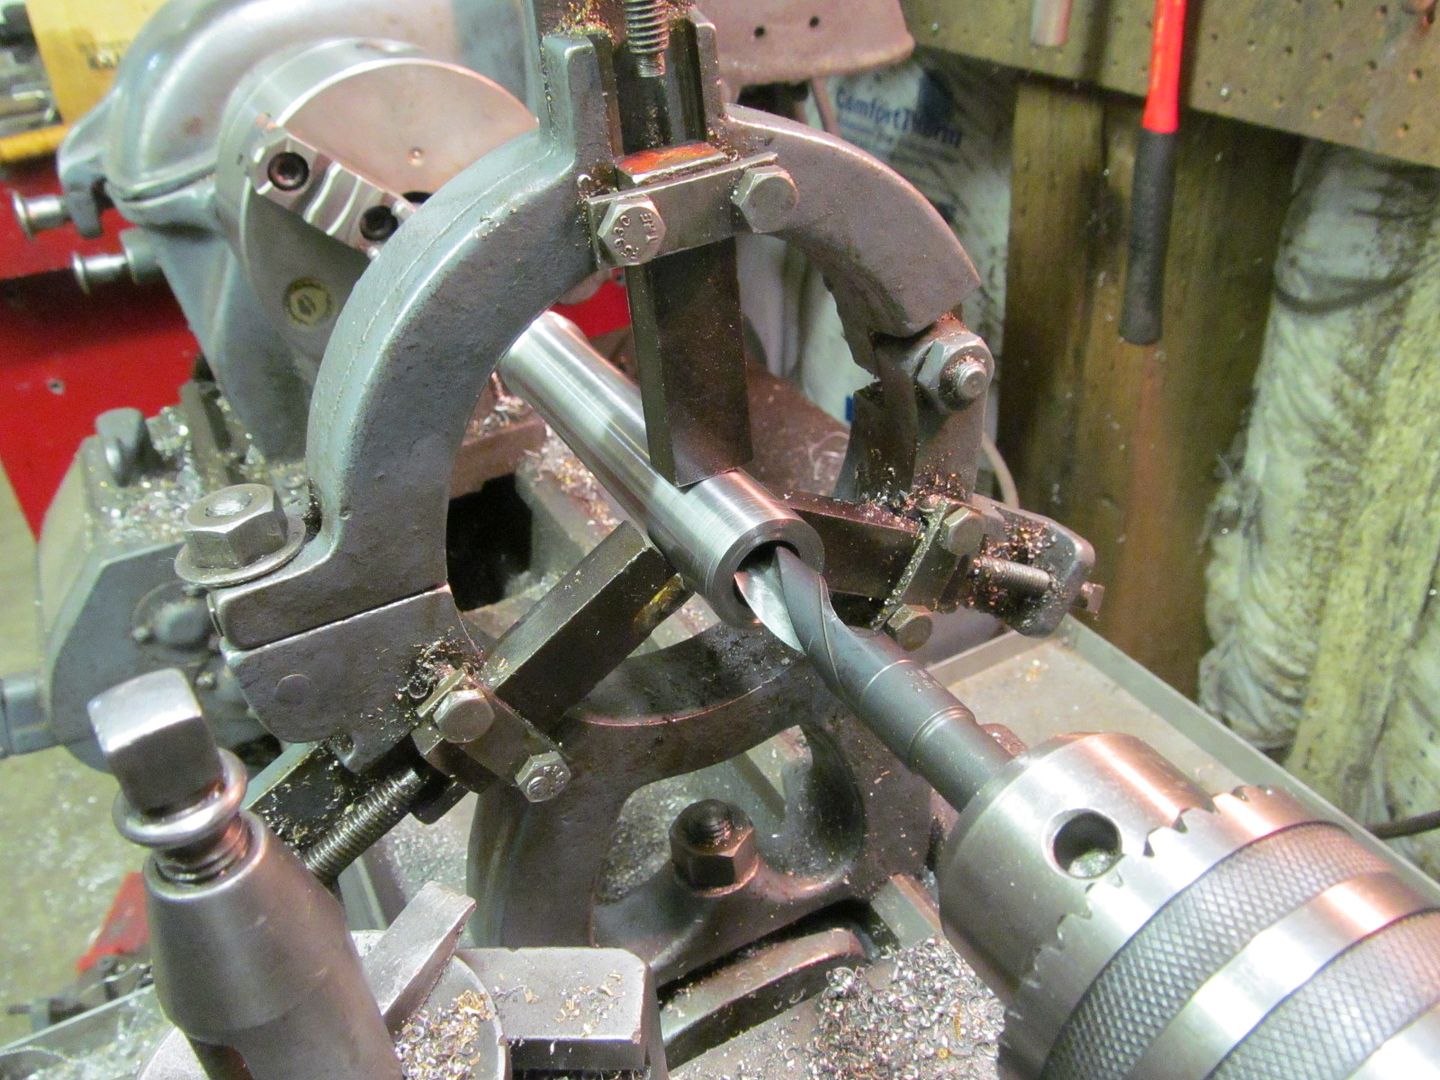
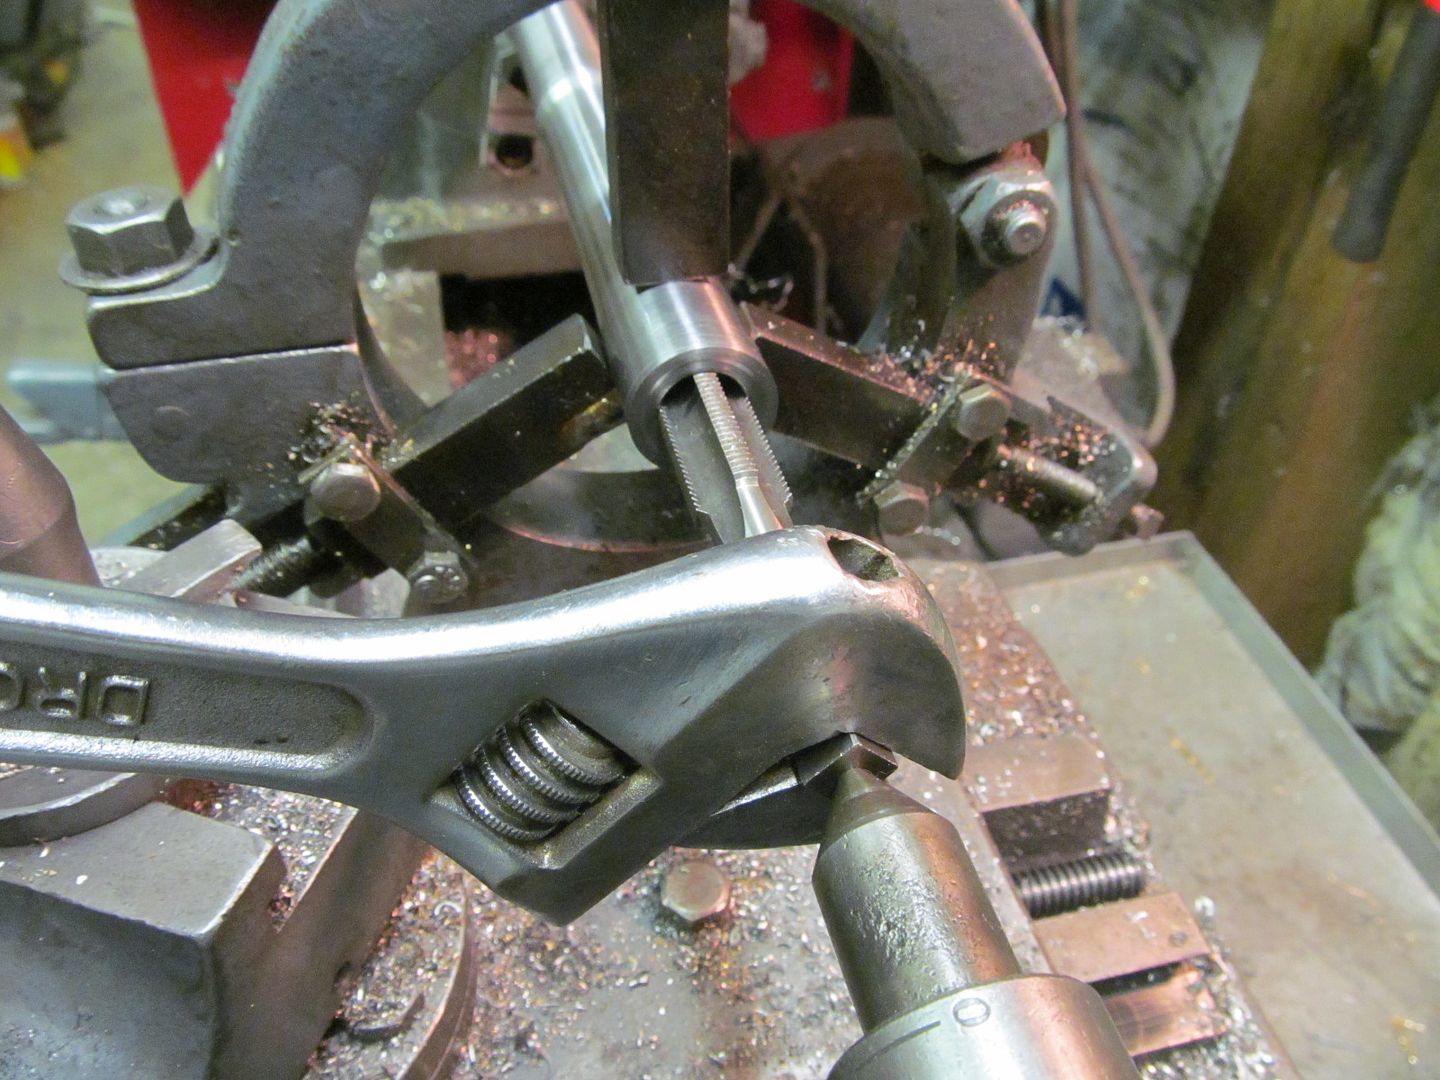
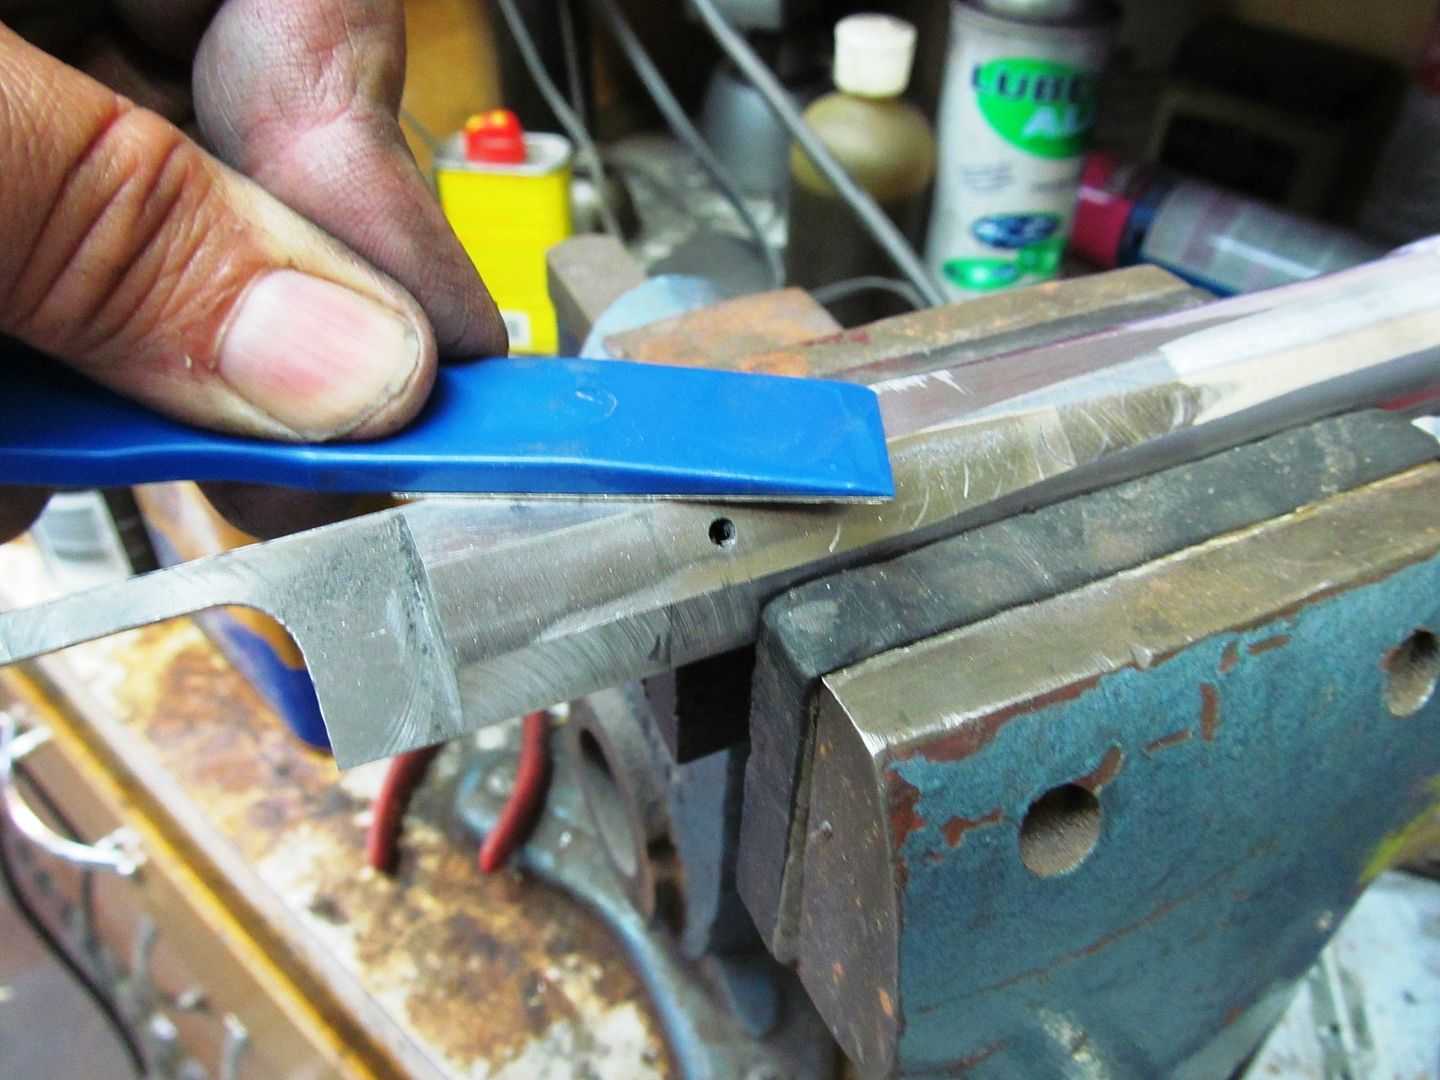
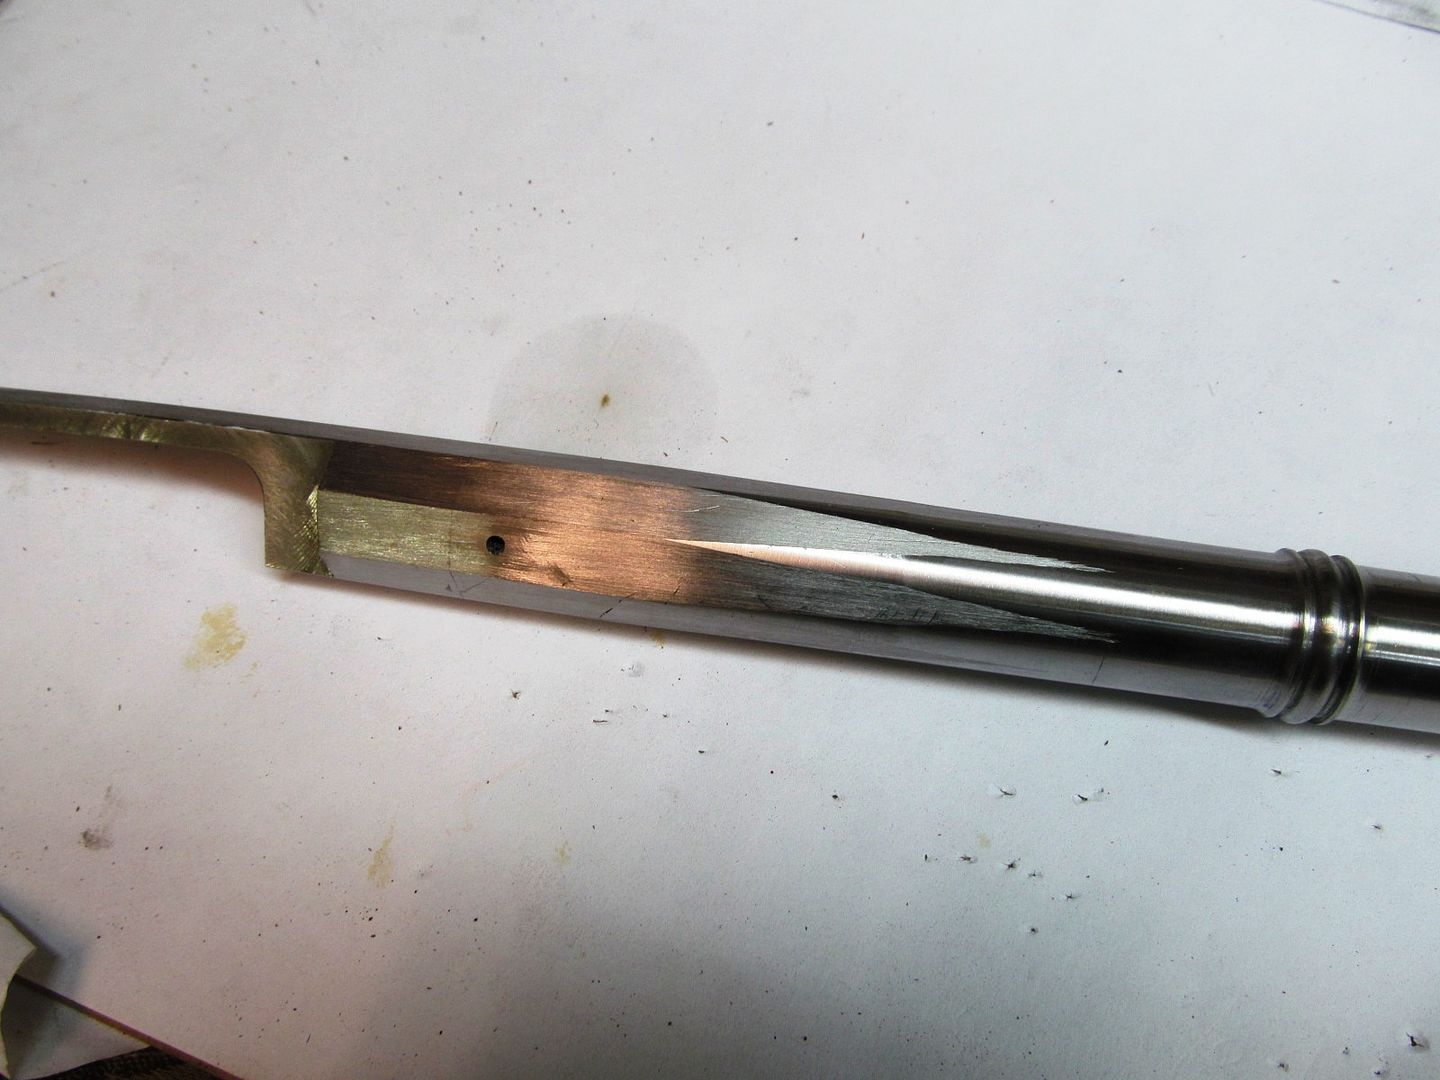
I need to use the centers and re-turn the barrel with a slight amount of taper. After that I can chuck it up and mill them and draw file the flats and stone them down by hand. I want to go from the octagon to a slight tapered round and turn 3 wedding rings for the front mount bolt then round and flared for the axe stop and finially straight with threads for the axe head nut. The axe nut will be threaded for the ram rod. Kinda involved but exciting all the way.
I'm with you all the way, you can be sure of that!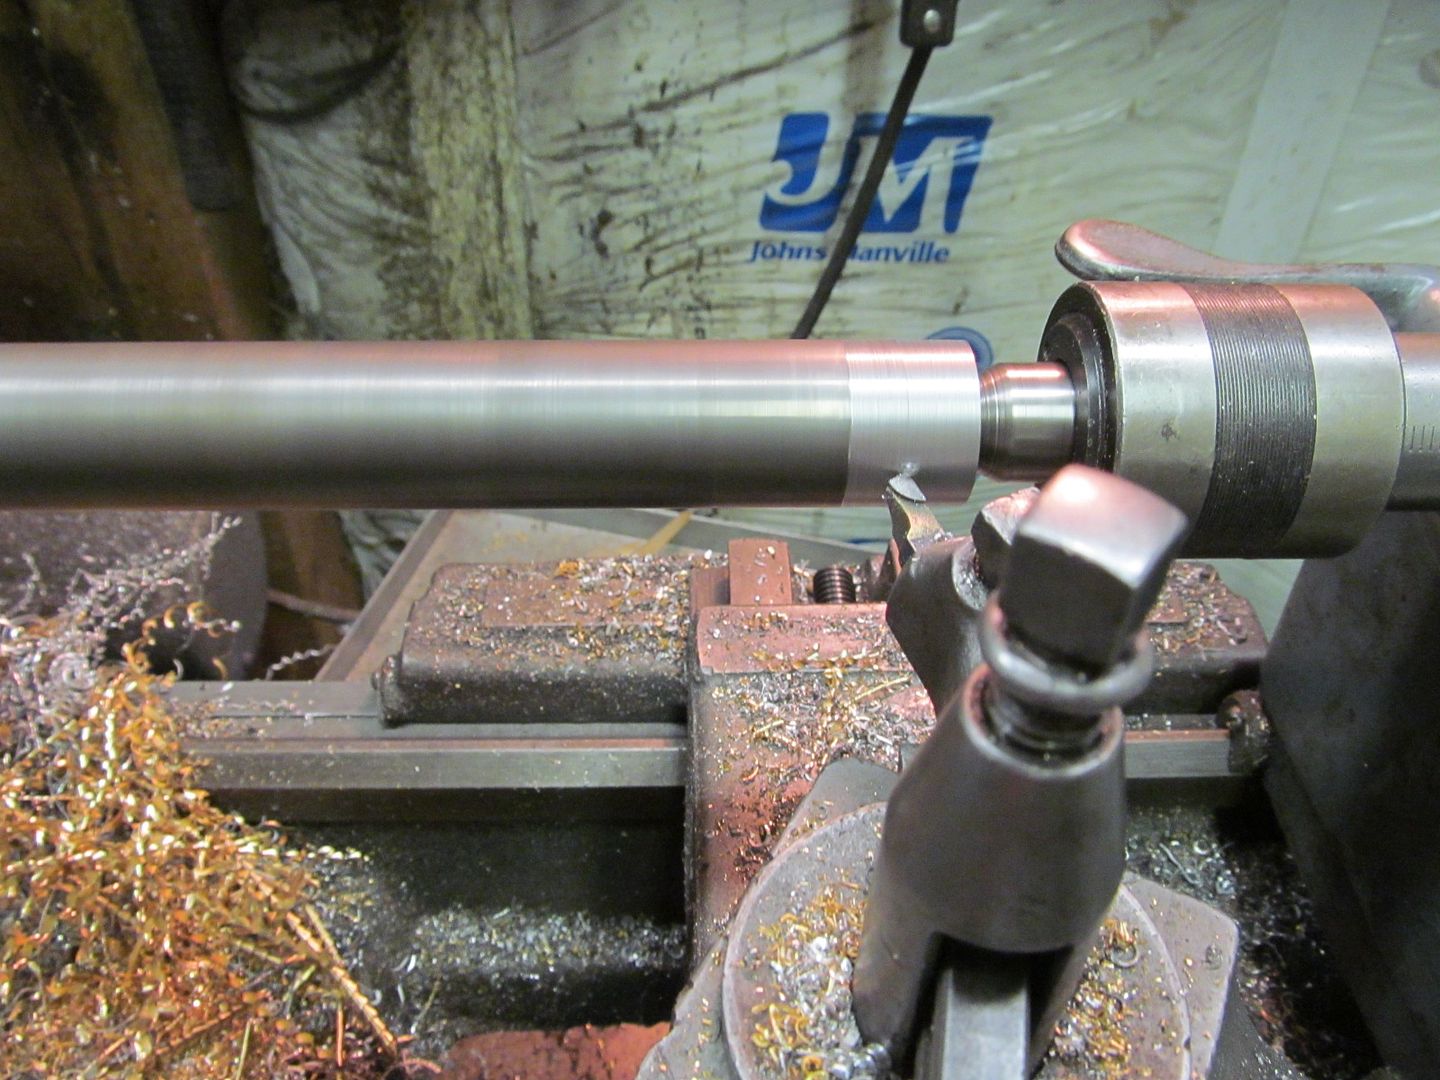

Bruce,
Are you going to "swamp" of flare the muzzle end???
Should be a no-brainer for a guy with your mad skills.
Just askin'
Steve