Bruce Bump
Forum Owner-Moderator
Hey, I never thought of tiger eyes. They look like eye balls and tend to follow ya wherever you go too.
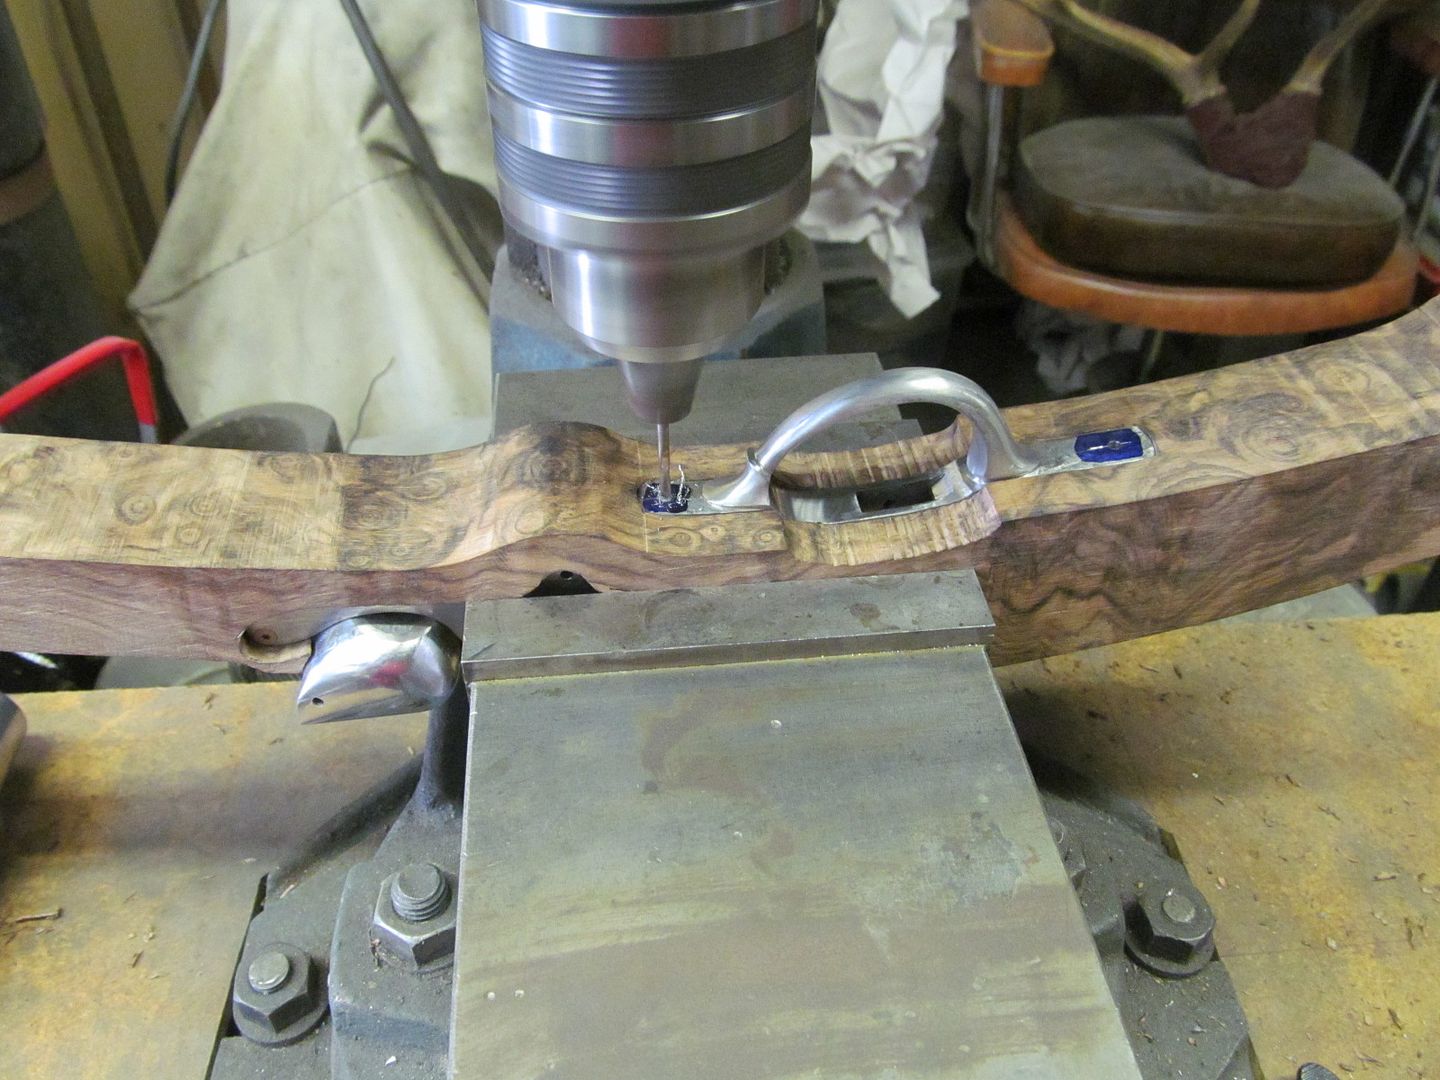
Hopefully the handle will be shaped by the time you get here. Cant wait to see our best Buds.
Hopefully the handle will be shaped by the time you get here. Cant wait to see our best Buds.
Maybe some tiger-eye studs......hehehe?
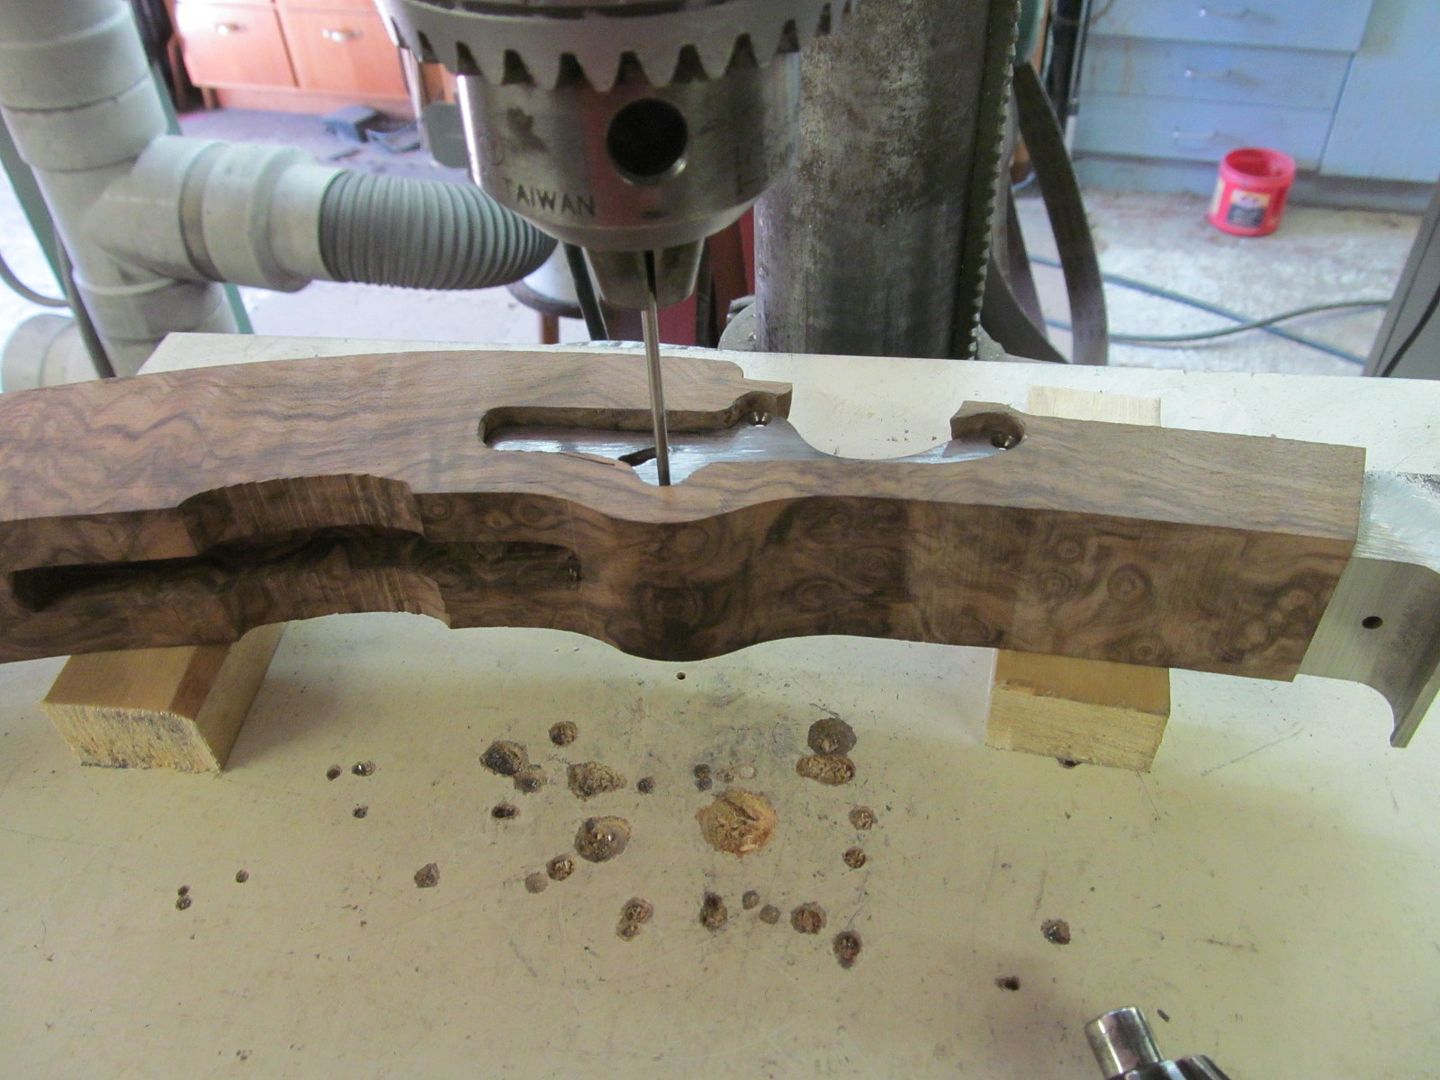
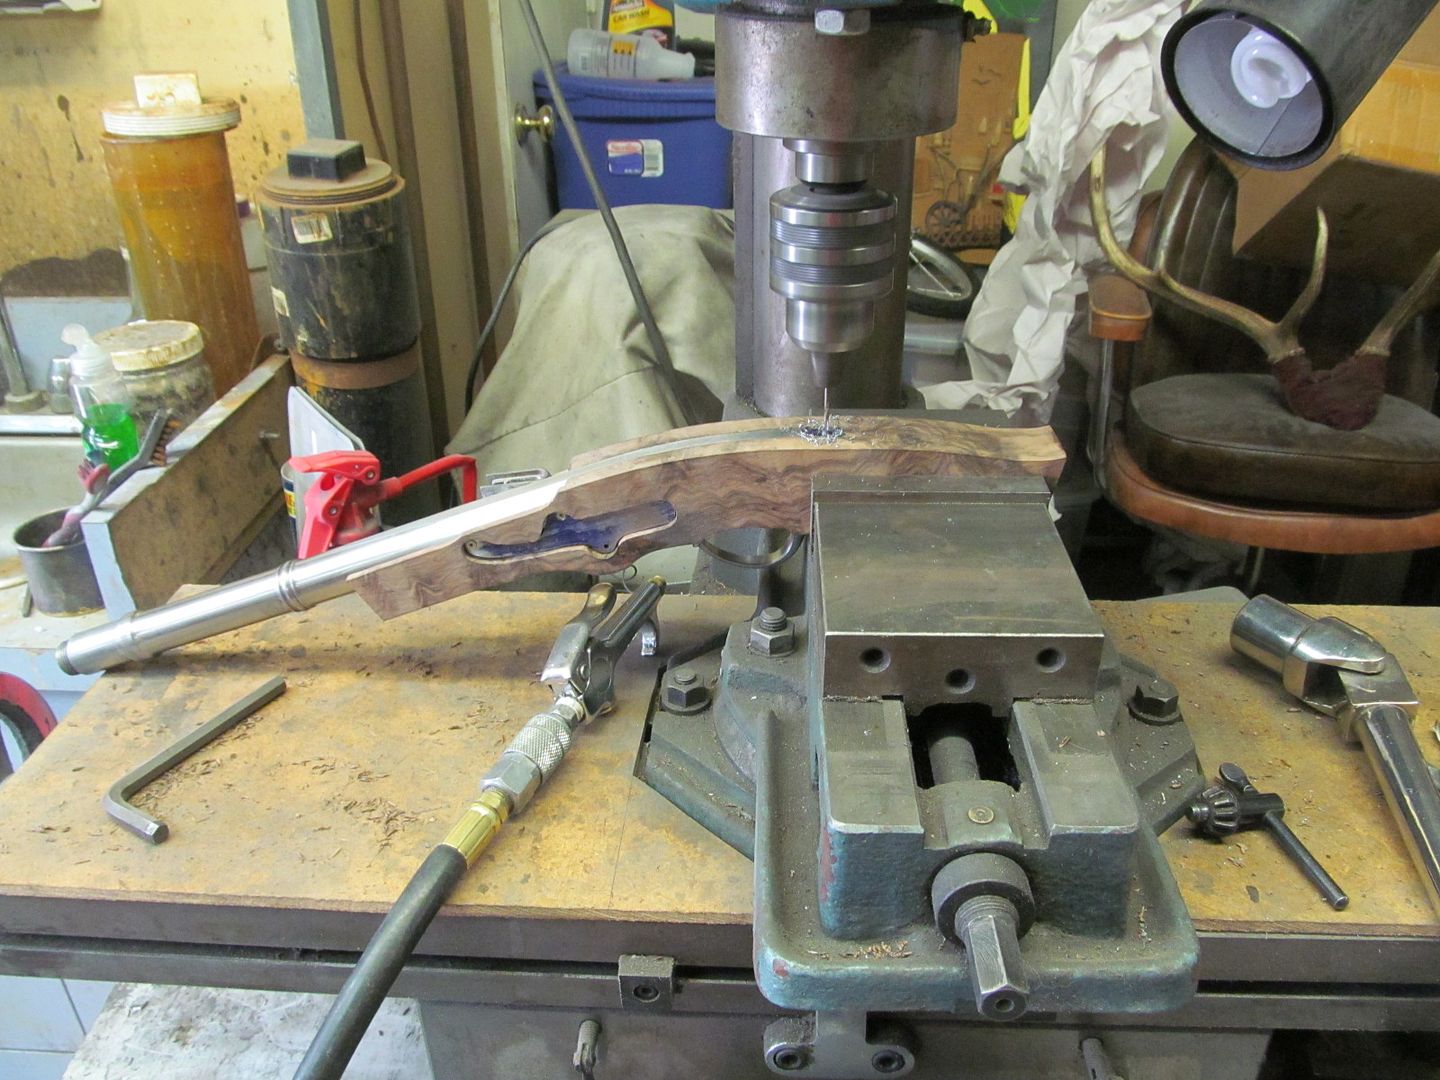
BTW: that new stock material is stunning! Can't wait to see it in person
Dana