Brad Lilly
Moderator and Awards Boss
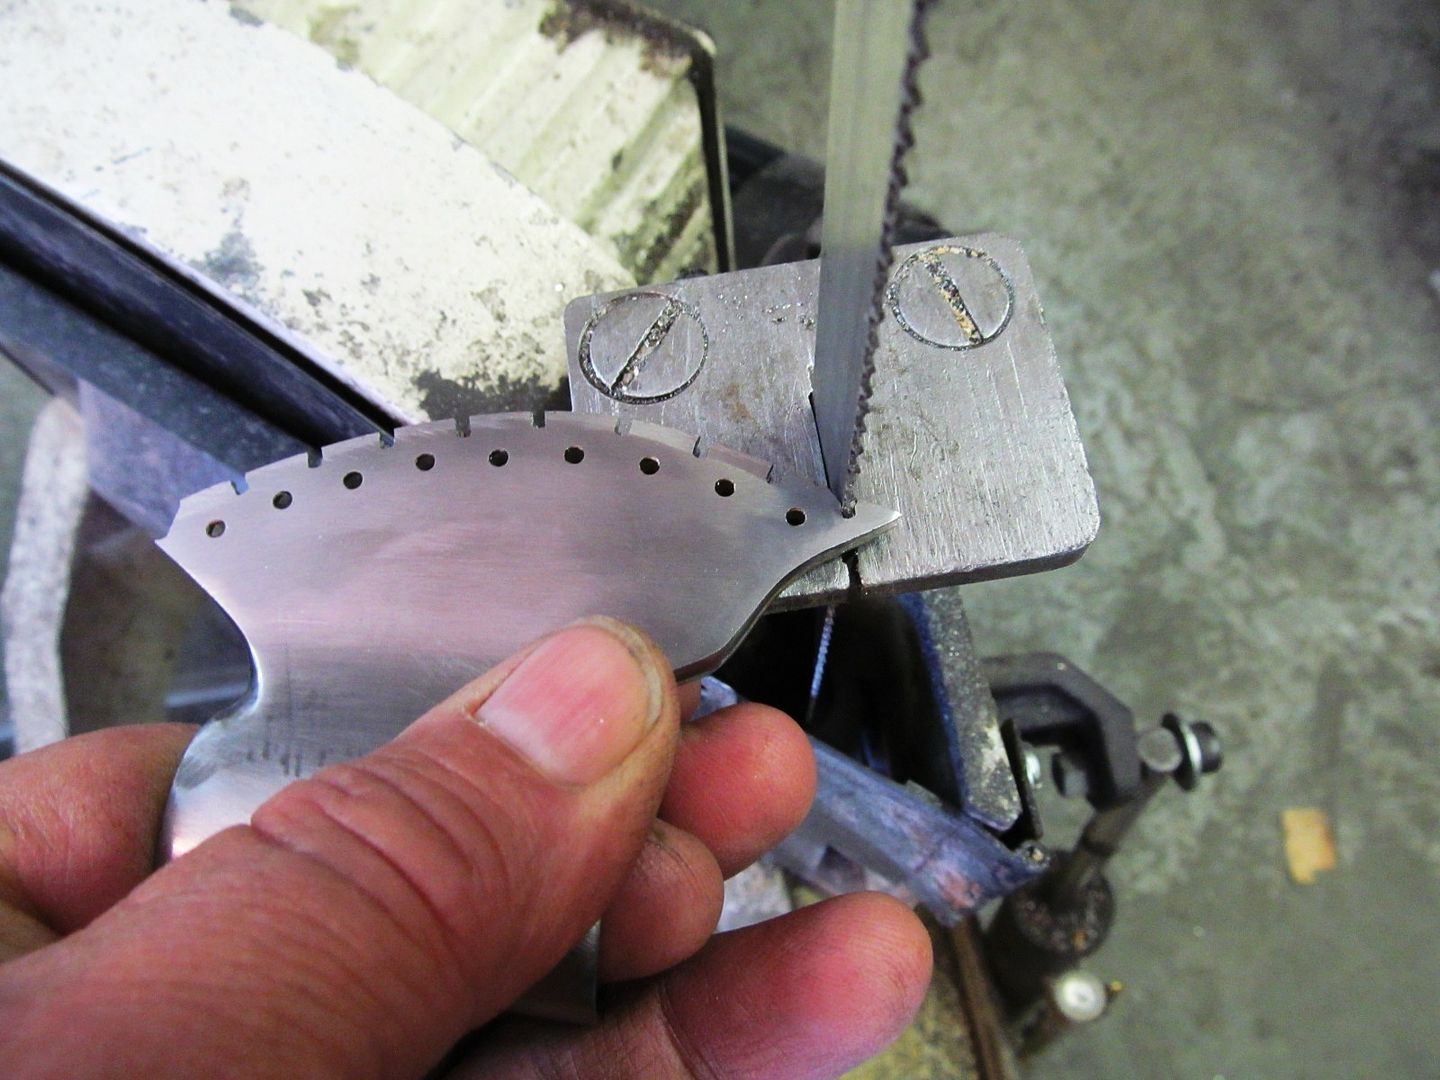
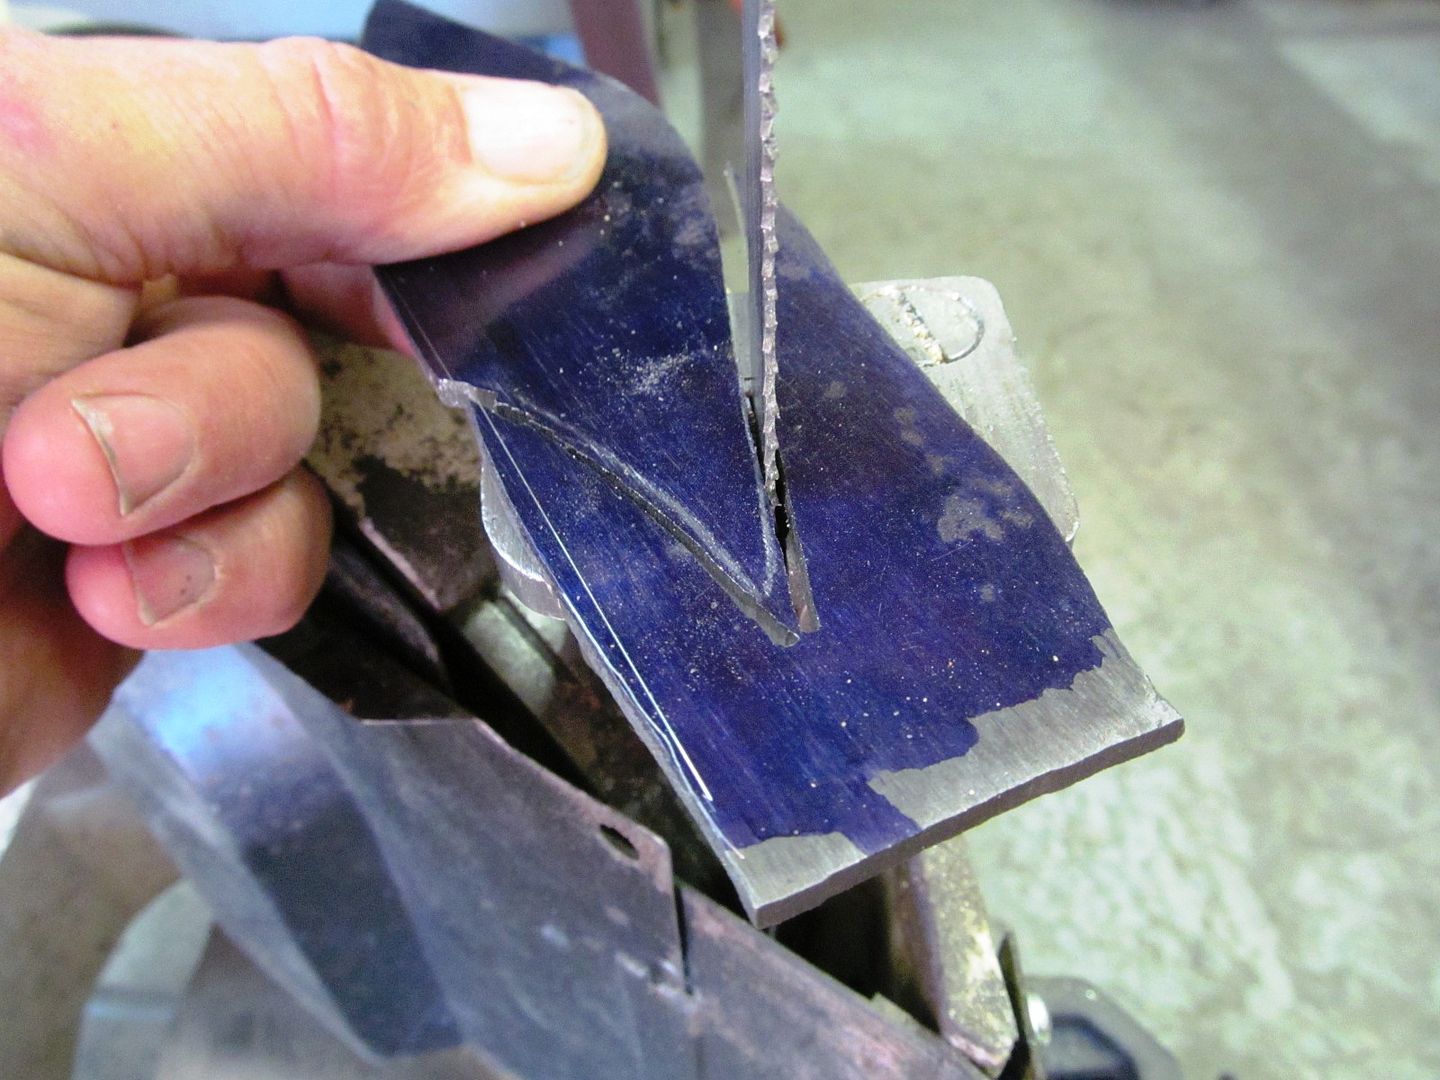
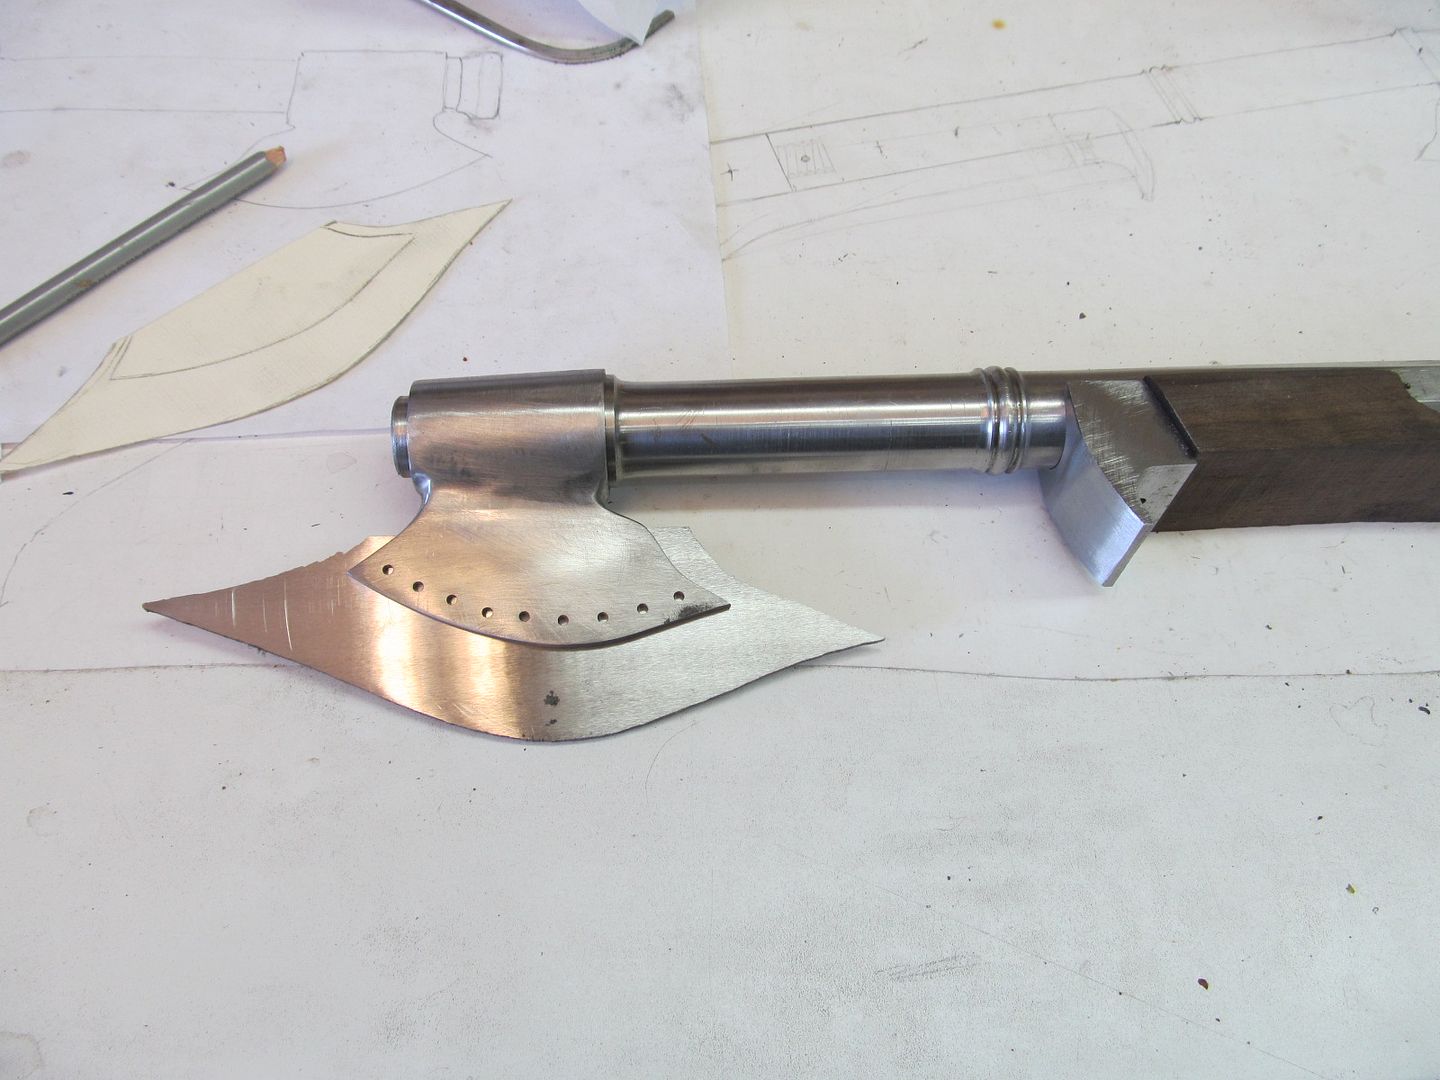
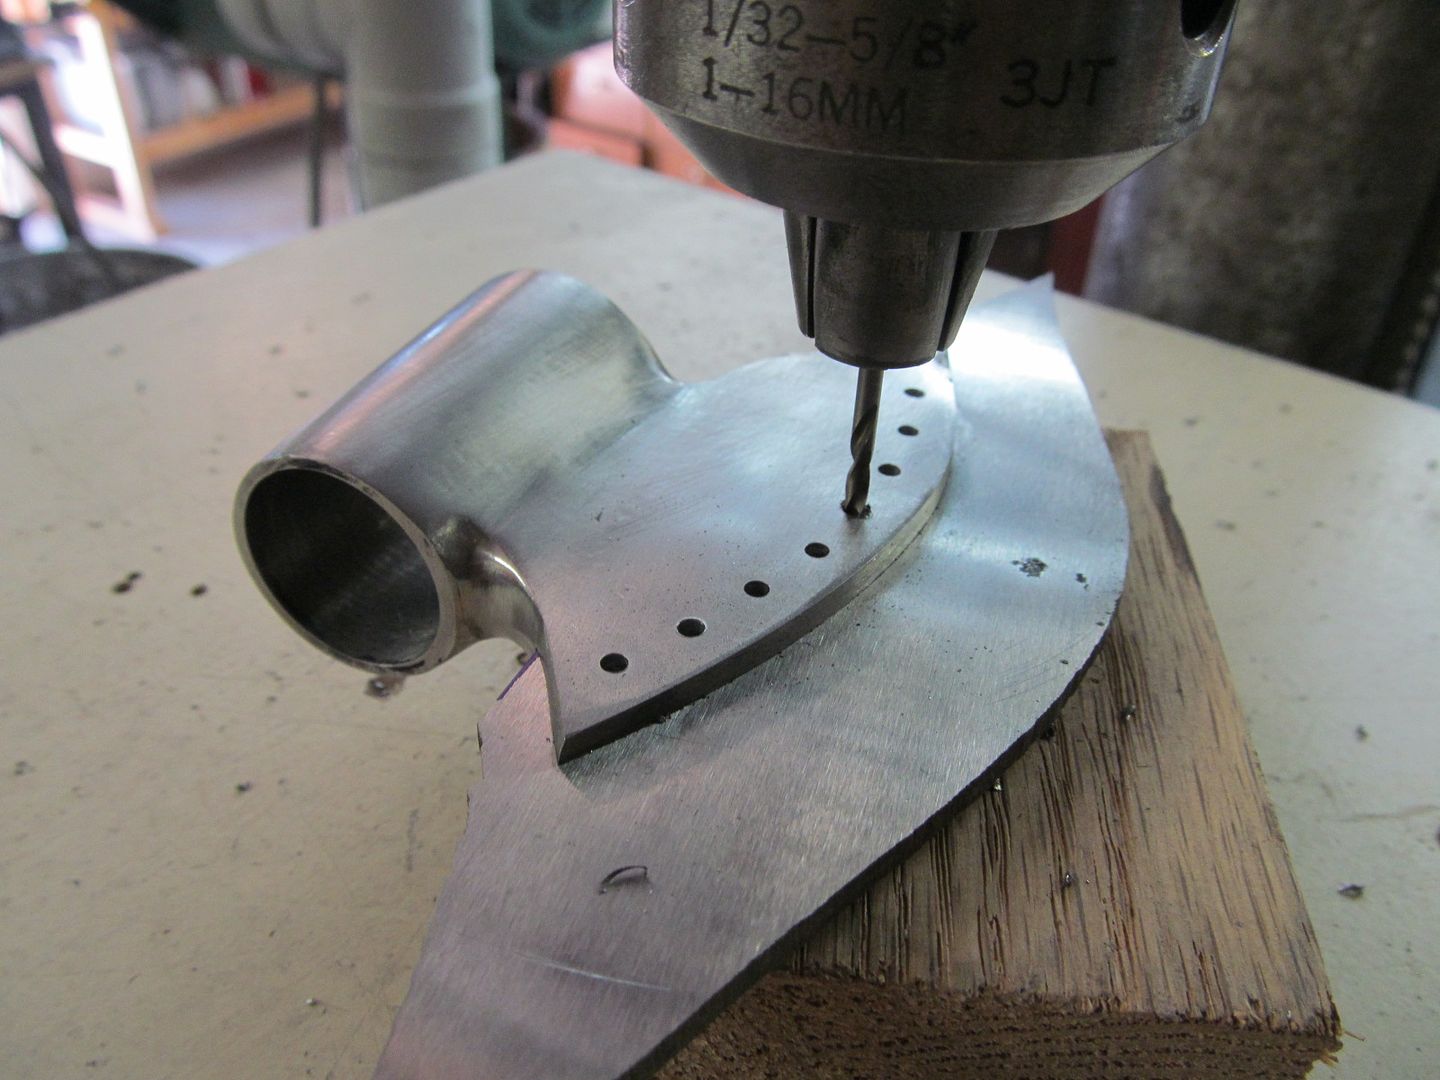
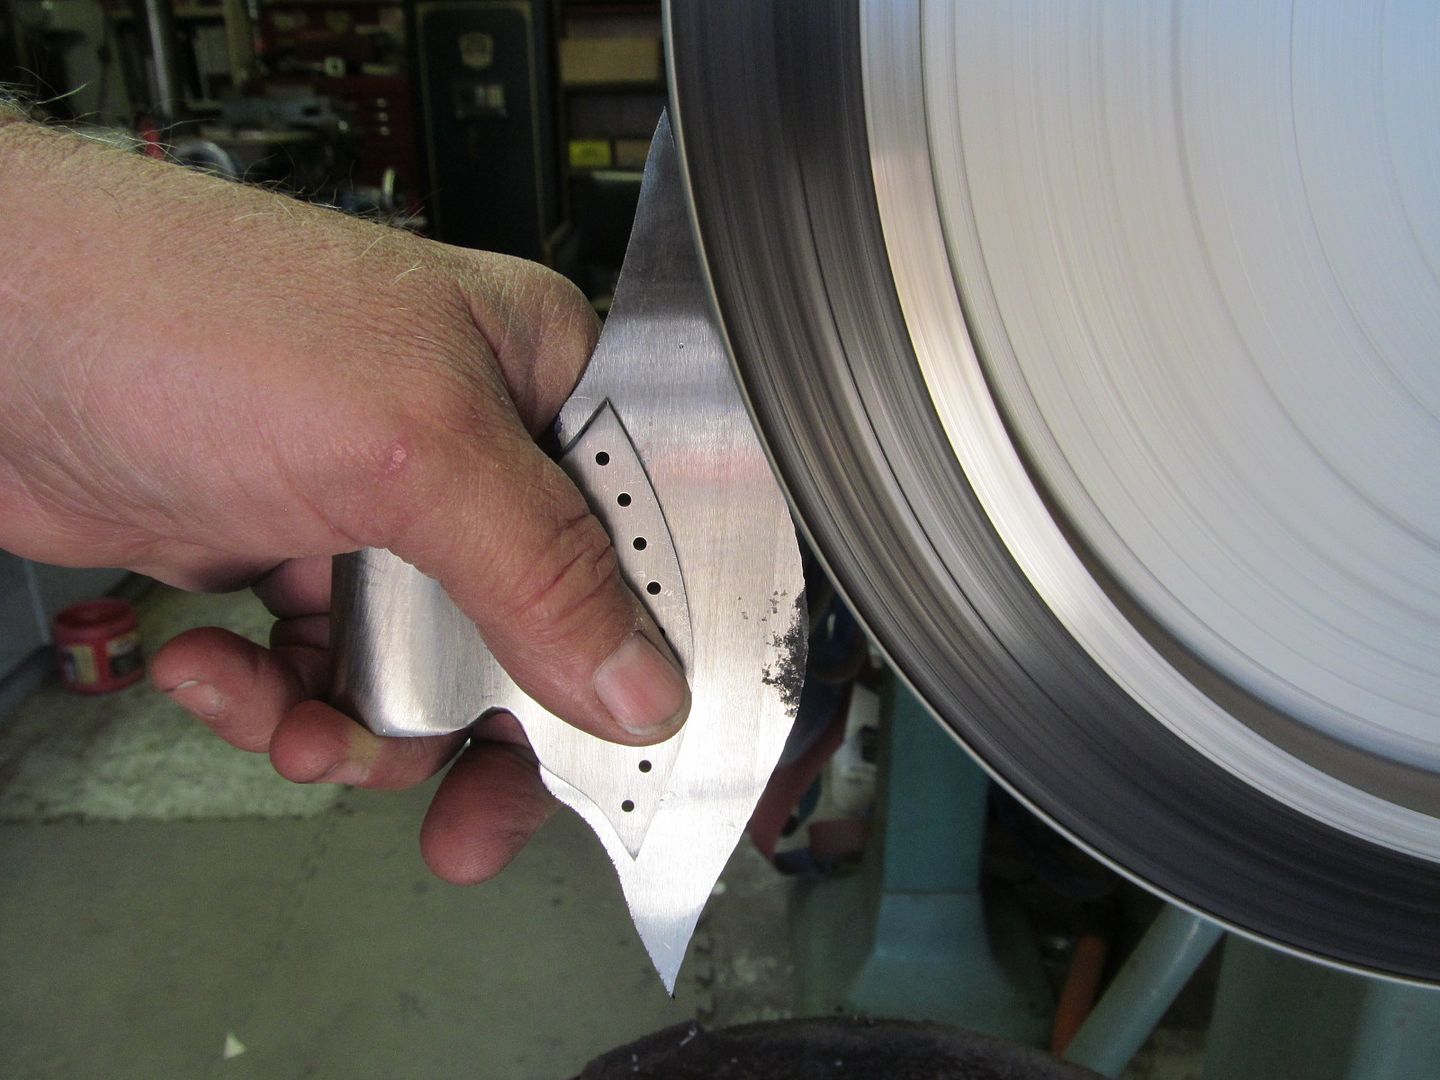
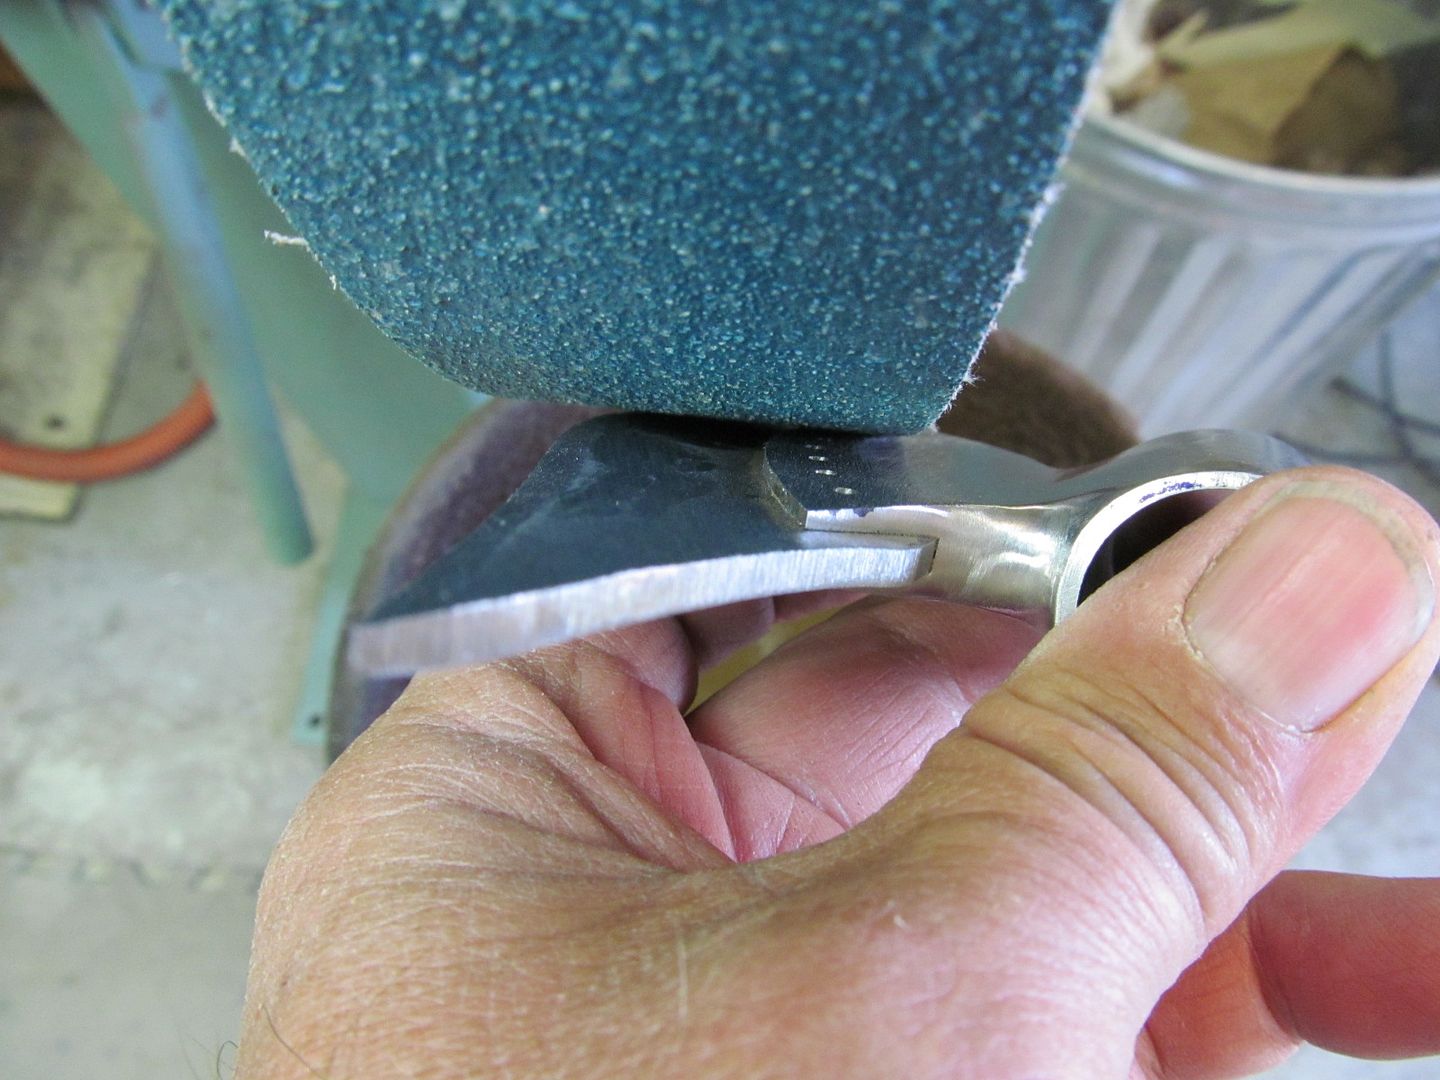
Both the box and axe are looking great.
")
Bruce,
What camera are you using?
second, I have an idea of how much time it takes to process and post all those pictures. Thank you for doing that. It's amazing to watch something like this unfold and the pictures you are taking document it very well.


Rex, Yep I said "too much bling" I wear blue jeans and a T shirtIs it me? Or did I really read Bruce Bump use the unheard words, ''Too Much Bling''? Really!?!?!?
It seems, a Bump creation without going all the way over the top just wouldn't be right!!!
I still sit here AMAZED!! Awesome work!!!
Rex
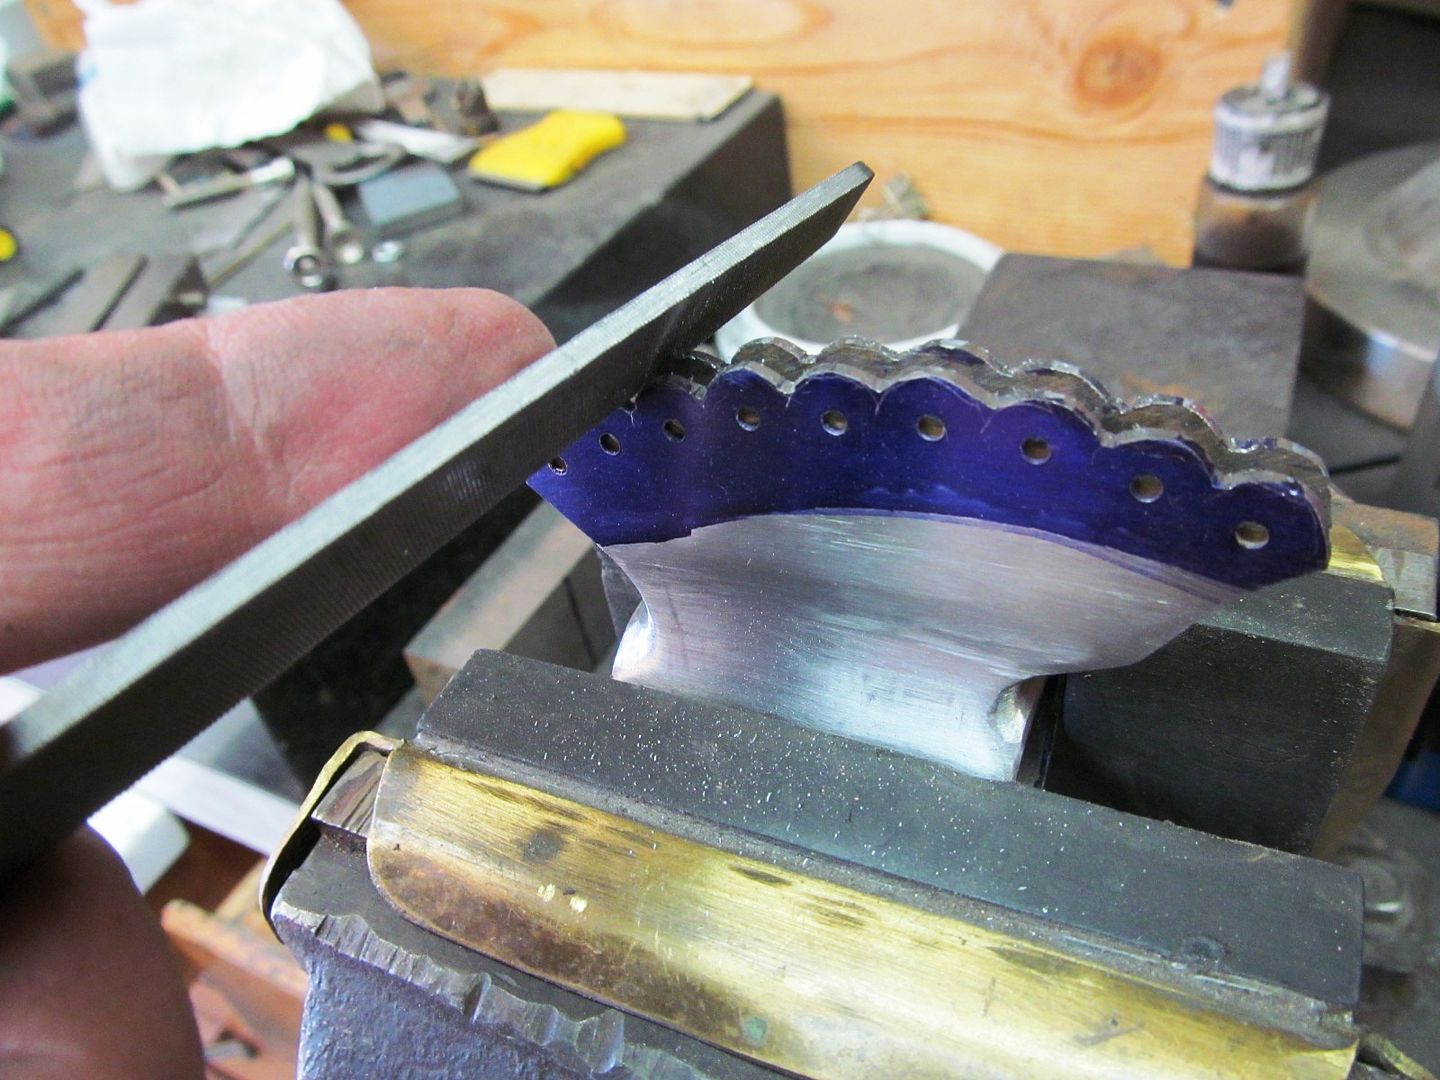
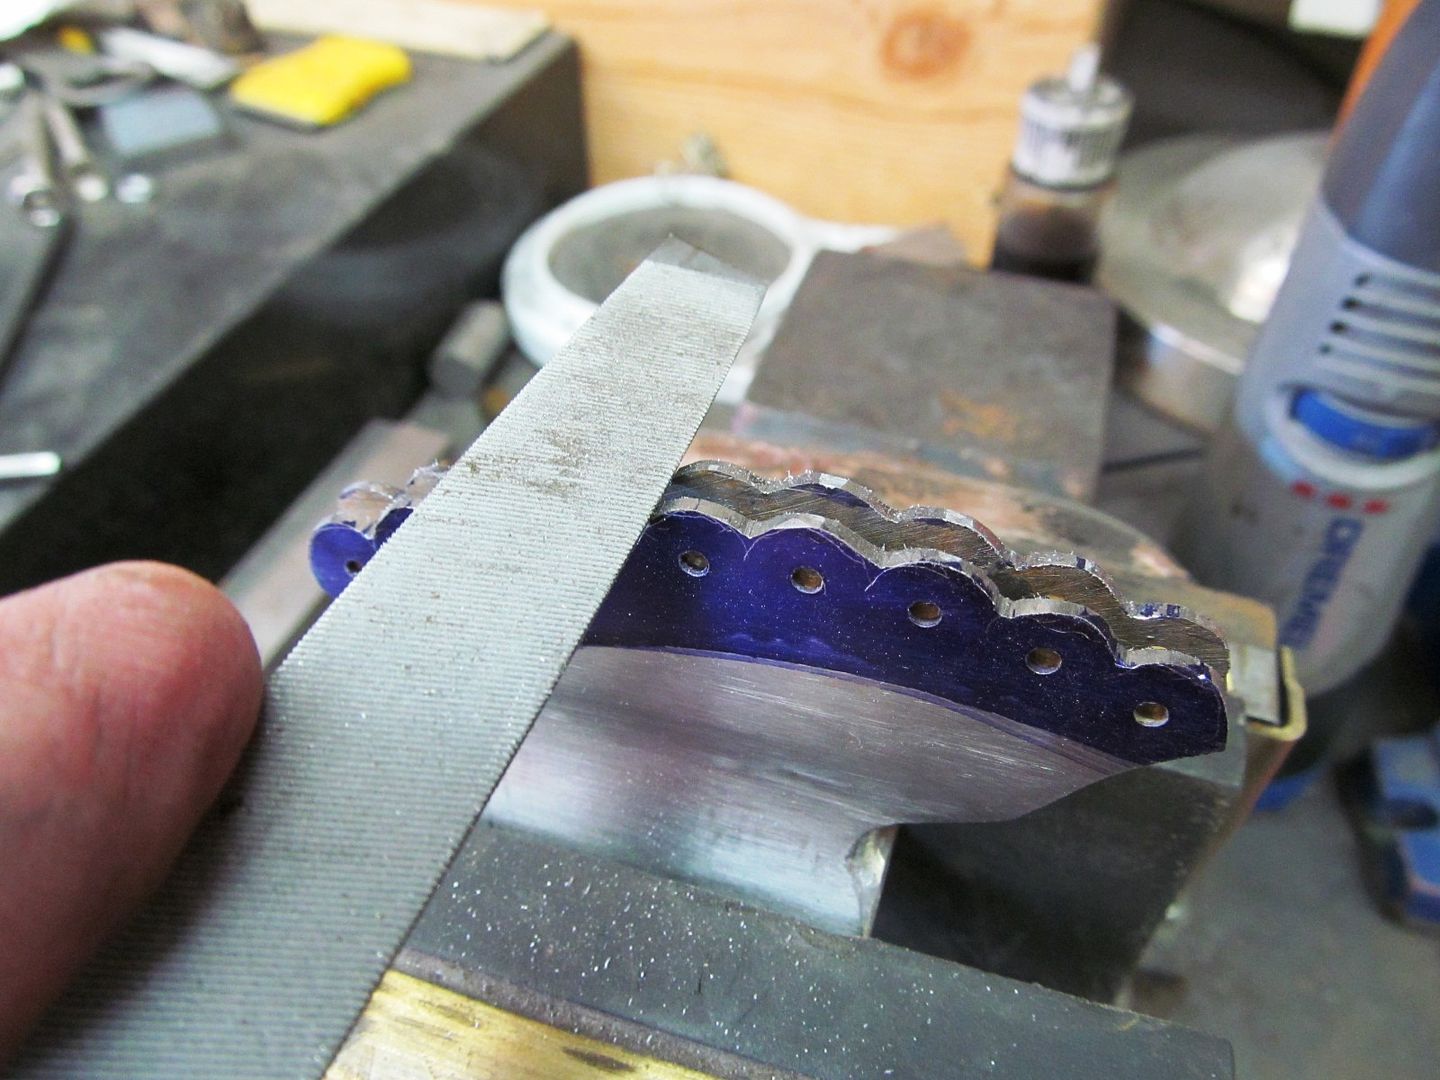
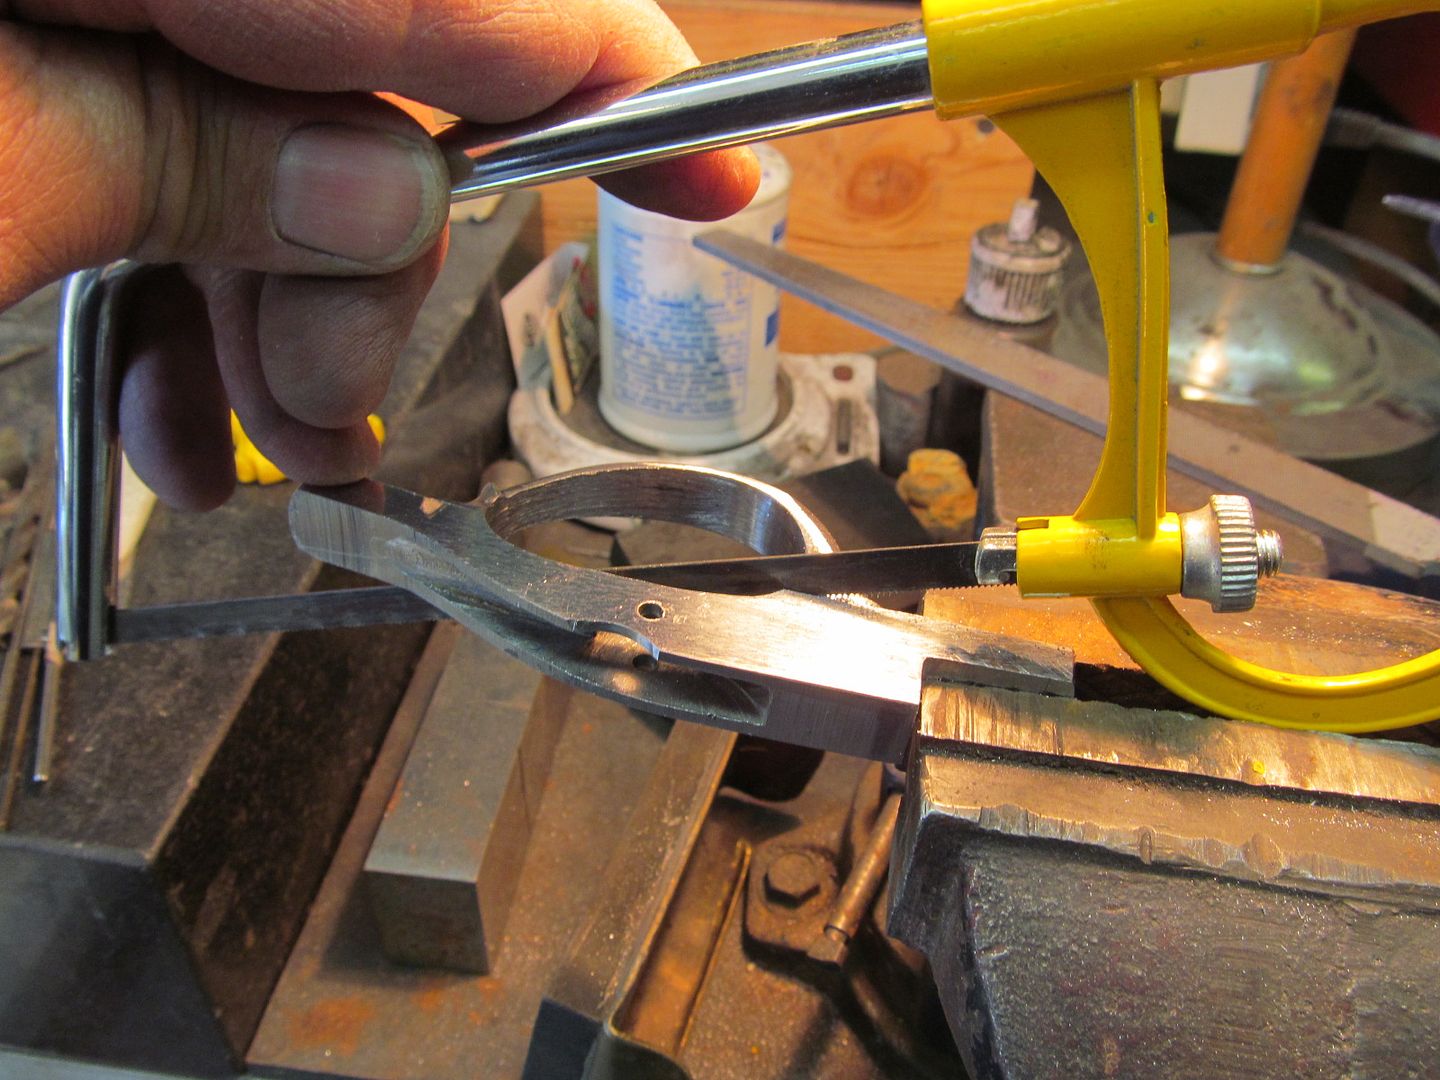
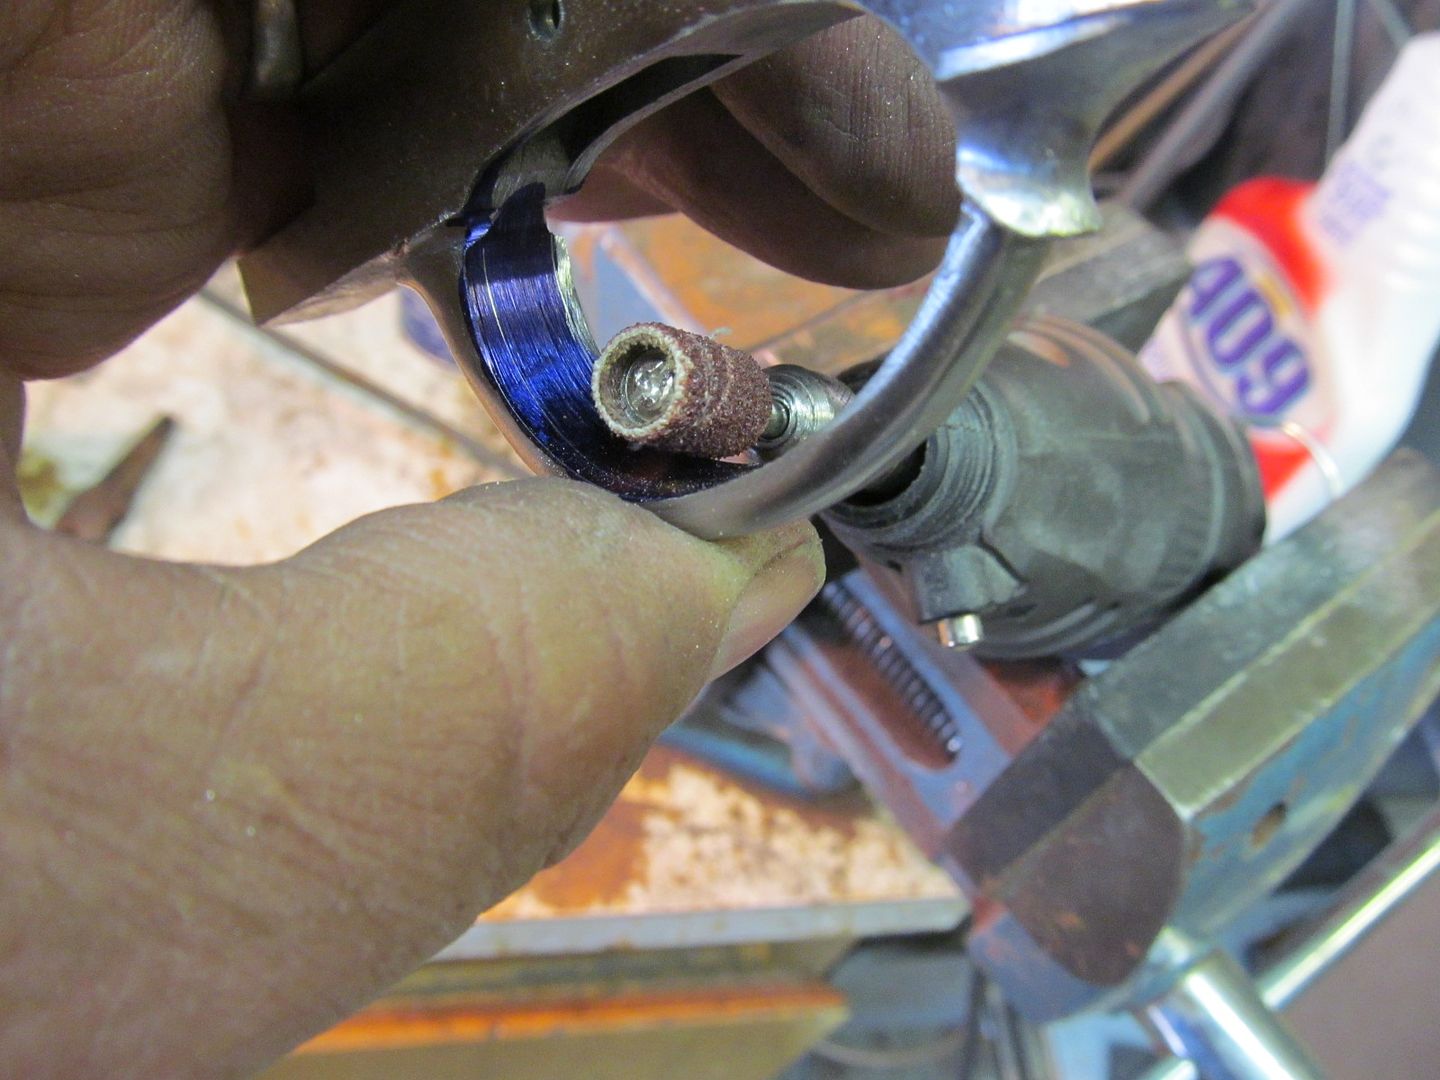
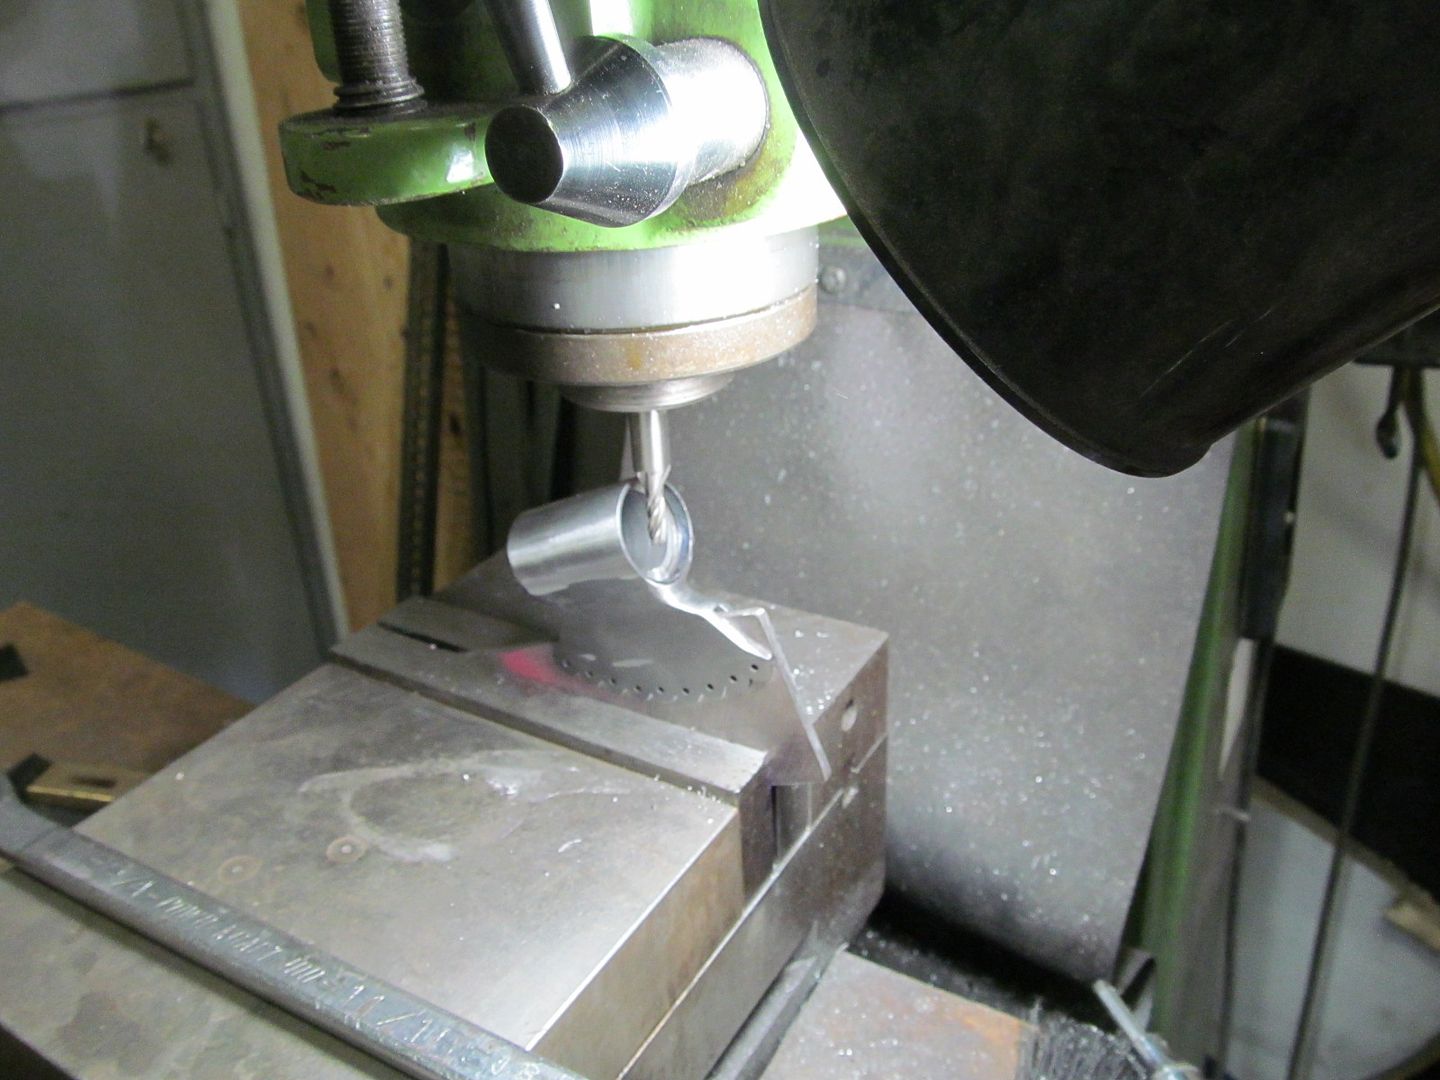
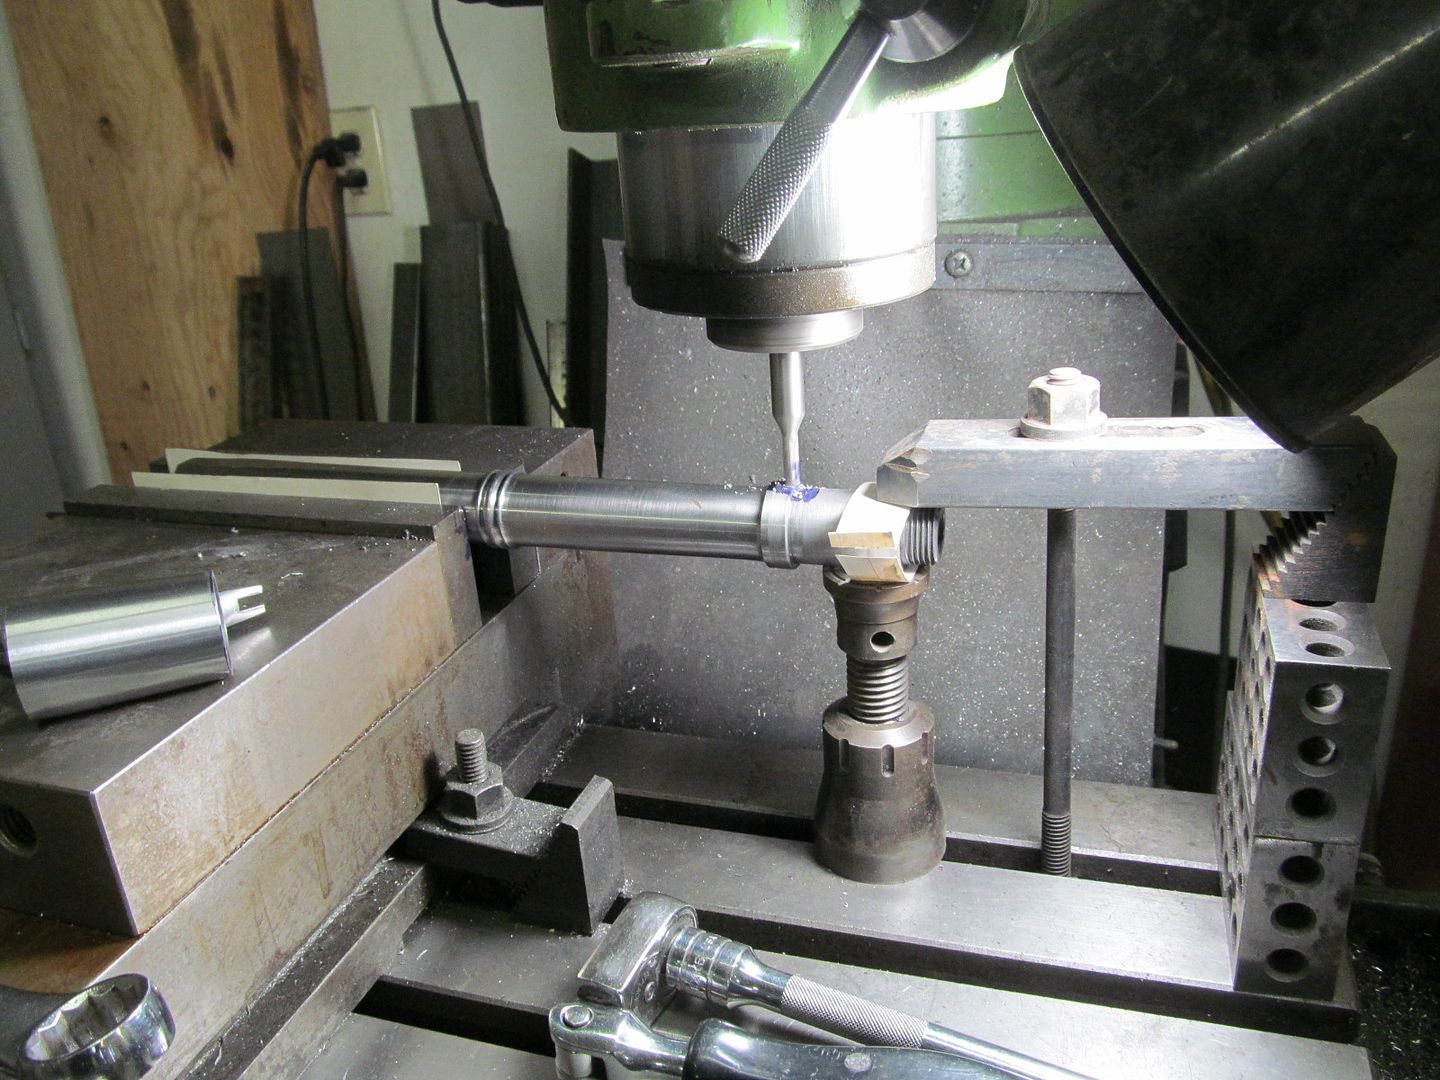
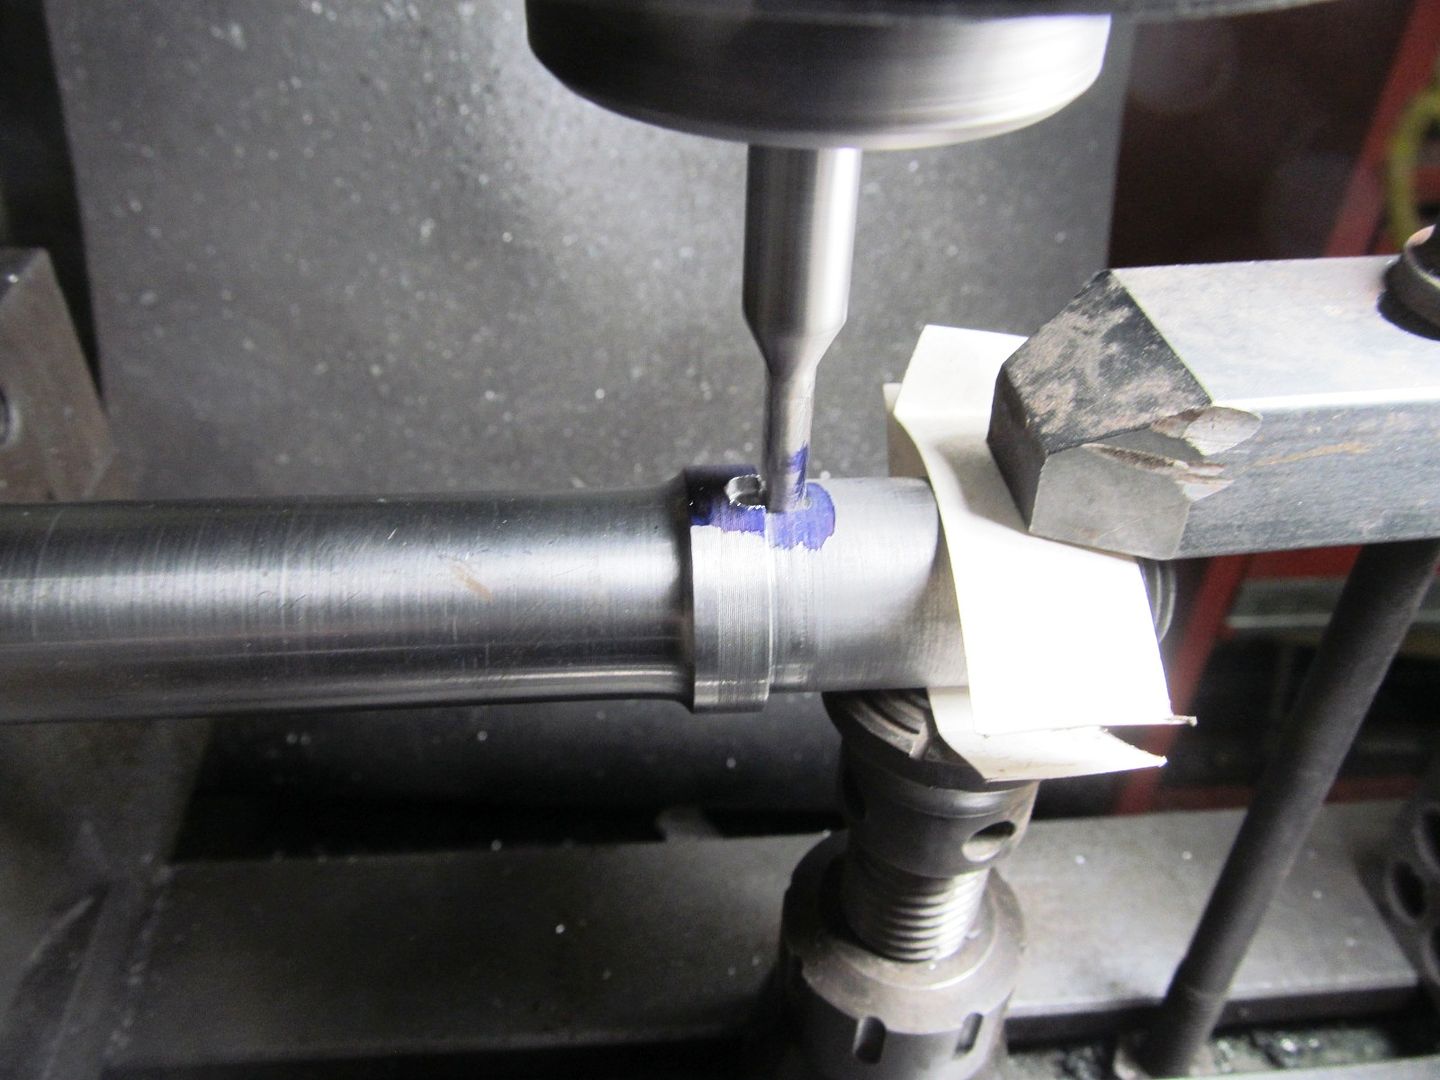
Awesome. Love to see someone else mount their dremel in a vise.

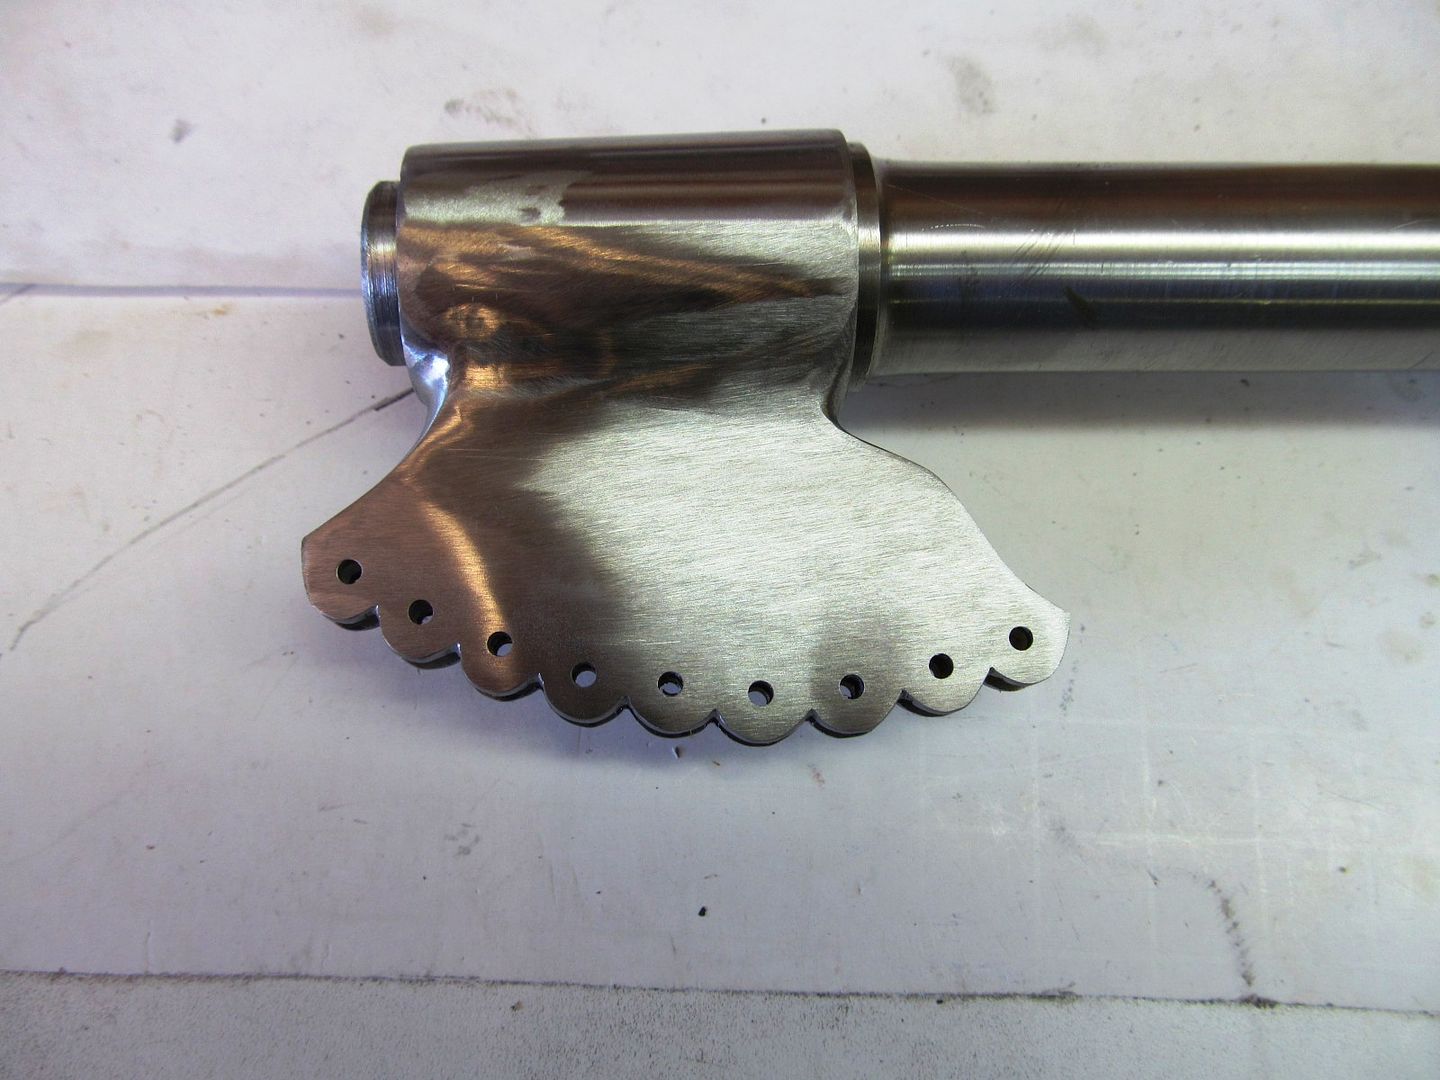
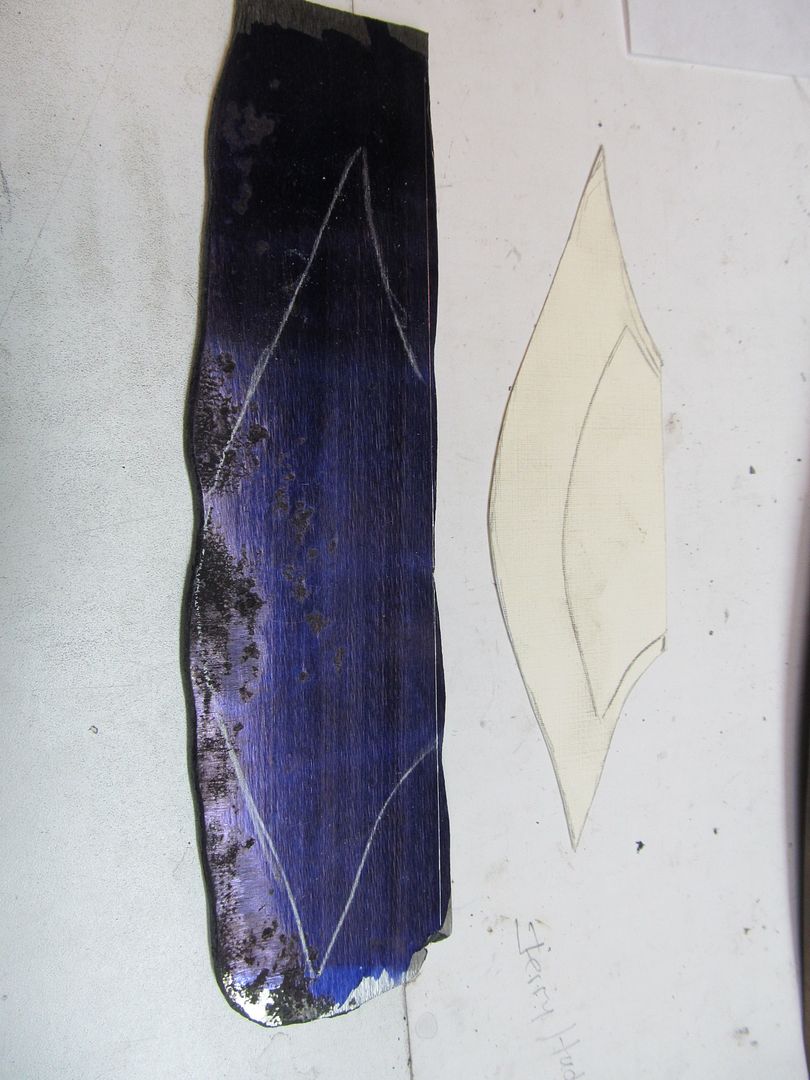
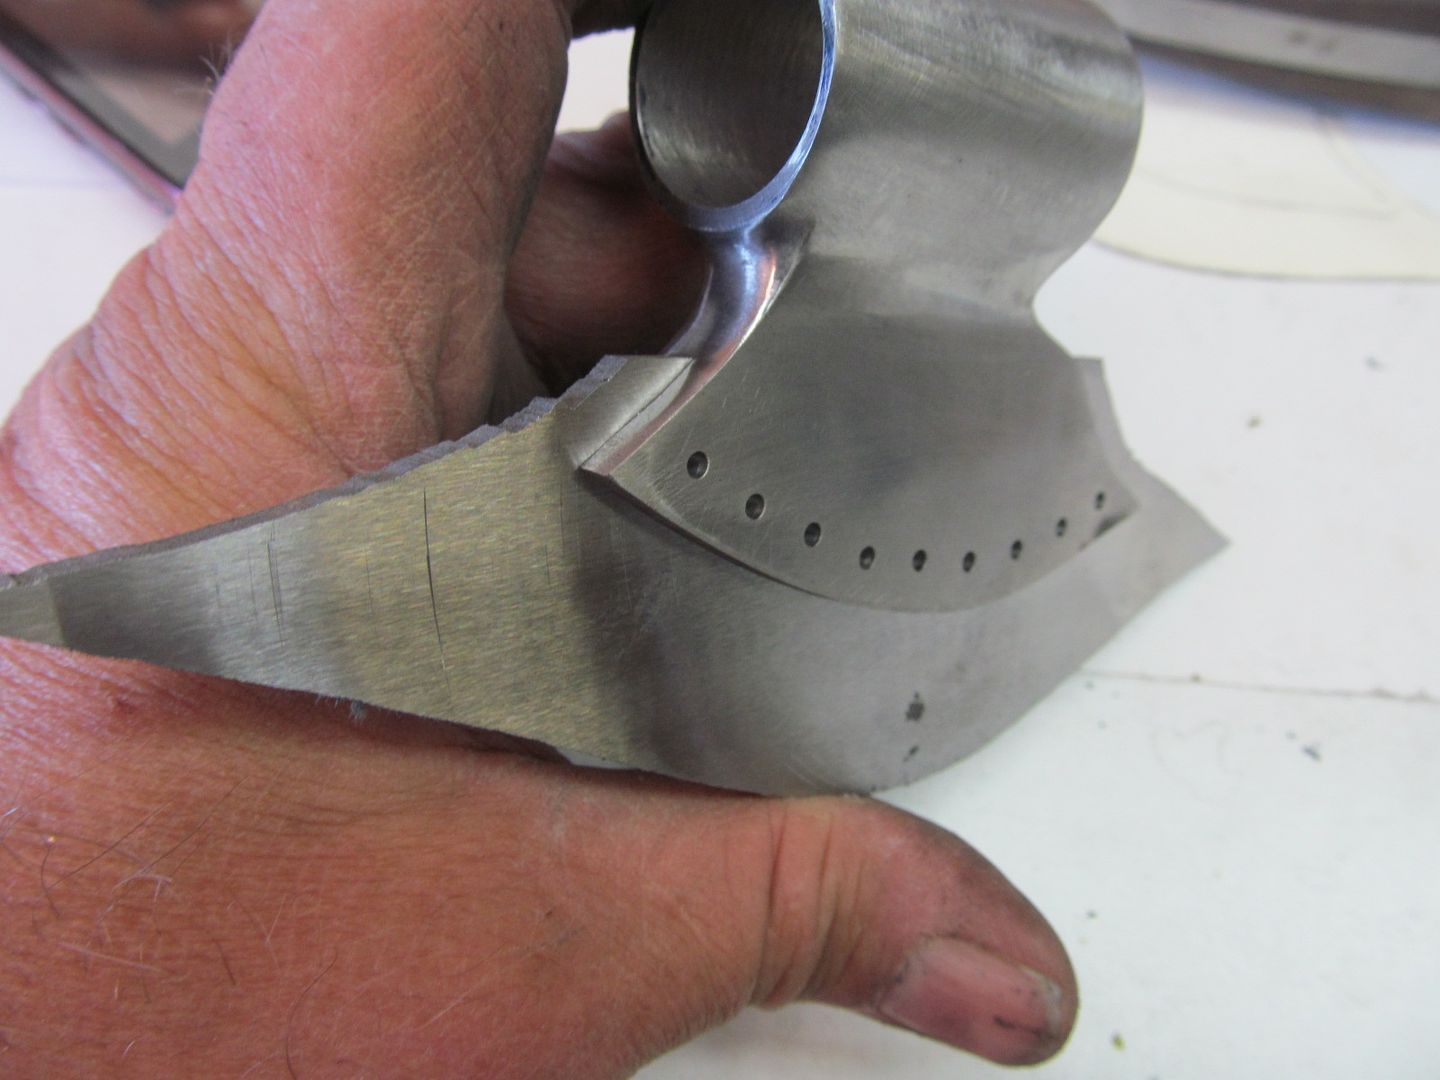
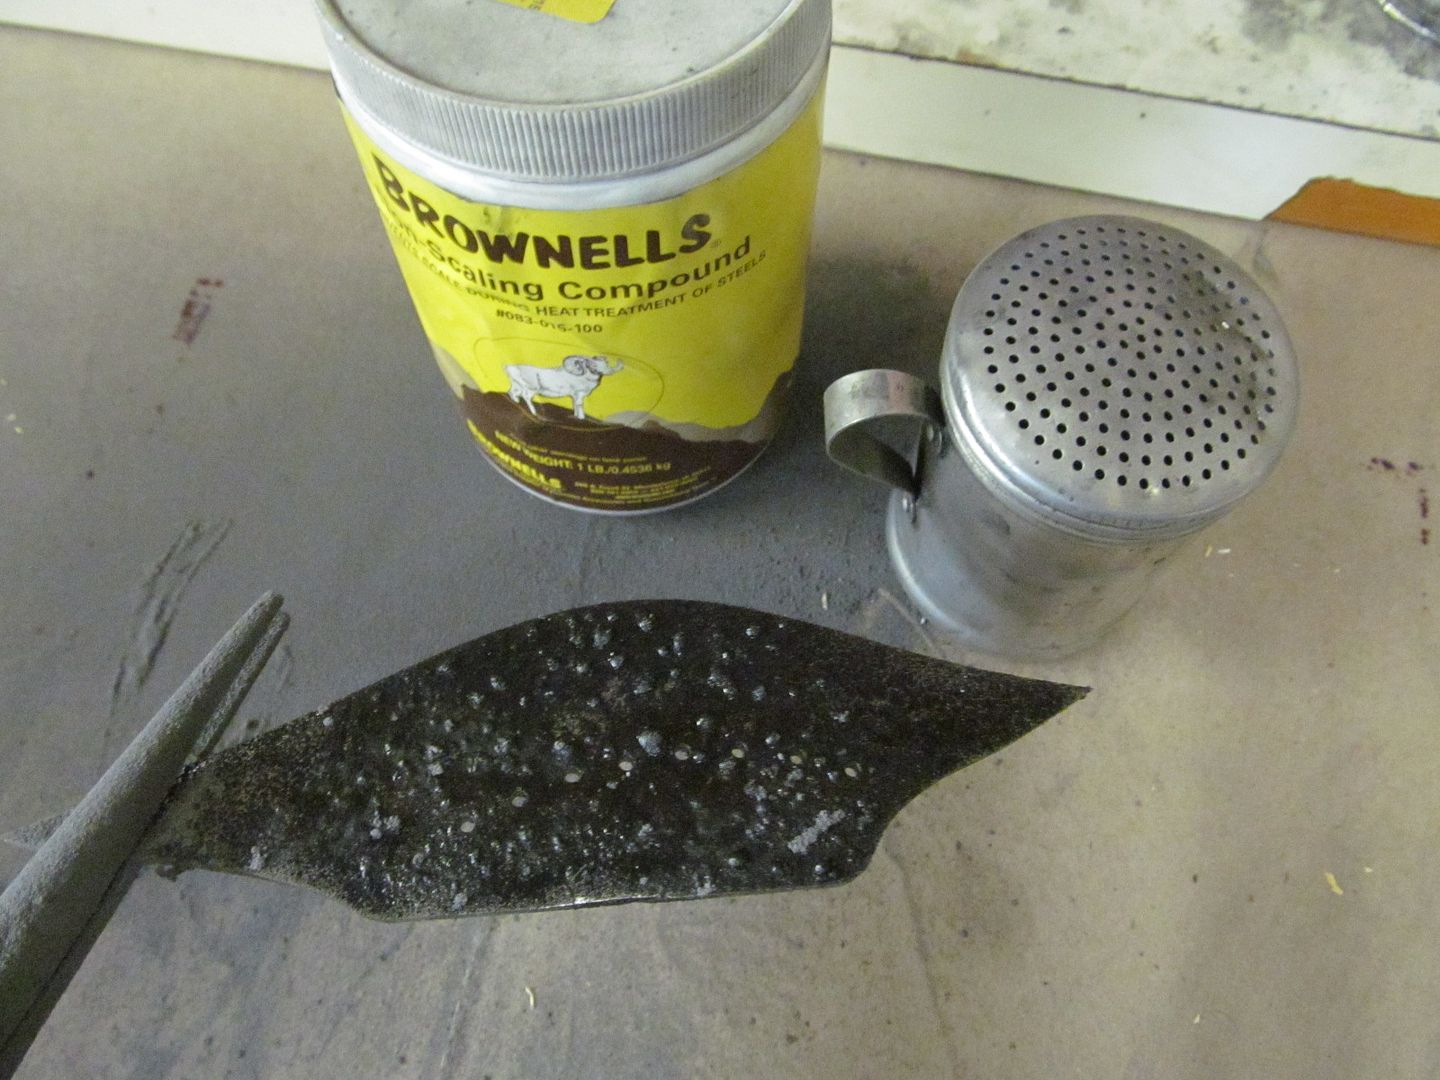
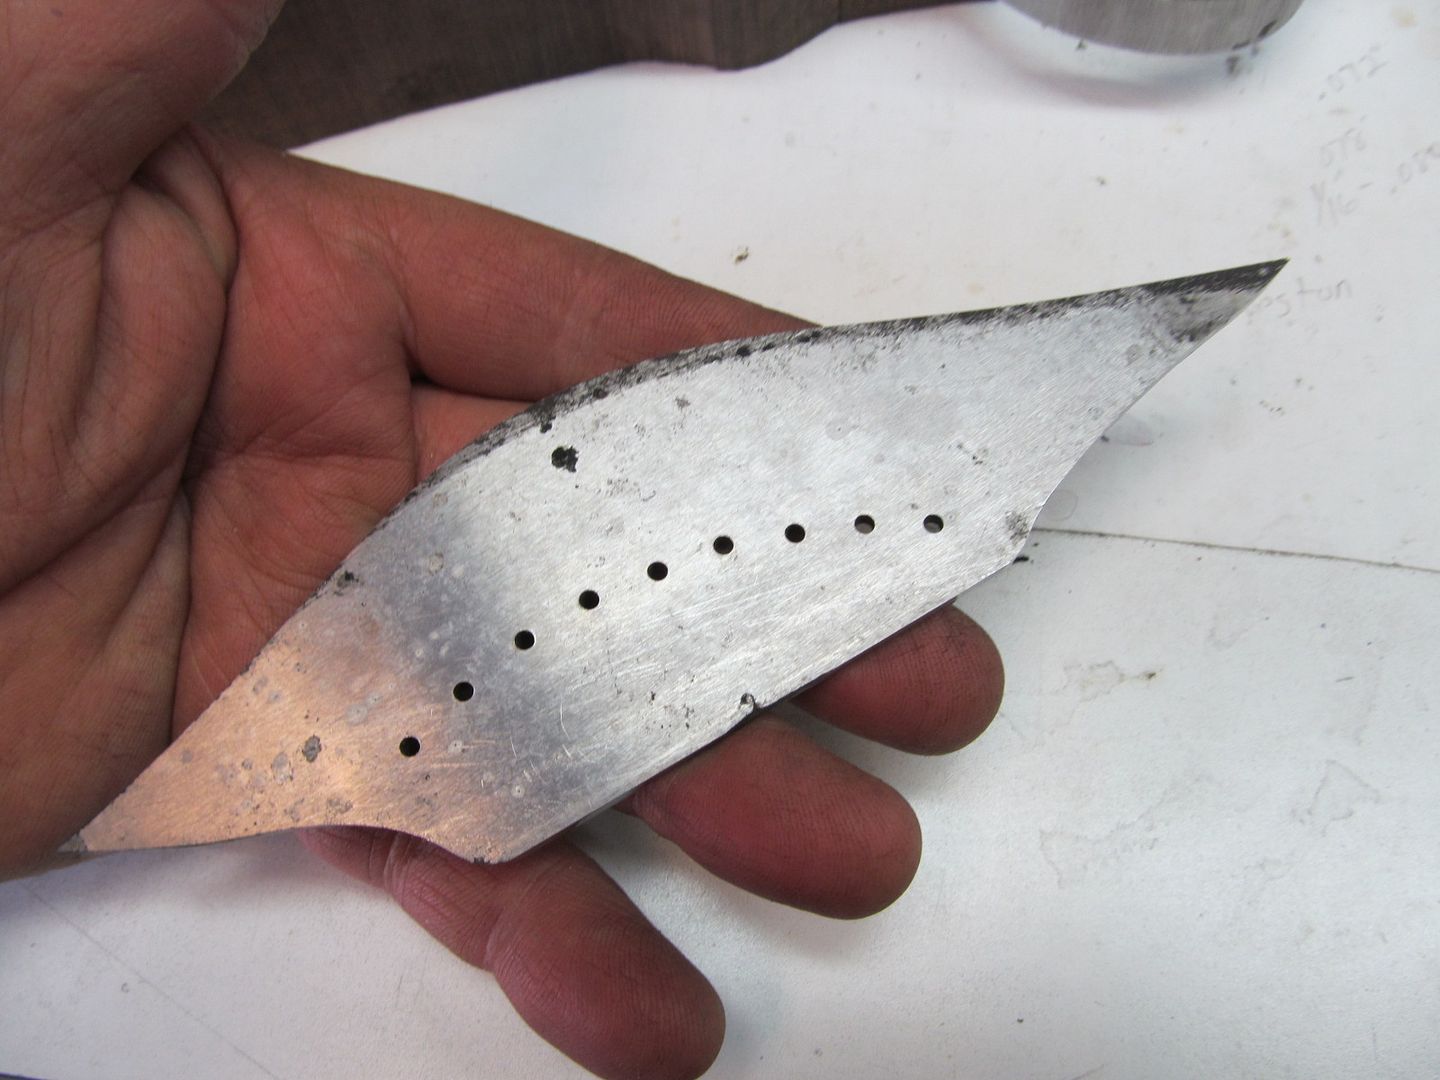
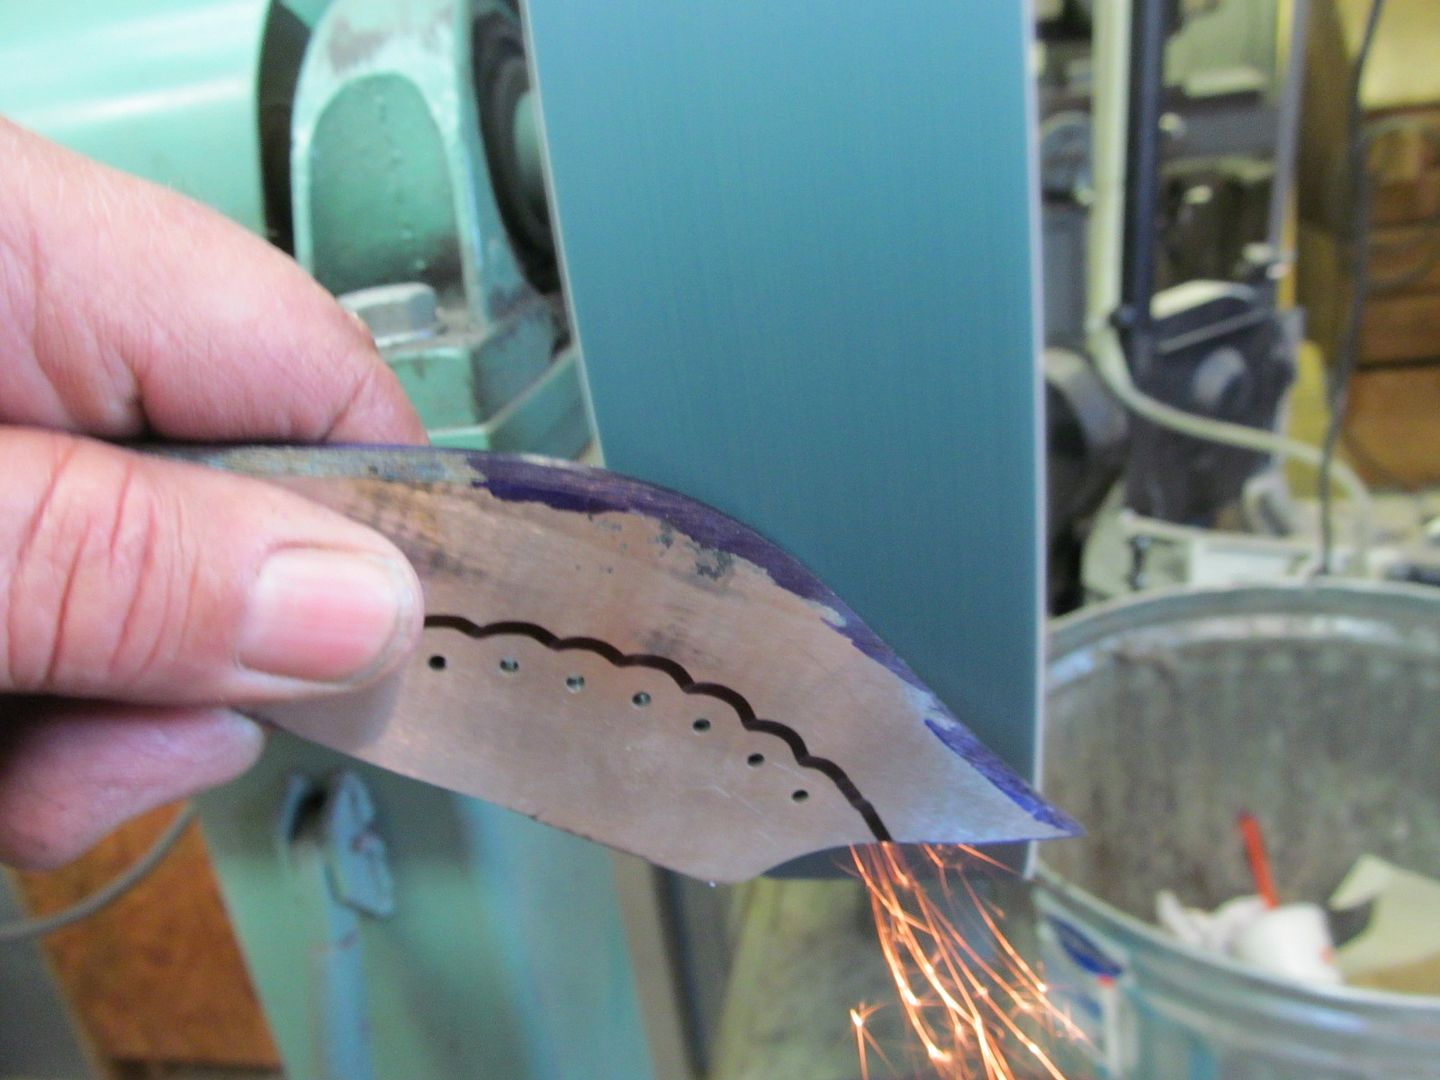
That is some pattren on the axe blade!