Simple sheath build along

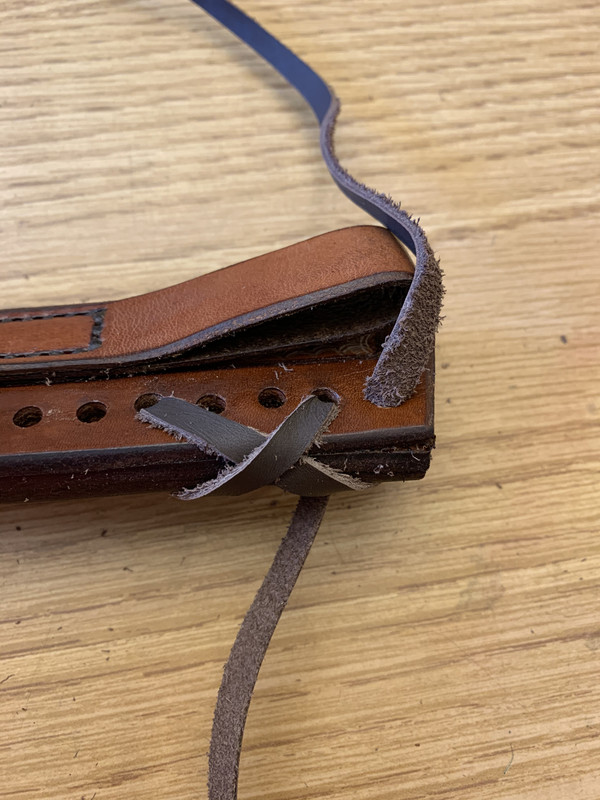
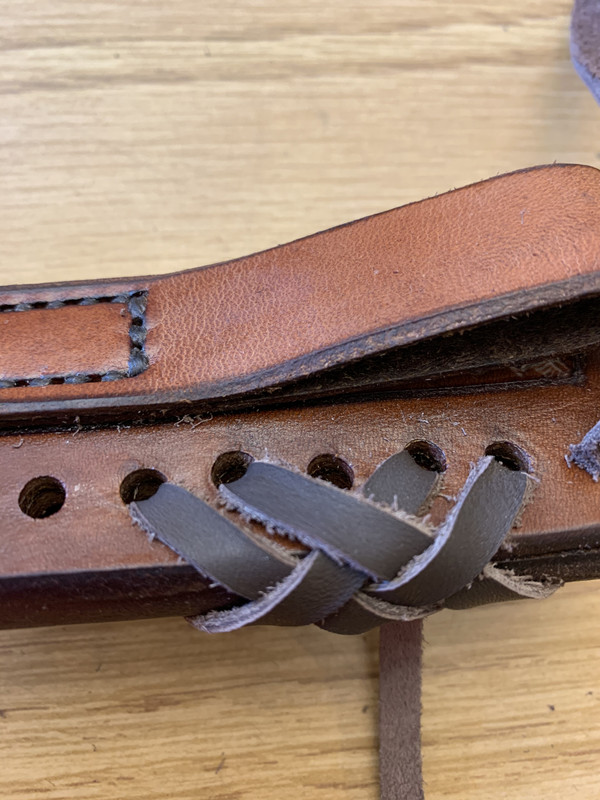
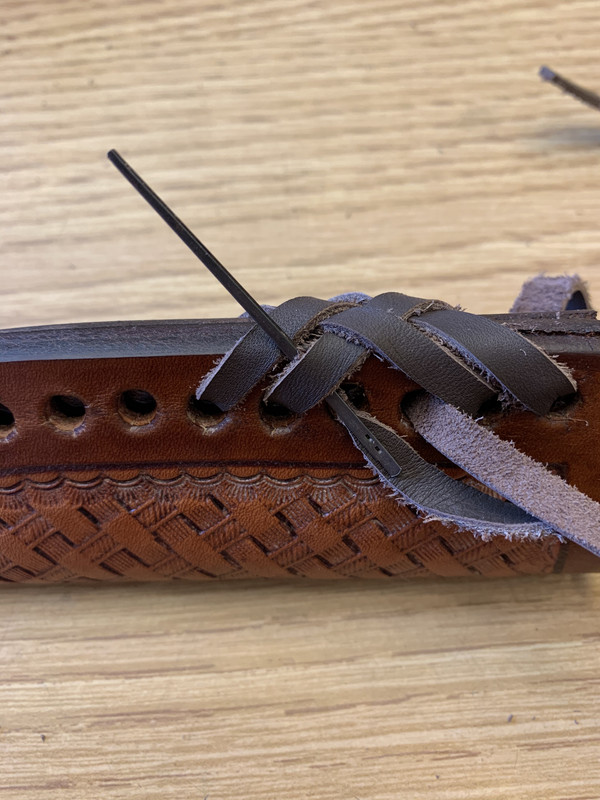
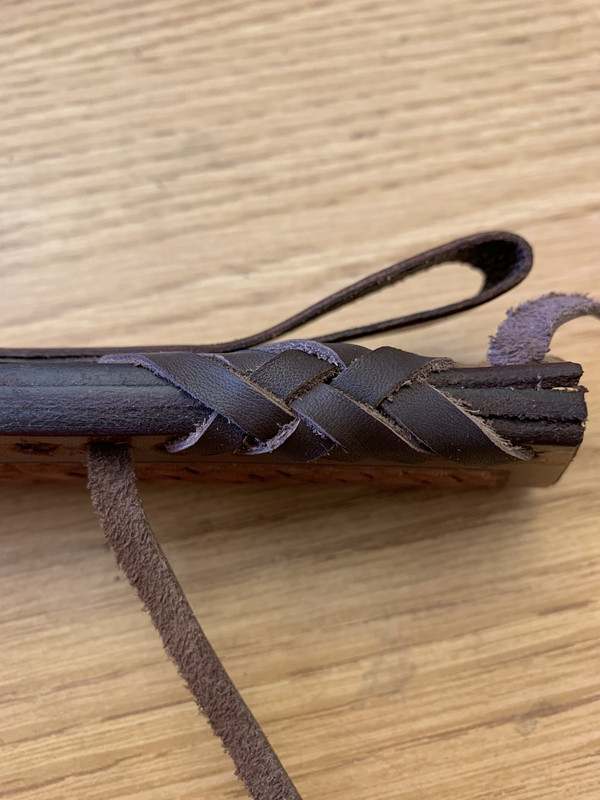
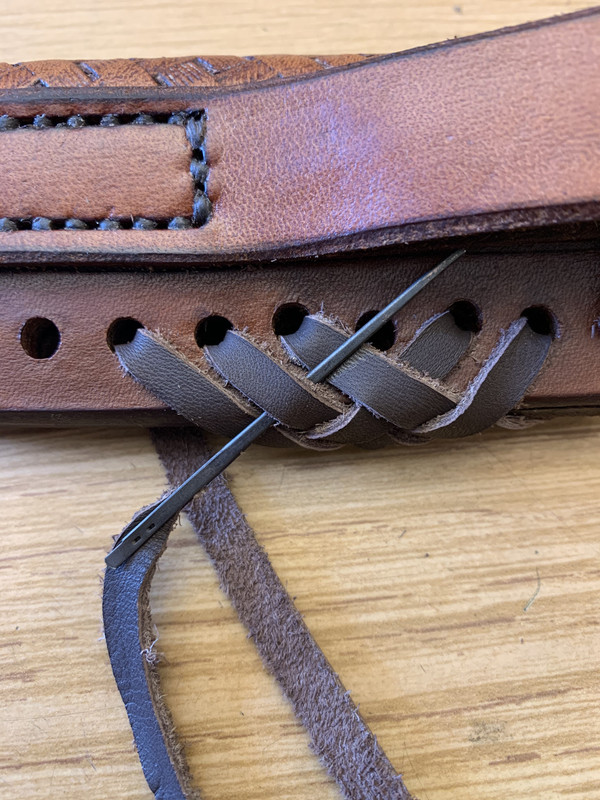
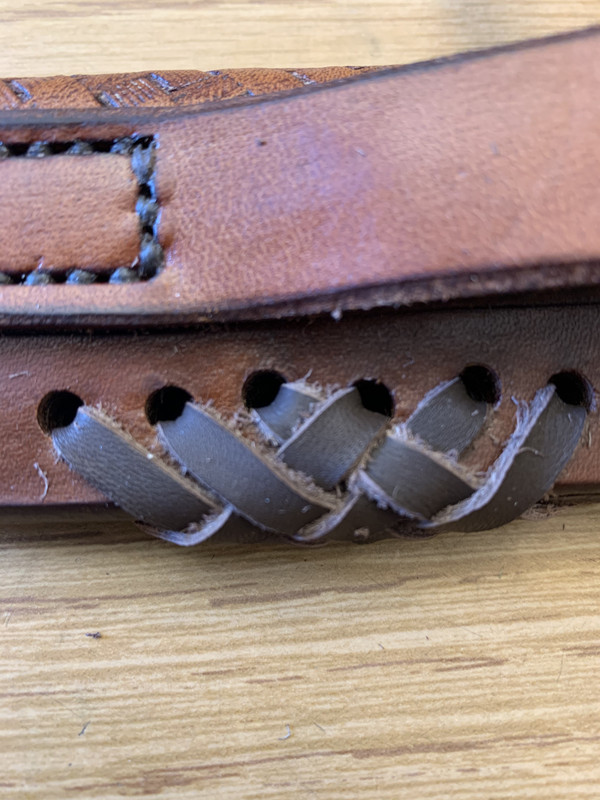
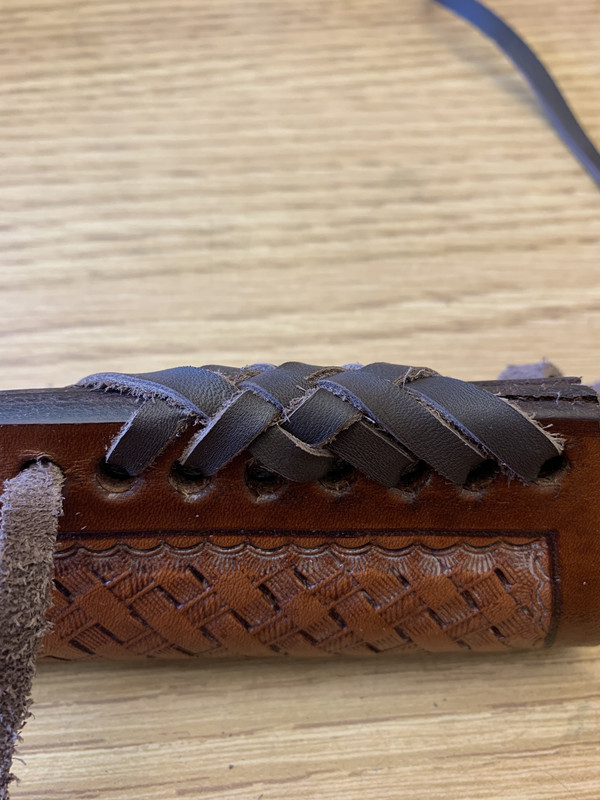
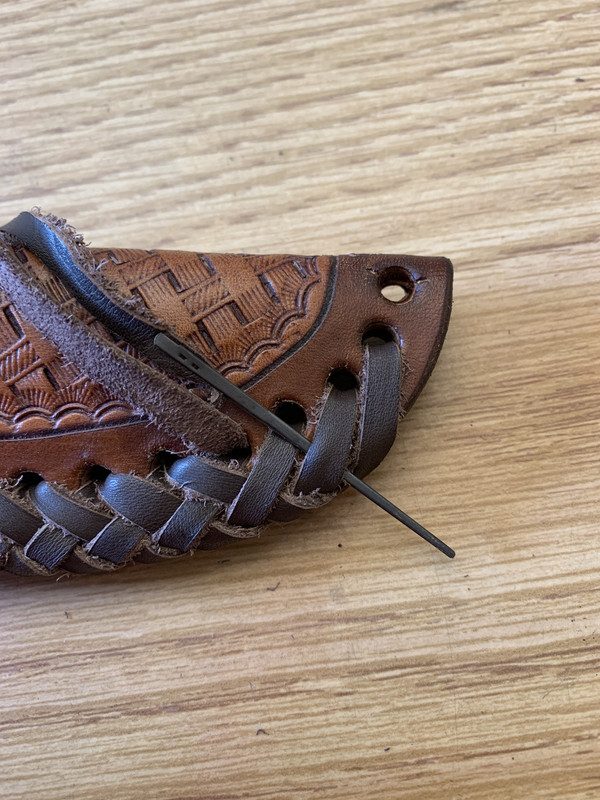
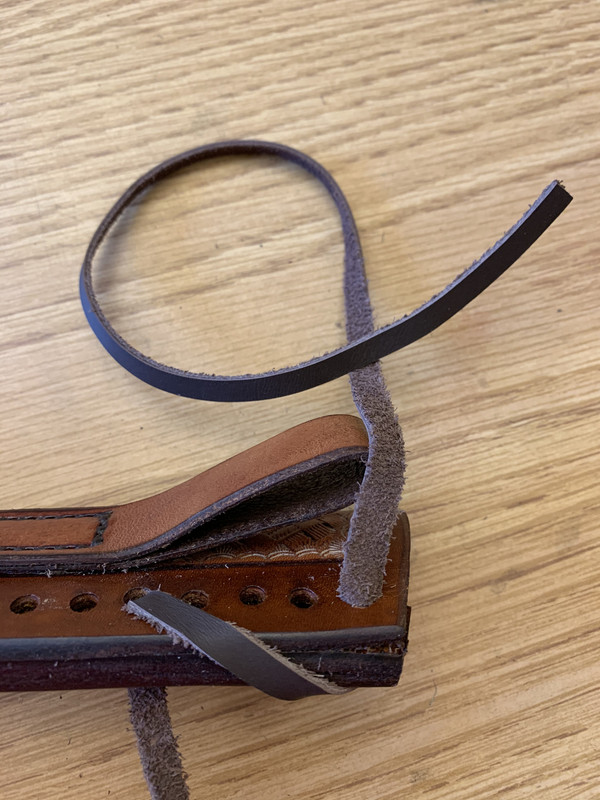
Roll the lace over the edge and put it in hole 5.
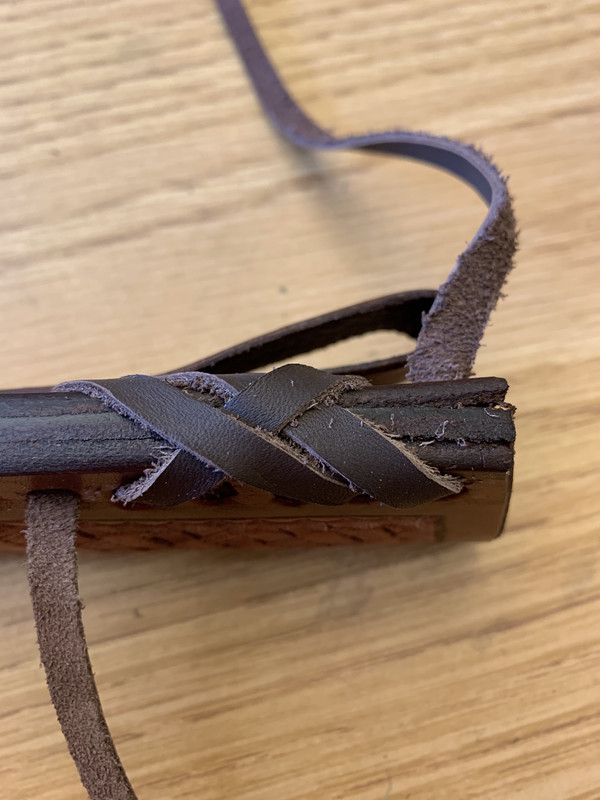
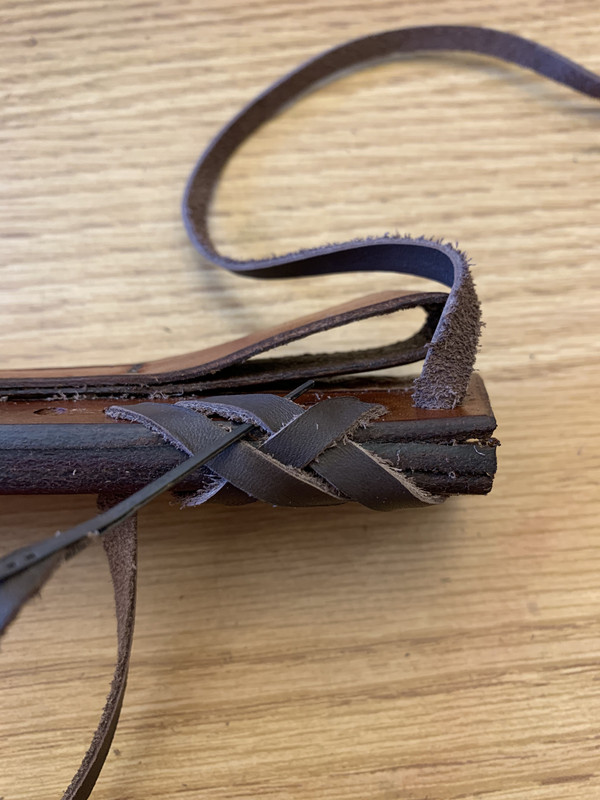
I like using hole 5 better than hole 4 or hole 6. It spaces the lace to my visual liking. You can choose another hole if you wish. Make sure the smooth side of the lace is up/visual. Pull tight. Not loose and not over tight.

AEB174-C4-D6-F6-451-A-9-FF9-943665-C12420.jpg
 
Up until now we have not worried about any braiding. If you look at the edge, braiding will now start. We cannot roll over the edge and go into hole 3. We must now braid.

7-B06-E18-B-0-C9-D-46-DB-A6-A0-2-BA4-B42-A433-F.jpg
 
The last two pictures were going from the bottom of the sheath towards the top of the sheath. Now we are going top to bottom. We inverse the braid. Under-over. Go under the first lace and over the second lace. Go through hole 7. It is easy to remember the pattern. Just do the opposite of the previous braid. If the next lace went over, then go under. If the next lace went under, then go over.

6-B002-F74-07-D5-4-C10-92-A4-BFC24655-CBBF.jpg
 
That may not have been very clear. Look at the last picture. I went under because the braid right before had gone over. The braid just above the needle. Make sense??
 
We are again going from bottom of sheath towards the top. We have filled the pattern up. We now go over-under-over. Then into hole 4. Pull through and tight.

FC210-D82-A6-DC-4360-864-B-D3-CA786-B08-F0.jpg
 
Do your best to keep the pull tightness consistent. It will make the braid look uniform. With your fingers or using a fid keep the braid lined up and uniform as you keep adding length.

I am not going to continue taking pictures as I finish the braid. Just remember the pattern and go into the next available hole going down and then reversing going up.
 
That looks good - I'm not familiar with that type. I've used double loop lacing before, but not this. I think I like this better for a knife sheath because it lays closer to the sheath?

Thank you again Dennis - I'll be marking this to use for my next sheath.
 
Back
Top