G
Gabe Newell
Guest
One of the best parts of my day is checking in on this thread.
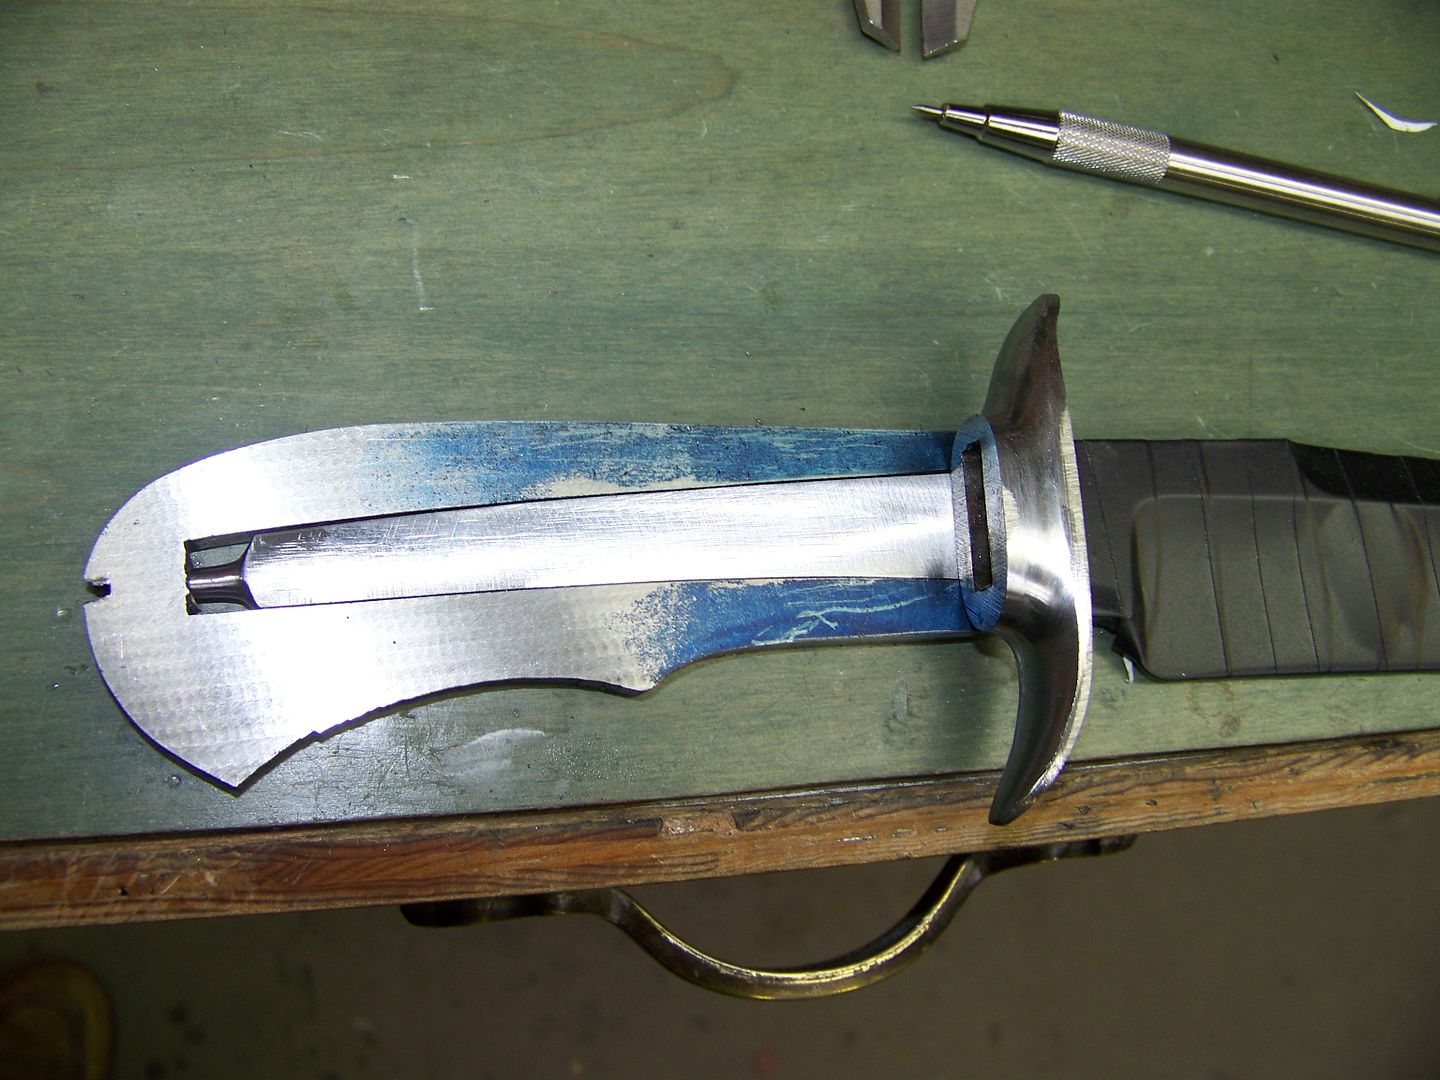
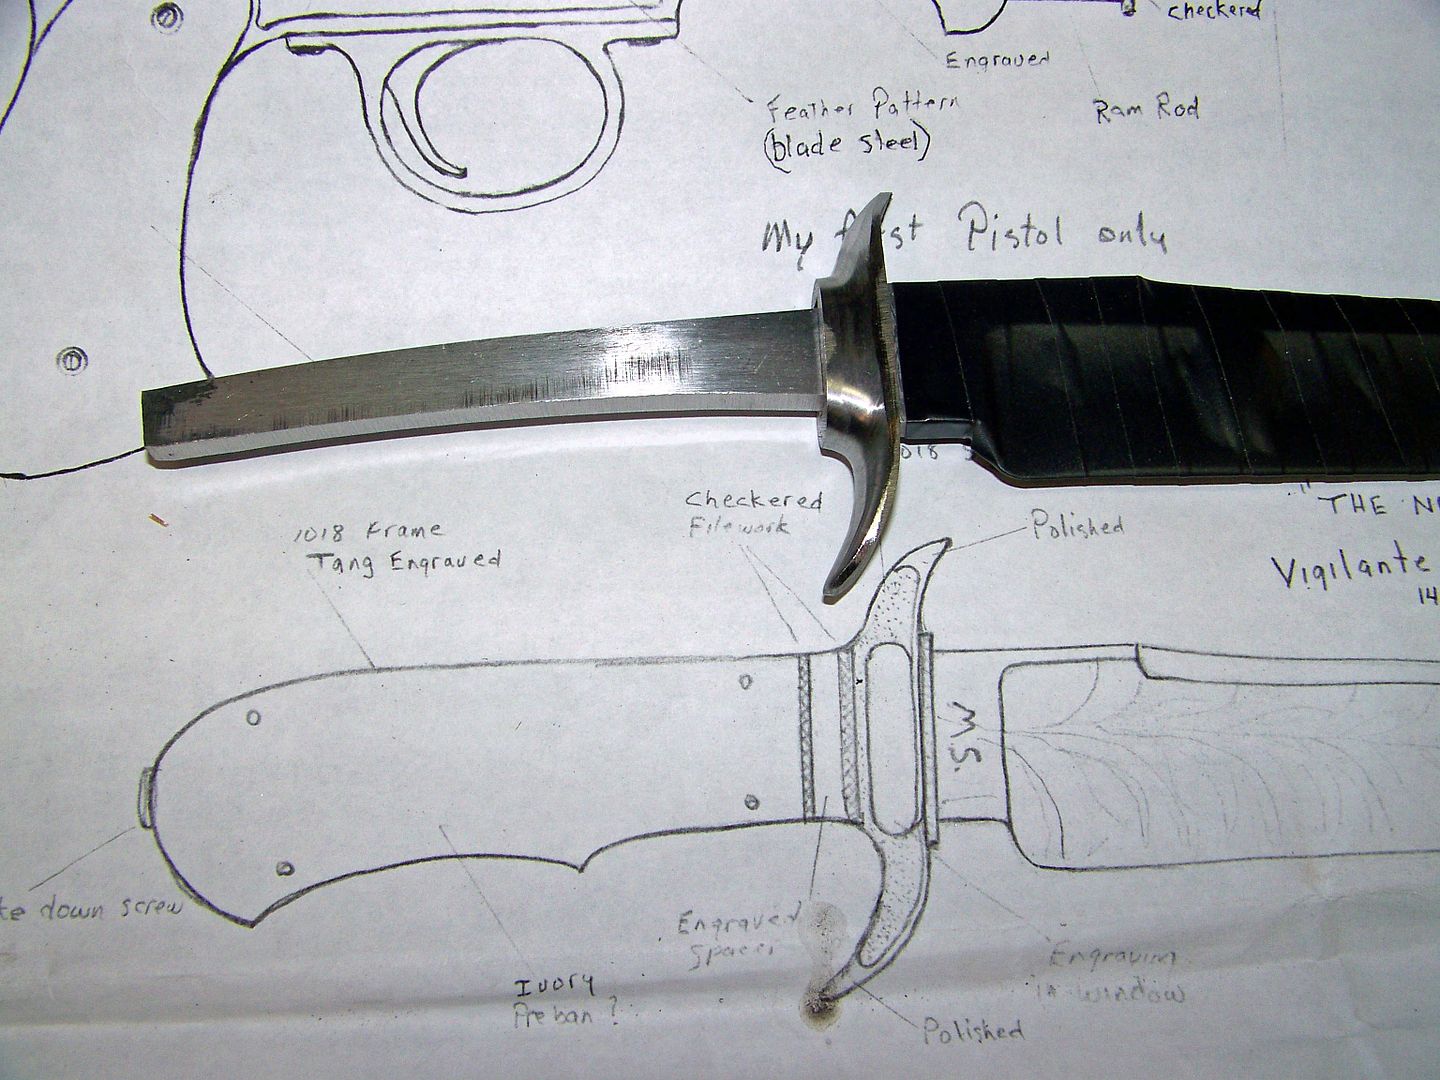
Thats really looking sweet. I'm guessing inlay? Is it gonna be the same material as the grips?
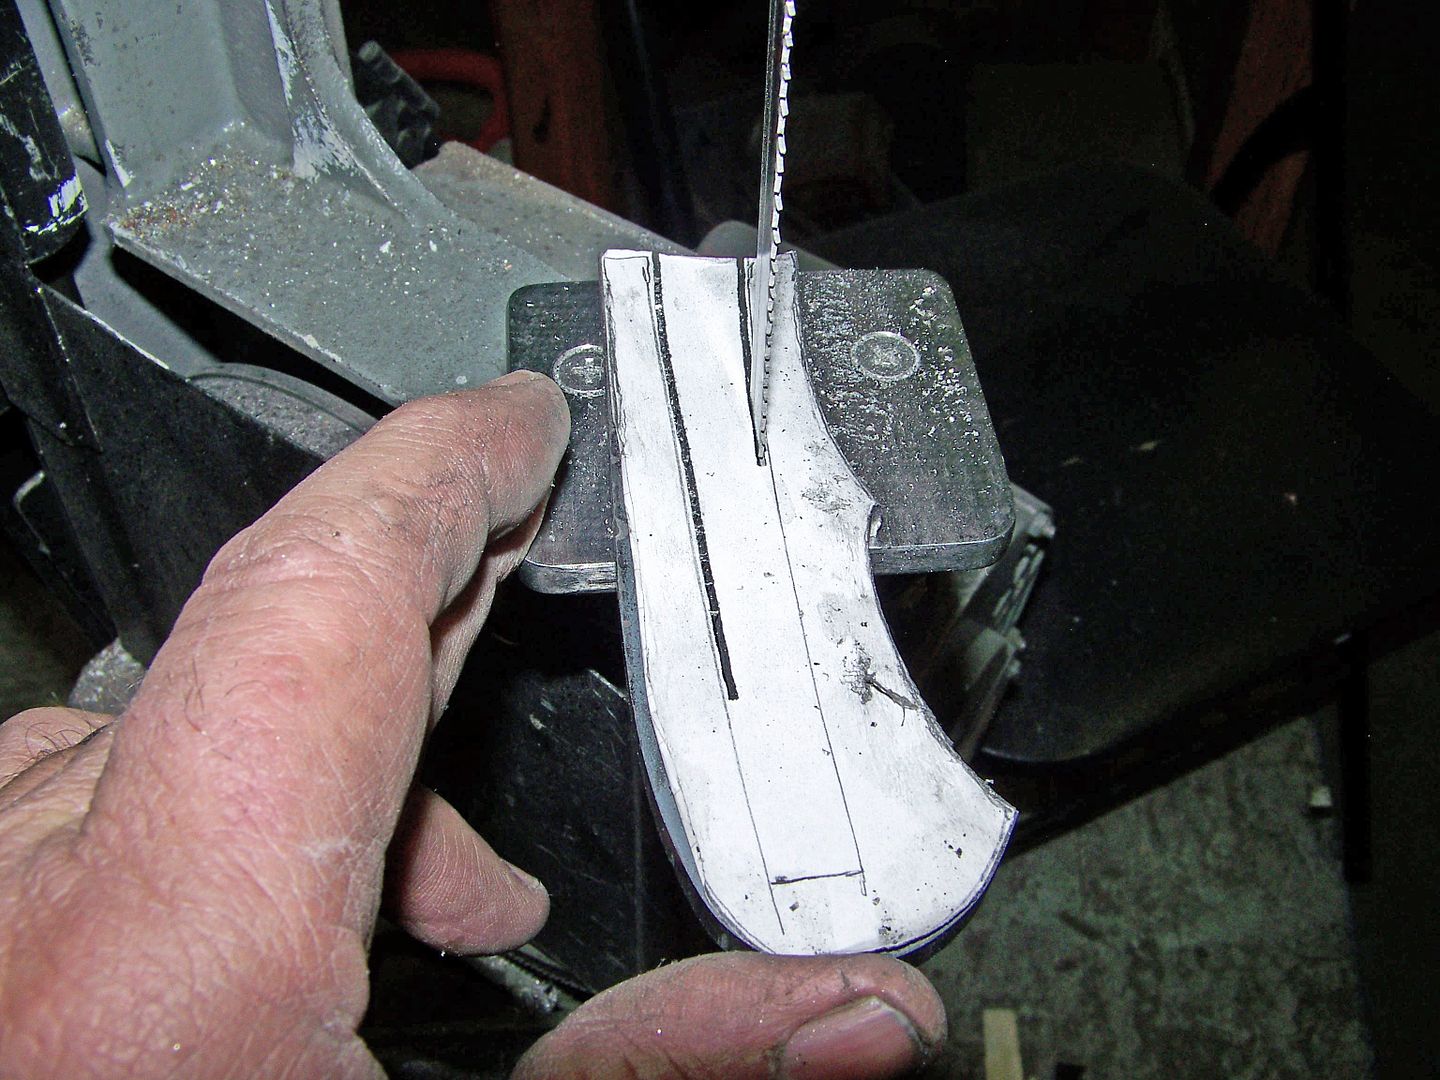
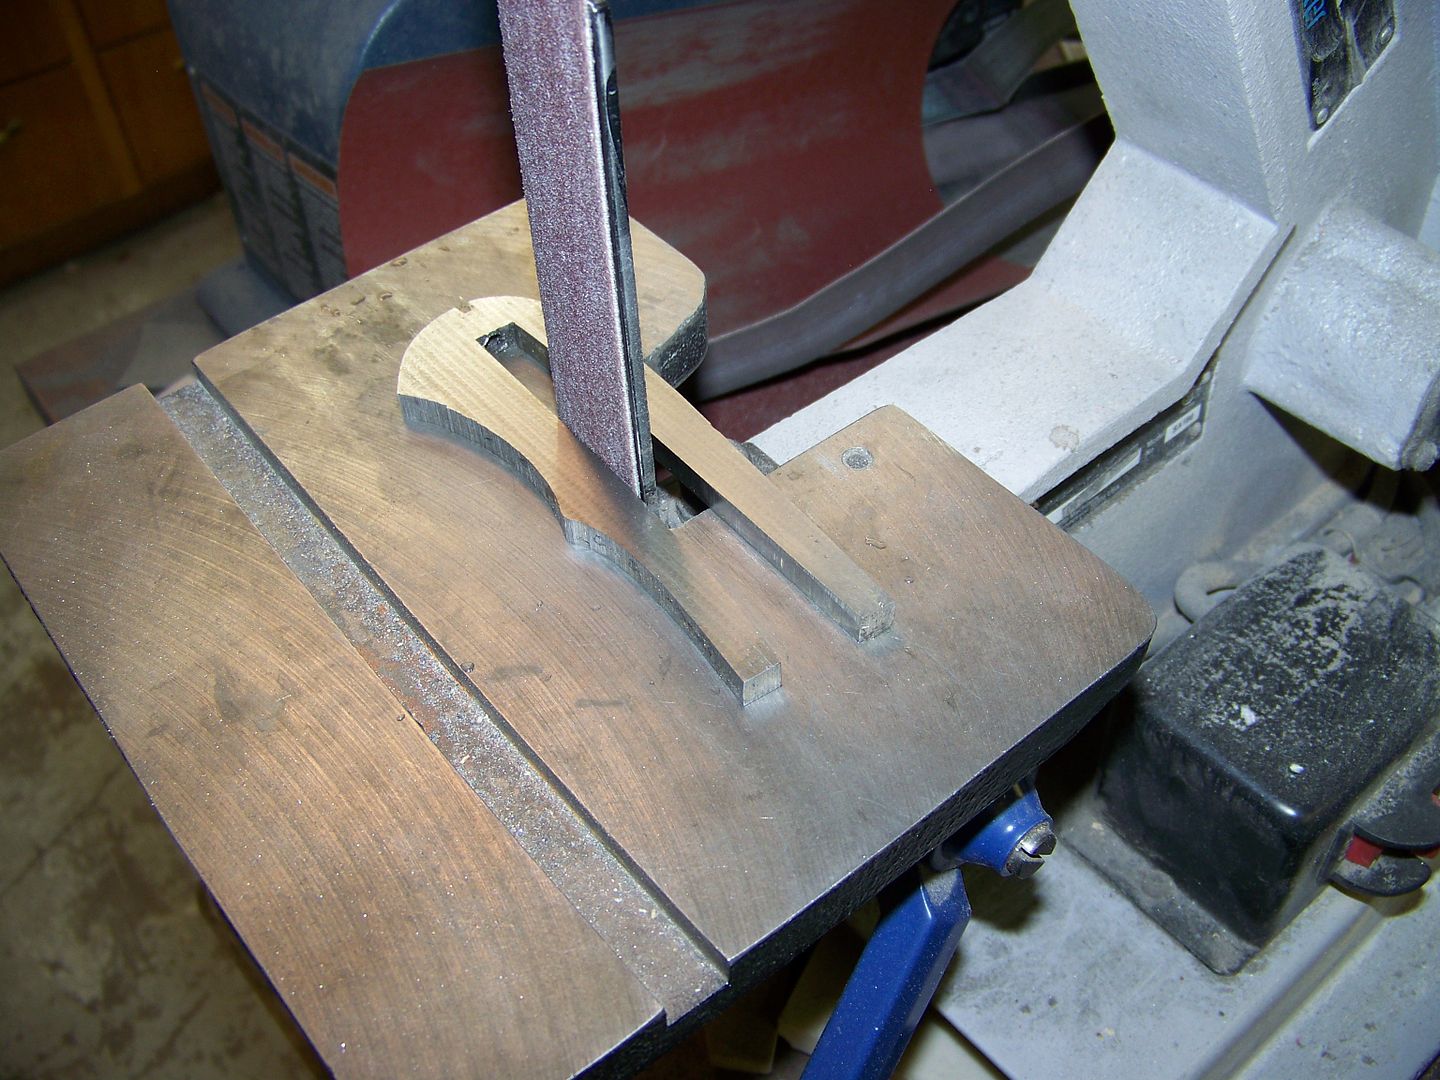
Bruce, sorry to bother you with another question but I often see you using that small table on your bandsaw. Do you use only that and what is the upside compared to a full sized one?
Thanks
Patrice
Thanks Bruce.
Patrice
PS: I saw your "Liberty" cut'n shoot the other day in Blades I think. I showed my wife and told her I had helped with the naming part. I know it's not a big thing but to me it is. Very cool!