What's going on in your shop?

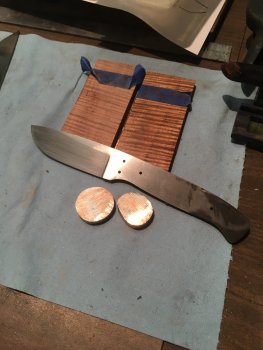
This last knife leads me to ask a question.
On light colored, unstabilized wood scales, like the quilted Maple I just used, is there something to be done about the epoxy migration from the pin into the wood?
The pins were a tight, tap in fit and the holes were a clean drilling. The scales were thick and sanded with out overheating.
I'm thinking that maybe next time I shouldn't epoxy the pins?

Scott
 
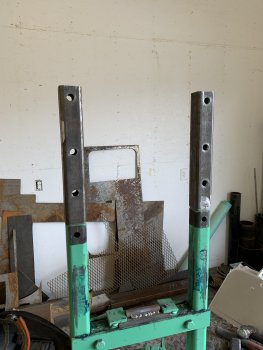
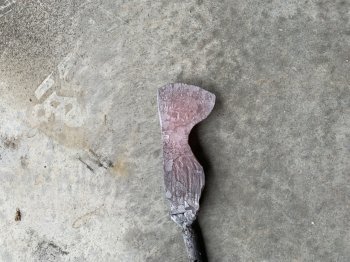
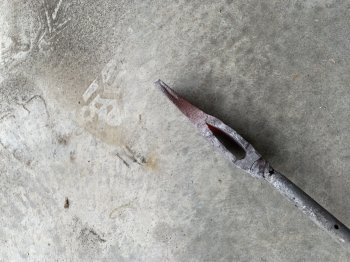
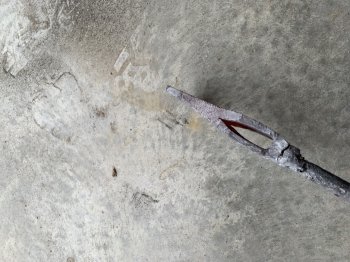
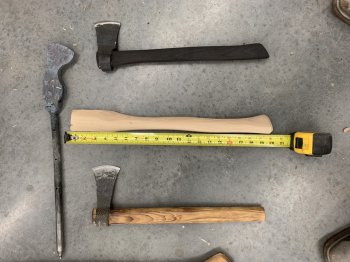
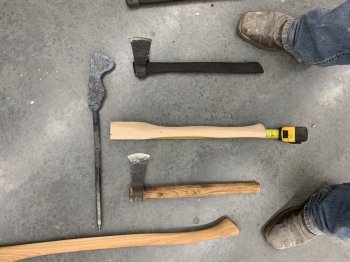
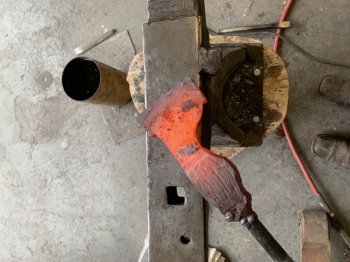
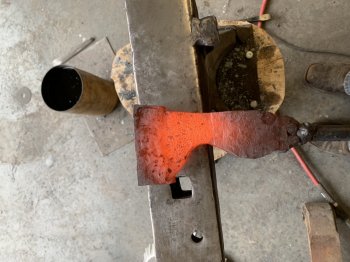
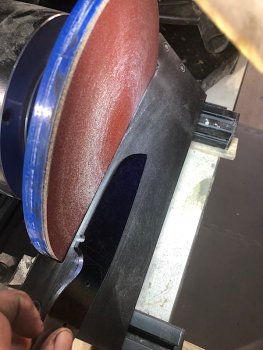
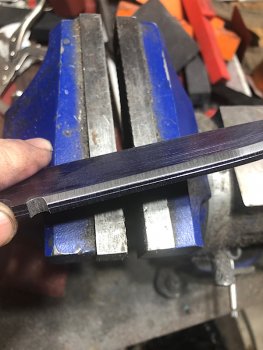
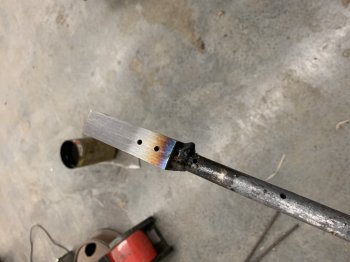
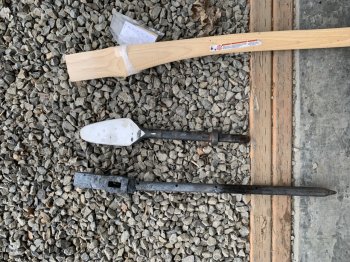
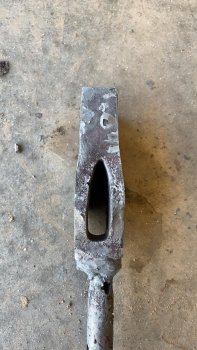
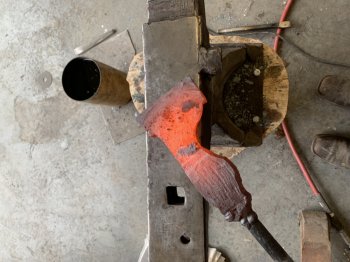
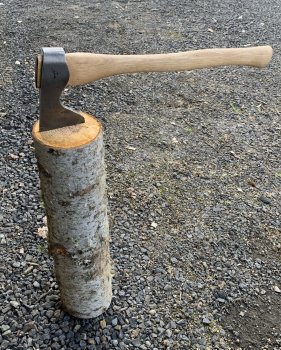
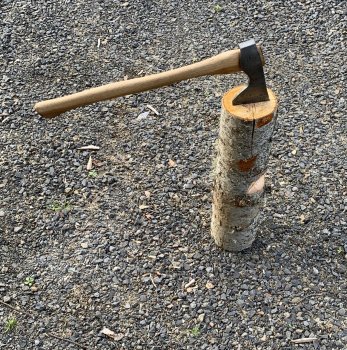
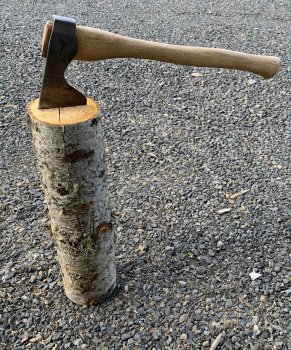
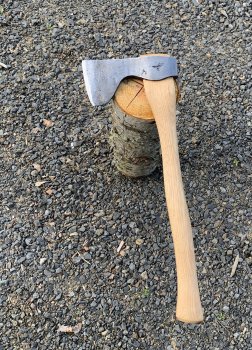
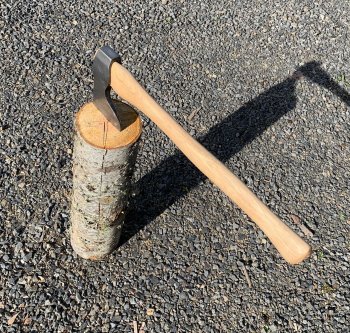
Got a bit of work done in the shop today I extended the frame on my little hydraulic press then forged some more on this axe head and finally cut out and shaped this little axe handle for the axe I’m making
 

Attachments

  • 16380CE8-FBFC-423F-89FB-D432159D364F.jpeg
    16380CE8-FBFC-423F-89FB-D432159D364F.jpeg
    1.5 MB · Views: 9
  • 3B6FADDC-F413-4AF5-882D-E70764D00BA0.jpeg
    3B6FADDC-F413-4AF5-882D-E70764D00BA0.jpeg
    530.4 KB · Views: 9
  • 958B46CD-DFC0-4ECB-8855-D2DB49E9FBDB.jpeg
    958B46CD-DFC0-4ECB-8855-D2DB49E9FBDB.jpeg
    476.5 KB · Views: 8
  • DF7805A5-8EBB-43A5-8072-8574B8F3A047.jpeg
    DF7805A5-8EBB-43A5-8072-8574B8F3A047.jpeg
    484.3 KB · Views: 8
  • 37912D0A-9460-463B-8CA2-A24C79DD7AA0.jpeg
    37912D0A-9460-463B-8CA2-A24C79DD7AA0.jpeg
    400.9 KB · Views: 8
  • B421E59E-A8A7-4186-A9F5-2BFF4E73BA8A.jpeg
    B421E59E-A8A7-4186-A9F5-2BFF4E73BA8A.jpeg
    387.8 KB · Views: 10
  • 53F333B0-2241-4172-A885-20C80236046B.jpeg
    53F333B0-2241-4172-A885-20C80236046B.jpeg
    373.4 KB · Views: 8
John, do you use a router and template for the inlays? BTW, those really look nice (and tight!)

Hi Bruce. I use a thin template to lay out the pattern and scribe lines. Then I drill out as much excess material inside the scribe lines as possible. Then everything is hand filed/scraped/sanded from there. The inlays are then also carefully hand fit.

Really happy with how these turned out. They fit nice and snug and had to be gently tapped in place with a rubber mallet.
Thanks for the reply. I've been experimenting with inlays for awhile now and decided that was the correct approach.
 
Hi Bruce. I use a thin template to lay out the pattern and scribe lines. Then I drill out as much excess material inside the scribe lines as possible. Then everything is hand filed/scraped/sanded from there. The inlays are then also carefully hand fit.

Really happy with how these turned out. They fit nice and snug and had to be gently tapped in place with a rubber mallet.
As nice as your inlays are I figured you were milling them out. Done by hand? Now that's impressive!!
 
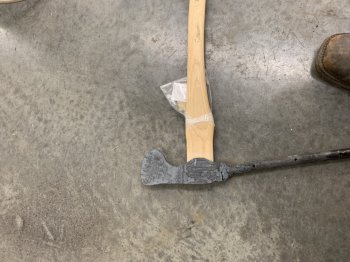
Wee bit of forge welding and some final clean up. Should have this thing done tonight or after work tomorrow. Had a hell of a time fixing the eye, it was out of whack big time, it’s still not perfect but the head sits straight and true on the handle
 

Attachments

  • 8A7E49FB-363C-43B5-8906-9A814771E263.jpeg
    8A7E49FB-363C-43B5-8906-9A814771E263.jpeg
    327.9 KB · Views: 6
  • 8BF7B0F9-BED1-47CC-B4EA-0DFFAE1F81BD.jpeg
    8BF7B0F9-BED1-47CC-B4EA-0DFFAE1F81BD.jpeg
    311.2 KB · Views: 6
I found a diamond in the rough...well, not exactly. These pieces are porous. I cut a pair of scales too and one cracked after only one night in the house. But It's surprising the beauty underneath all that junk on the outside. I might clean a bunch and stabilize them.
001.jpg
 
From a hunk of mild steel, for once the forge weld went right the first time with no finnicking around! The bit is forged out of a piece of .270x2” 1084, I forged it down to about 1” wide and somewhere about 3/8” thick then forged in the taper. This project took way too much time and propane. I learned more on this project than any of my previous ones. And I finally sold something. I modified some of my tools and built some new ones. Made my best axe handle yet! Bought the board from local shop that milled the lumber here in my home town. Kinda cool to see something all locally made. Now I’m looking forward to my next big project!
 

Attachments

  • BC9C1211-77F3-4195-8678-0D3958B37035.jpeg
    BC9C1211-77F3-4195-8678-0D3958B37035.jpeg
    200.4 KB · Views: 3
  • F36CD71A-59EE-4A86-93C2-5275DC6AF90E.jpeg
    F36CD71A-59EE-4A86-93C2-5275DC6AF90E.jpeg
    601.3 KB · Views: 3
  • 1719DBE8-88DE-42D1-94D6-C95E1010AC98.jpeg
    1719DBE8-88DE-42D1-94D6-C95E1010AC98.jpeg
    349.6 KB · Views: 2
  • 6EF249B2-F015-462C-9EB8-D9C2F36DF5DB.jpeg
    6EF249B2-F015-462C-9EB8-D9C2F36DF5DB.jpeg
    327.9 KB · Views: 5
  • 98859BA0-5C18-4A11-8F8D-009B8918D605.jpeg
    98859BA0-5C18-4A11-8F8D-009B8918D605.jpeg
    894.3 KB · Views: 5
  • F0411C87-EBD5-4CDF-9926-F65BBBA8735E.jpeg
    F0411C87-EBD5-4CDF-9926-F65BBBA8735E.jpeg
    1.2 MB · Views: 4
  • 6EF719AA-E32B-4E34-A3B9-3C9BCC167257.jpeg
    6EF719AA-E32B-4E34-A3B9-3C9BCC167257.jpeg
    929 KB · Views: 5
  • 3FE2BD9B-6465-4BCA-AE83-B1768A475737.jpeg
    3FE2BD9B-6465-4BCA-AE83-B1768A475737.jpeg
    876.5 KB · Views: 5
  • 00A42C3A-5D94-4950-B7EB-94A2325D4715.jpeg
    00A42C3A-5D94-4950-B7EB-94A2325D4715.jpeg
    1.1 MB · Views: 5
About 3 days of feeling decent..... managed to get some angle peen hammer orders filled!

IMG-4624.jpg
 
how much do you charge? for the dual peen model?
http://www.caffreyknives.net/angle_peen-hammers.html

And speaking of hammers.....4 DAMASCUS hammers ready for hand sanding (boy does that ever suck... you'd think that sanding a blade would be harder....NOPE!!)
All the angles, rolls, etc on a hammer really make it a pain to get the finish required for a good etch.... or in this case, two of these hammers are 1080/Nickel 200, which means there will get mirror polished, then hot blued/clear Gun-Kote finished) :) I'm sure many have seen/heard that I always say NOT to buff Damascus prior to etching.....that is true, but as usual there is an exception...in the case of using nickel and hot bluing..... there is no need to etch, and in fact if you etch, then try to hot blue, it doesn't work out so well. When hot bluing, it's like Ti and anodizing.....finish dictates how the finish looks...... a satin finish yields a satin blue job..... a "mirror" finish yields a brilliant mirrored blued finish. ;)


BUT!! A guy has gotta take a break when his arms get tired....and do something fun for a few minutes.....

IMG-4627.jpg


IMG-4628.jpg


It's nice when the hot shop apron can serve as a place for the "bench"...... and then have 20 & 25yrds left to play with! :)
(the pellet stop is 20 yrds, and the hanging, yellow "swingers" (left side) are 25 yrds.) Shoot a few shots, then back to work! (the gun is a SIG ASP20, .22 cal air rifle...... just sharpening up for when all the gophers start running around "the back 40".
 
Last edited:
Back
Top