Garry Odgers
Well-Known Member
Beautiful work. Apart from having a ton of skill, I think you must possess even more patience")
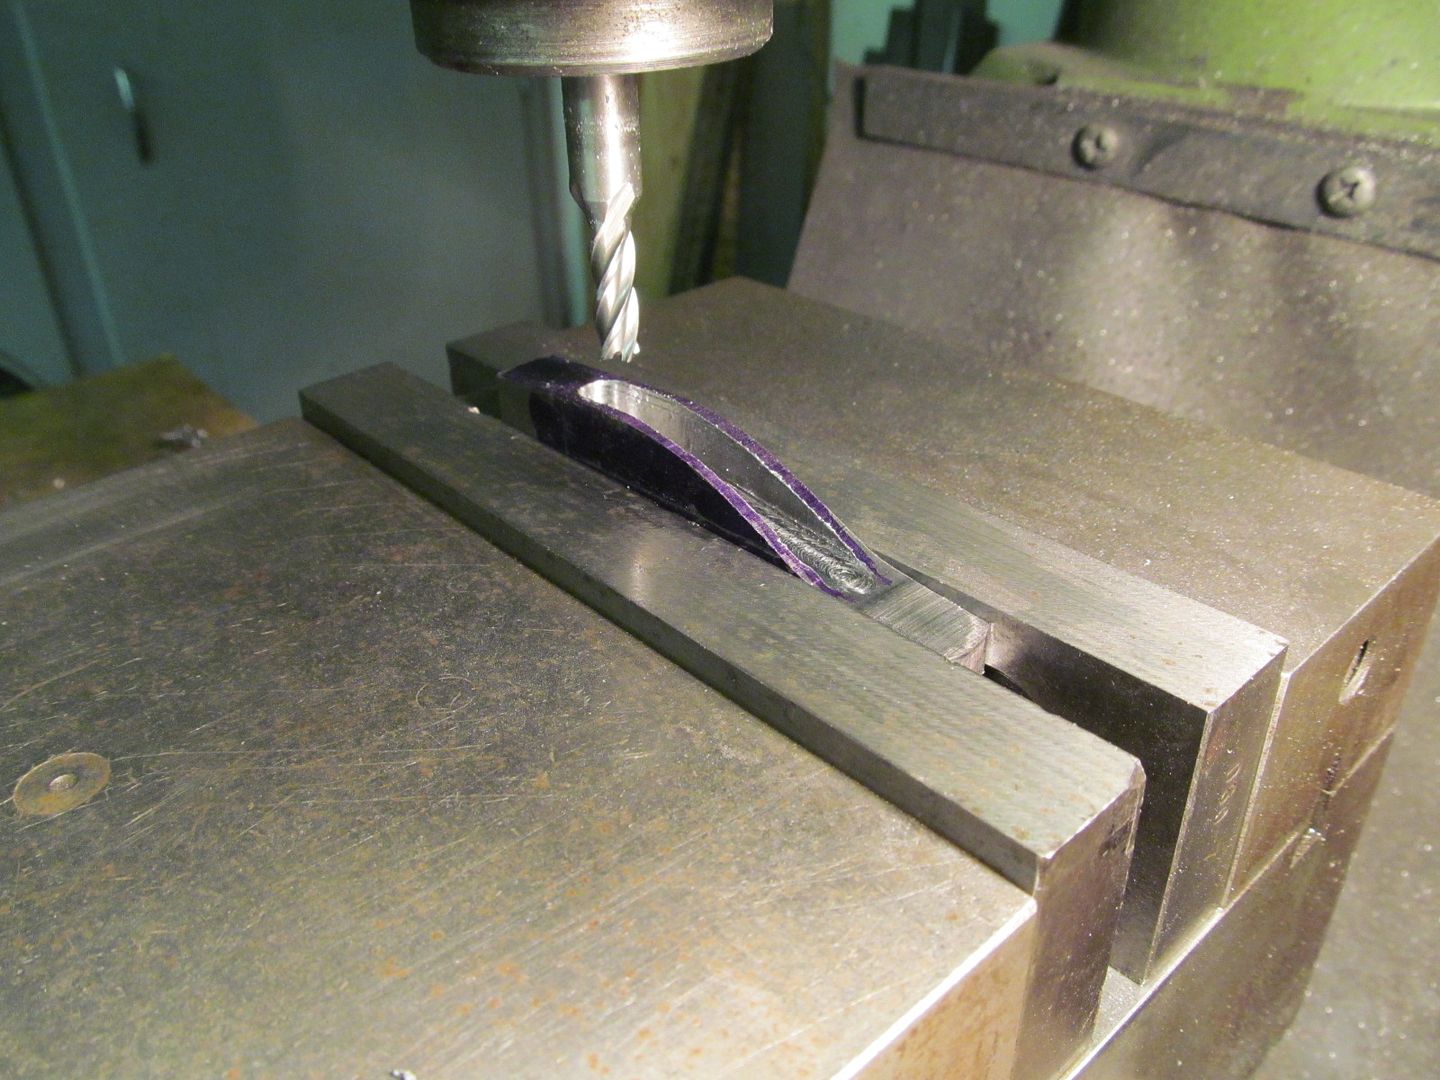
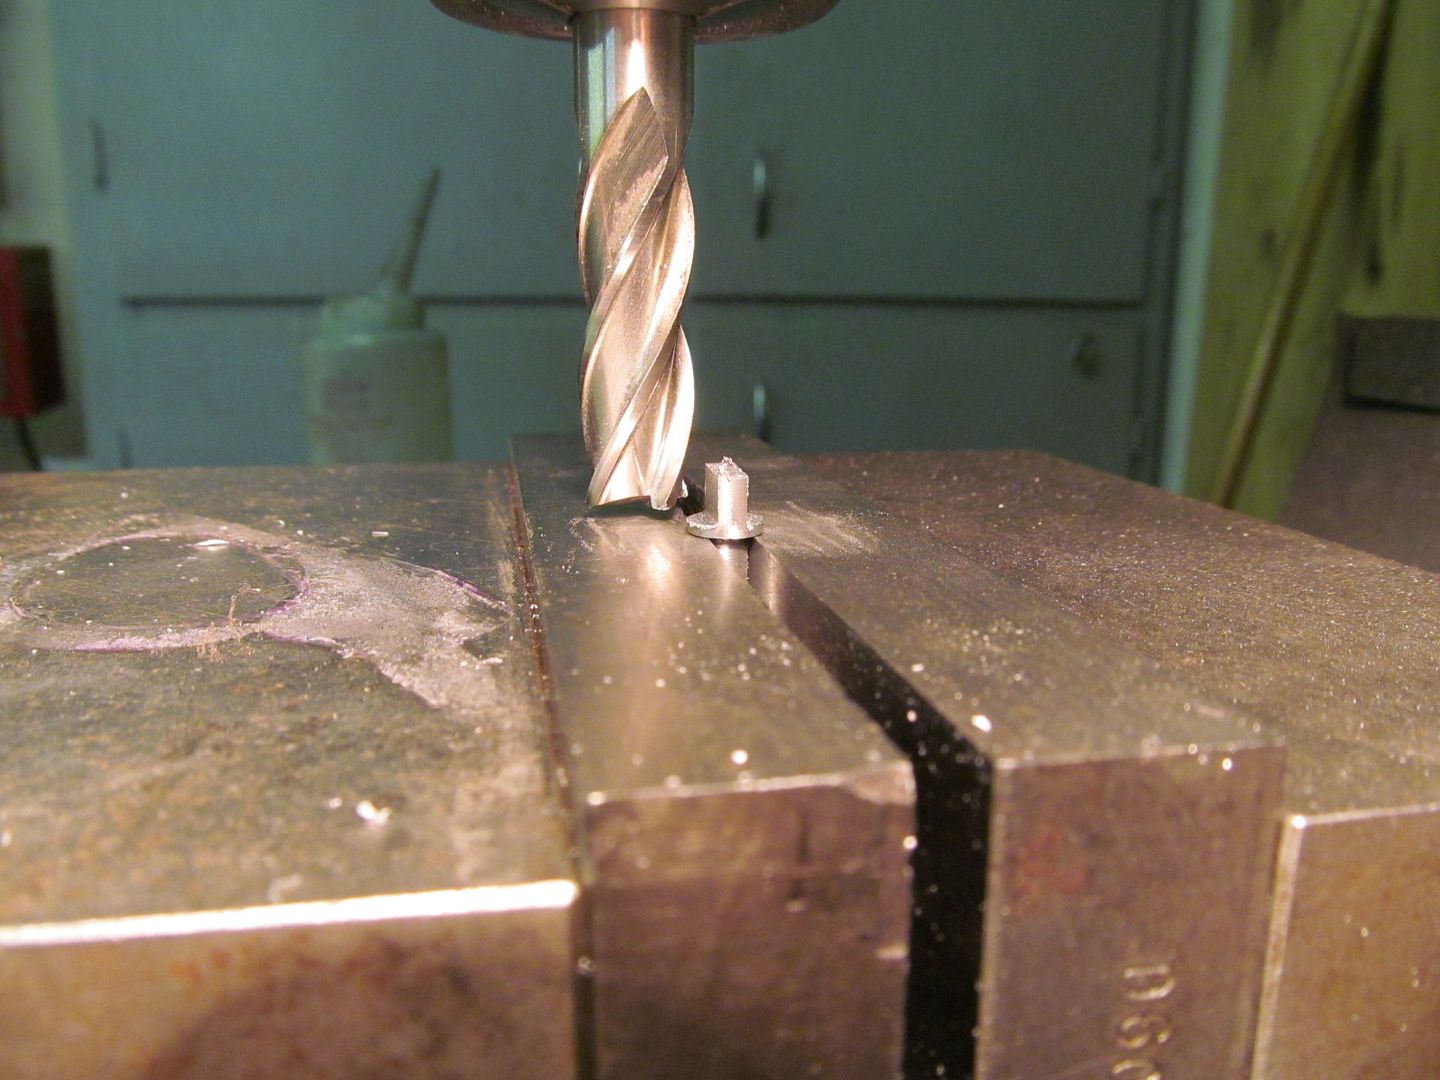
Today I decided that I'll need to make another wooden handle.
Oh, man….. That sucks, right there.
Brue, I really hate the way you make this look so dang easy. My hat is off to you. You are truly an amazing Master Smith and Craftsman. I love following your WIPs.


Bruce,
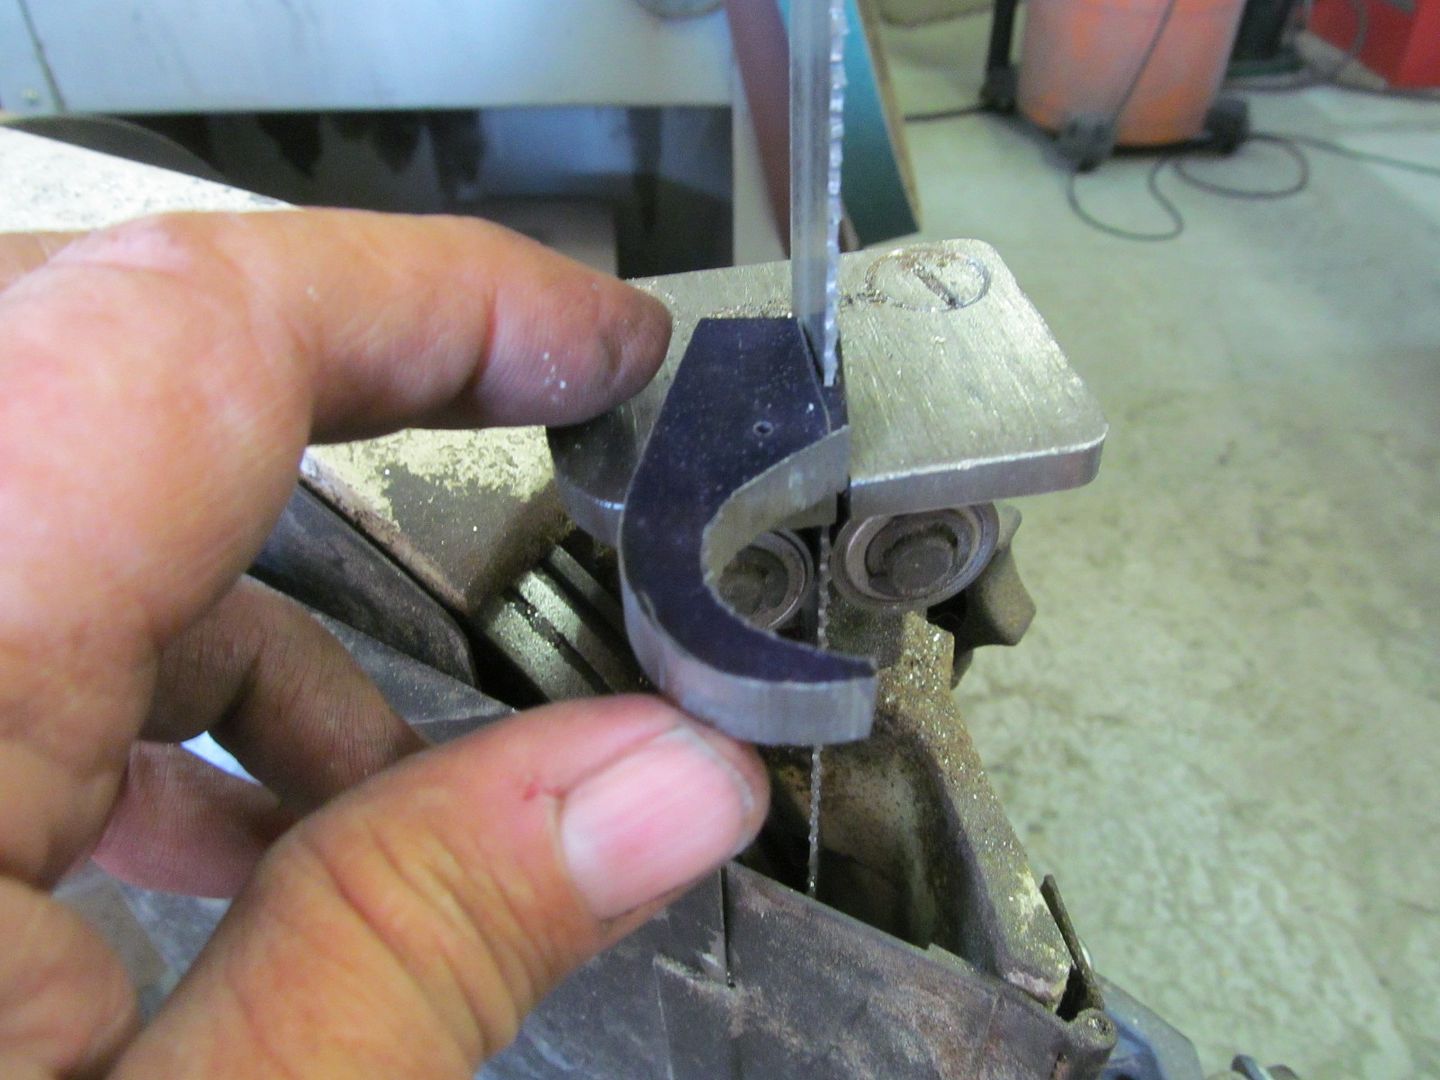
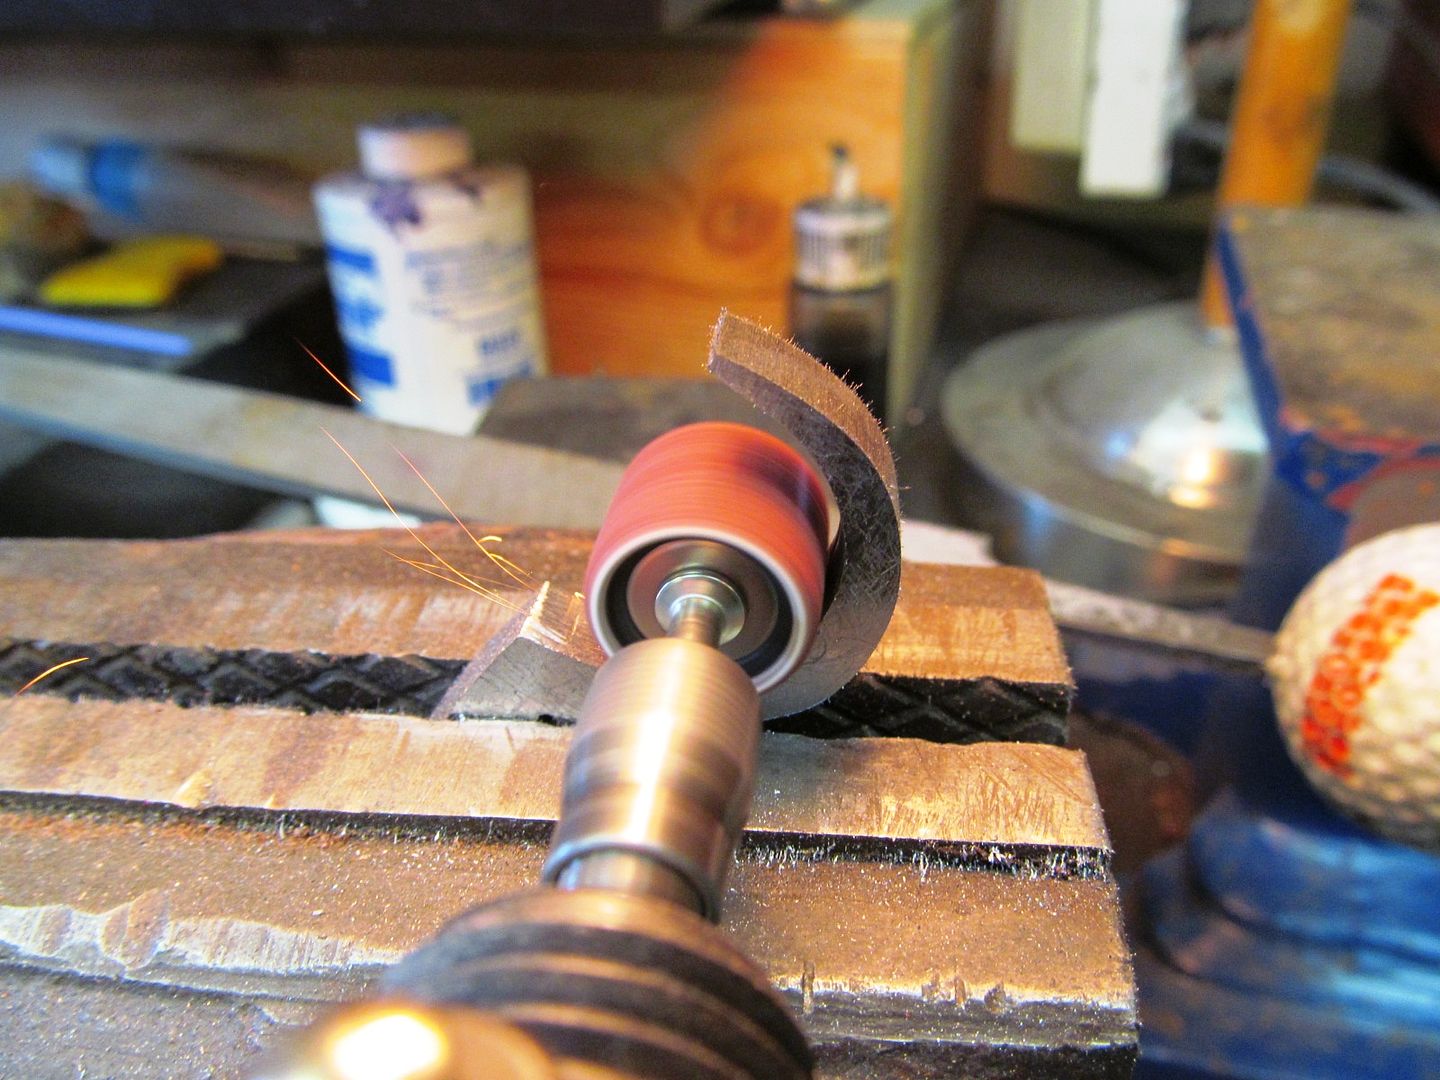
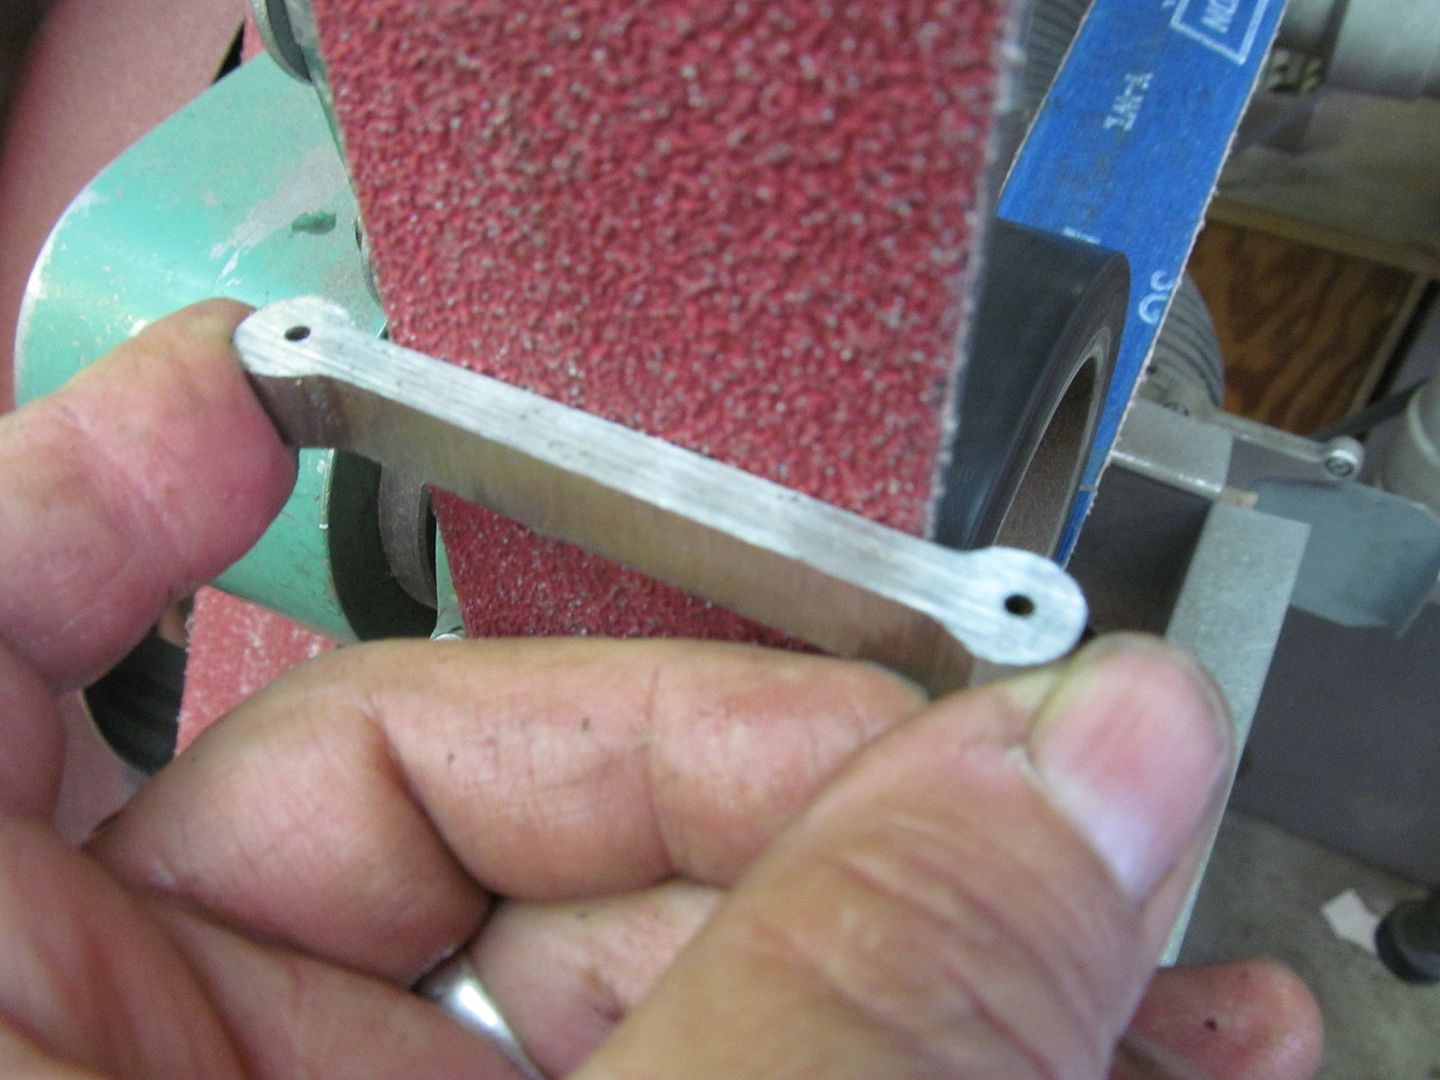
I put this auxilliary table on my little bandsaw.
It fits right over the small head that was already there. This piece is Corian but is very stable and is easily removeable.
Just thought you'd appreciate this.
Steve
View attachment 34447


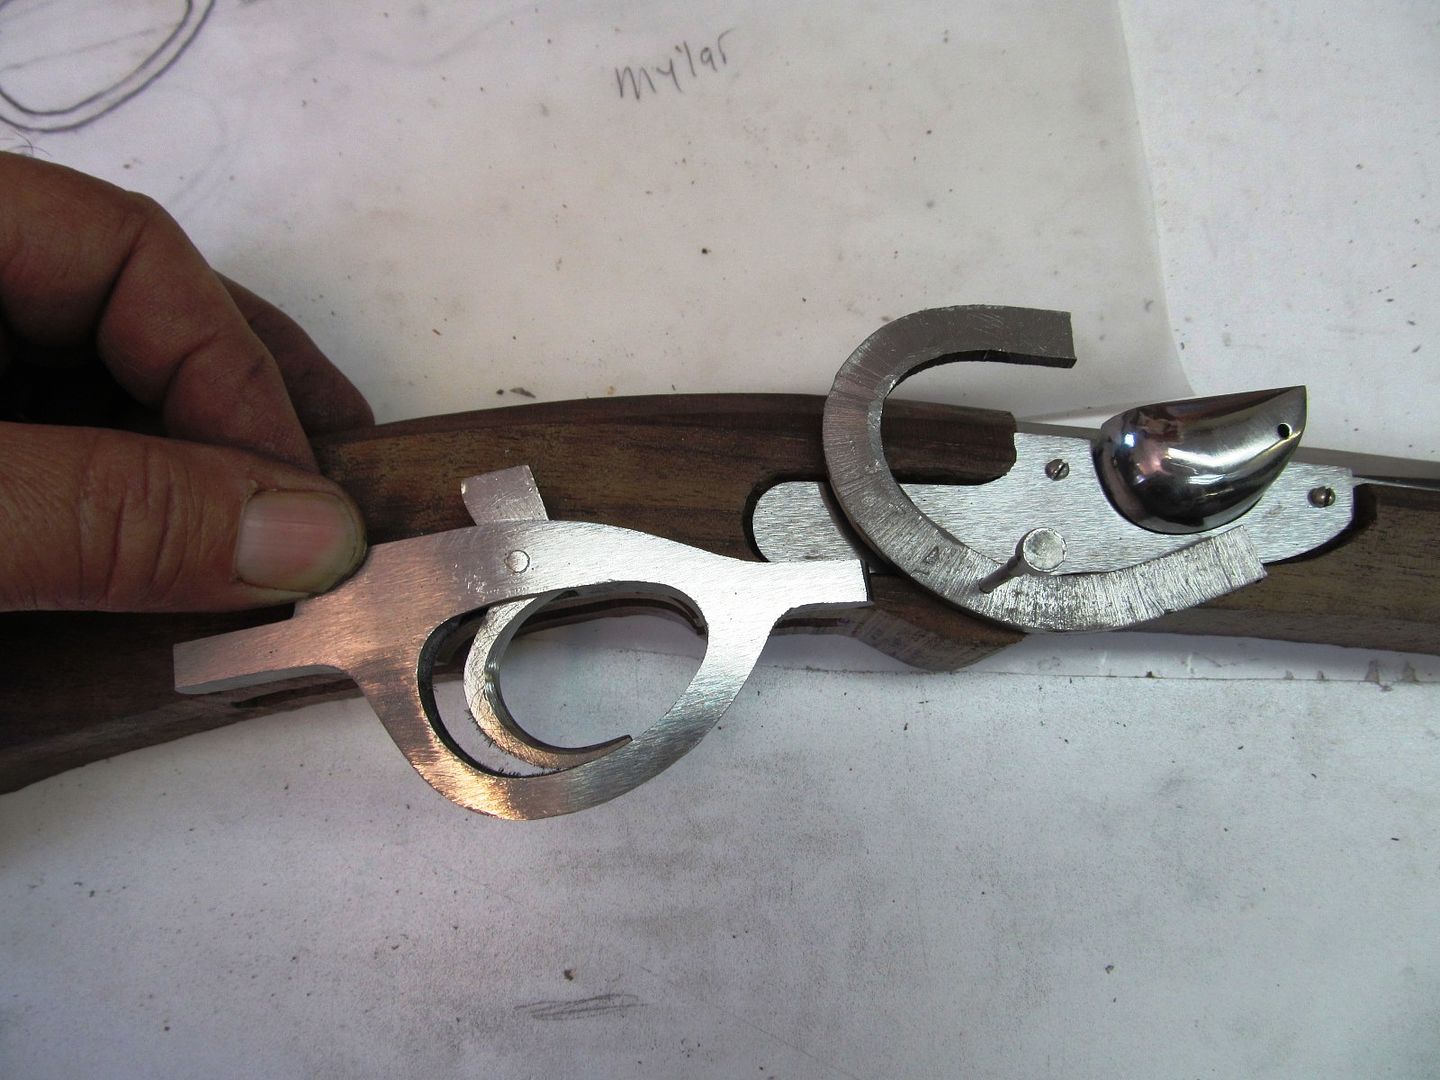
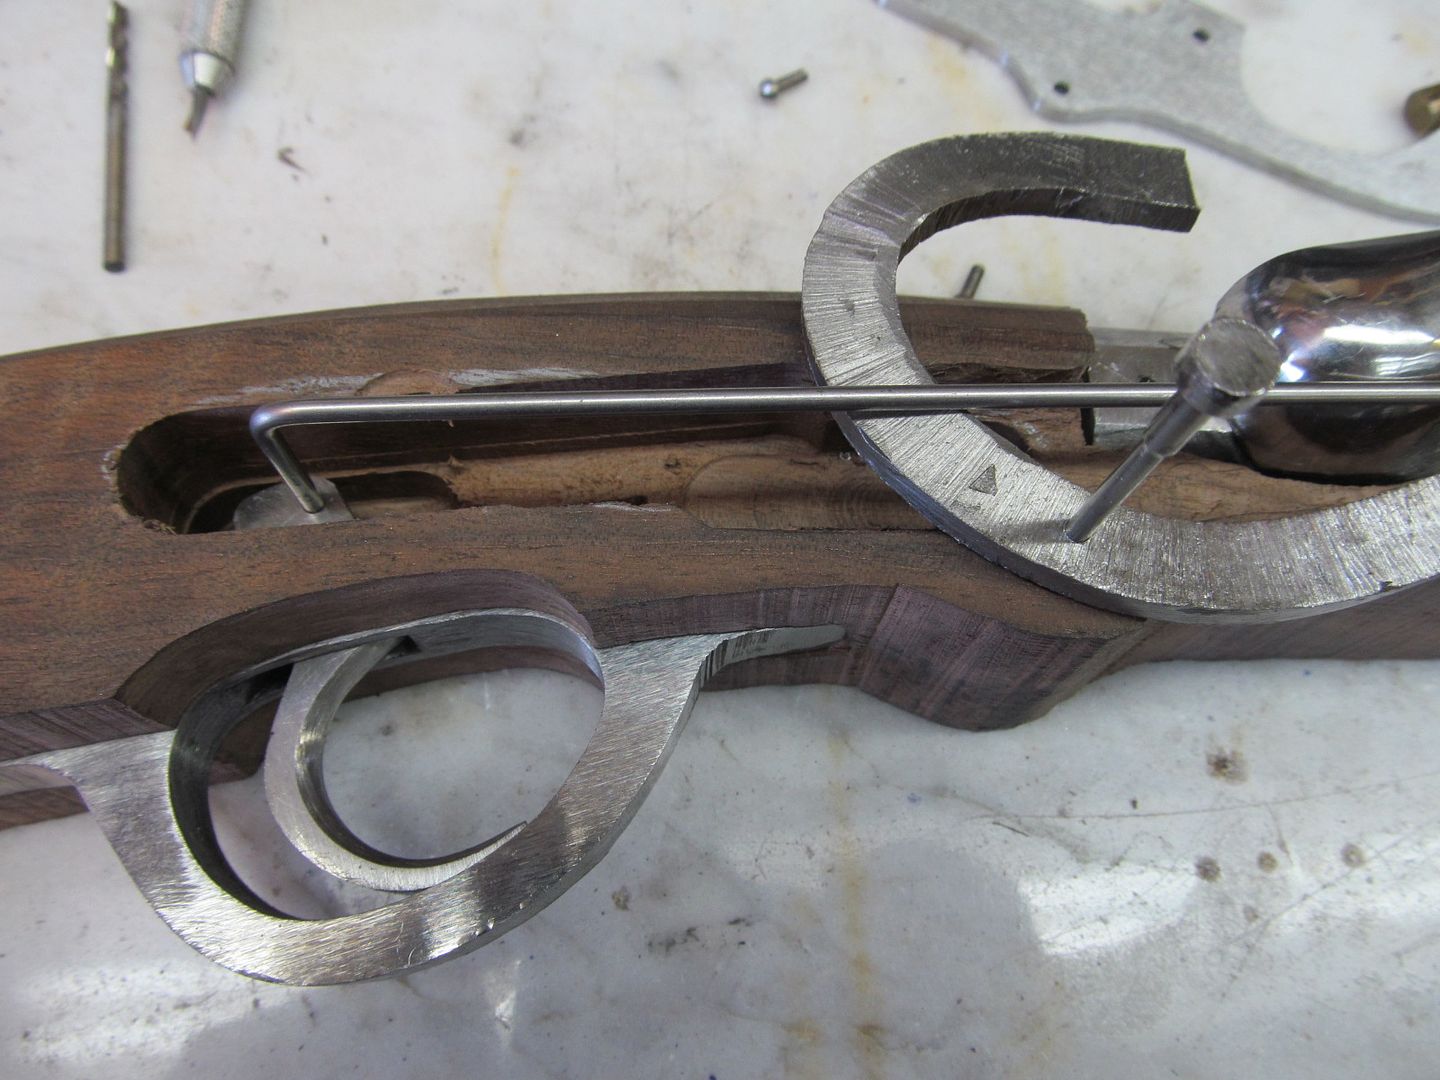
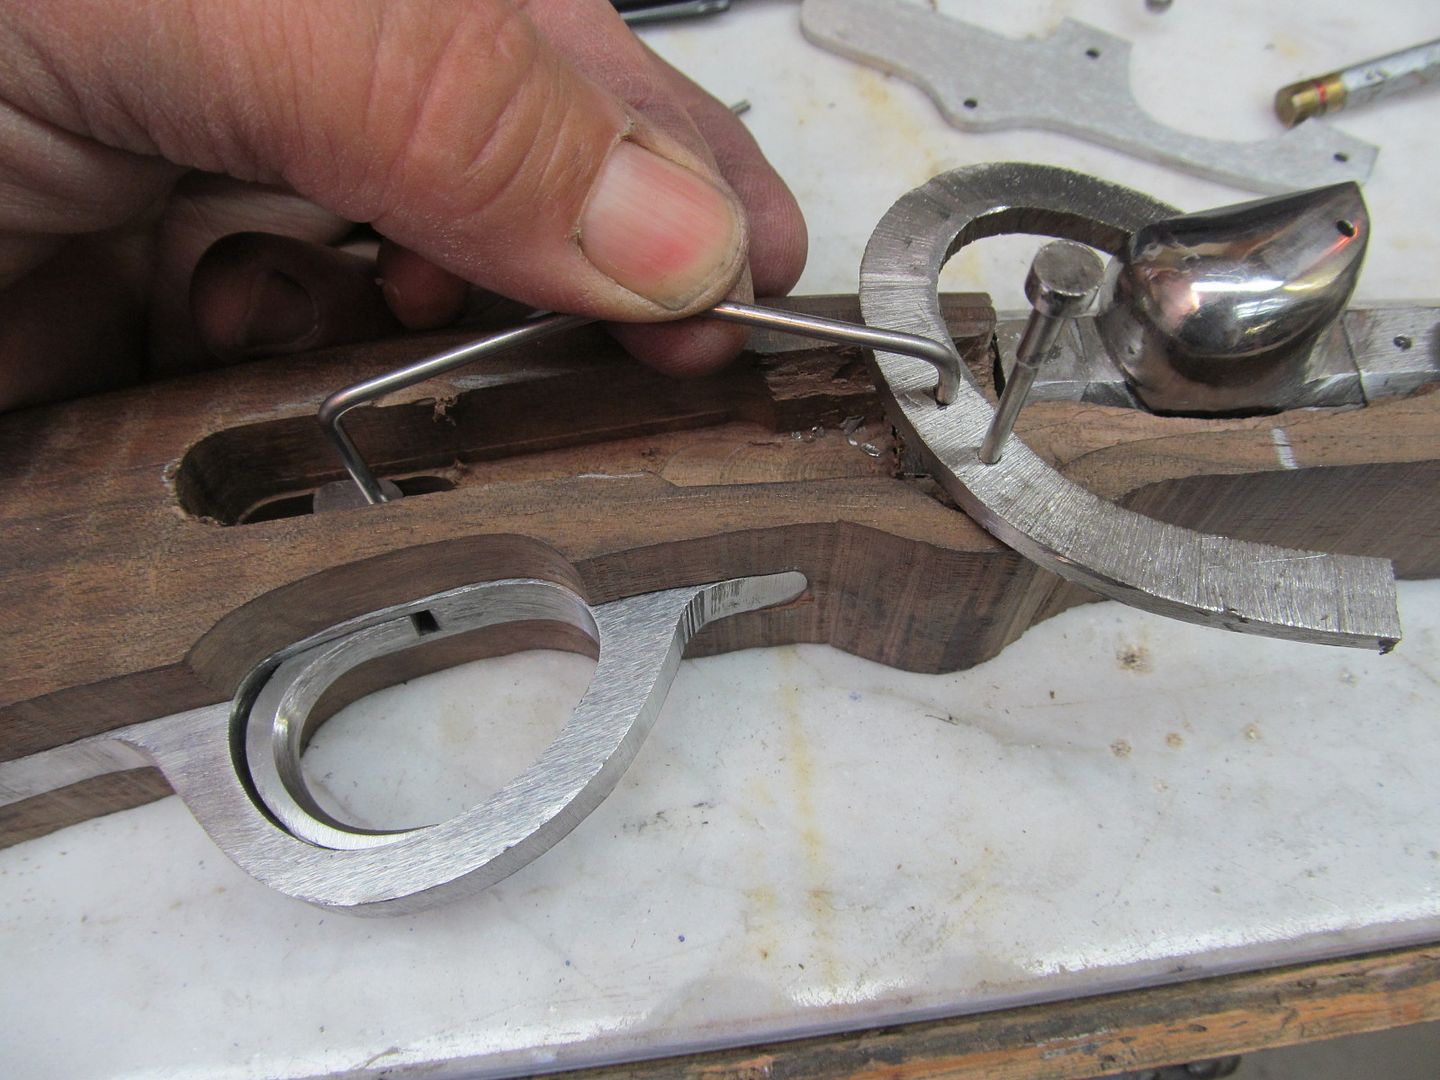
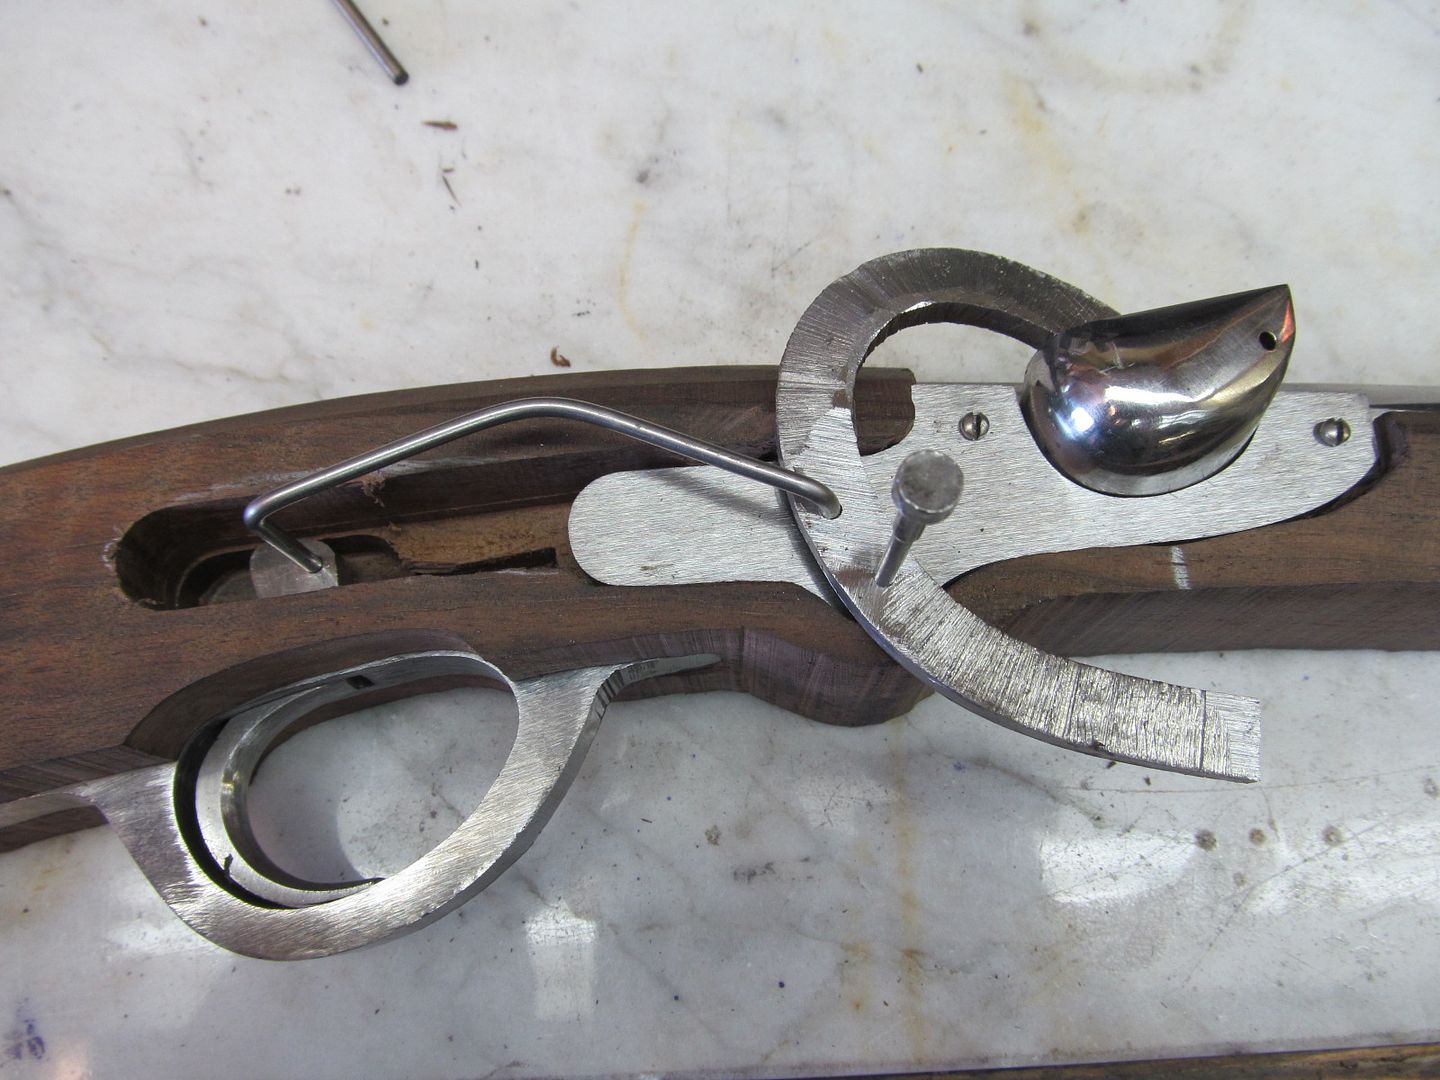
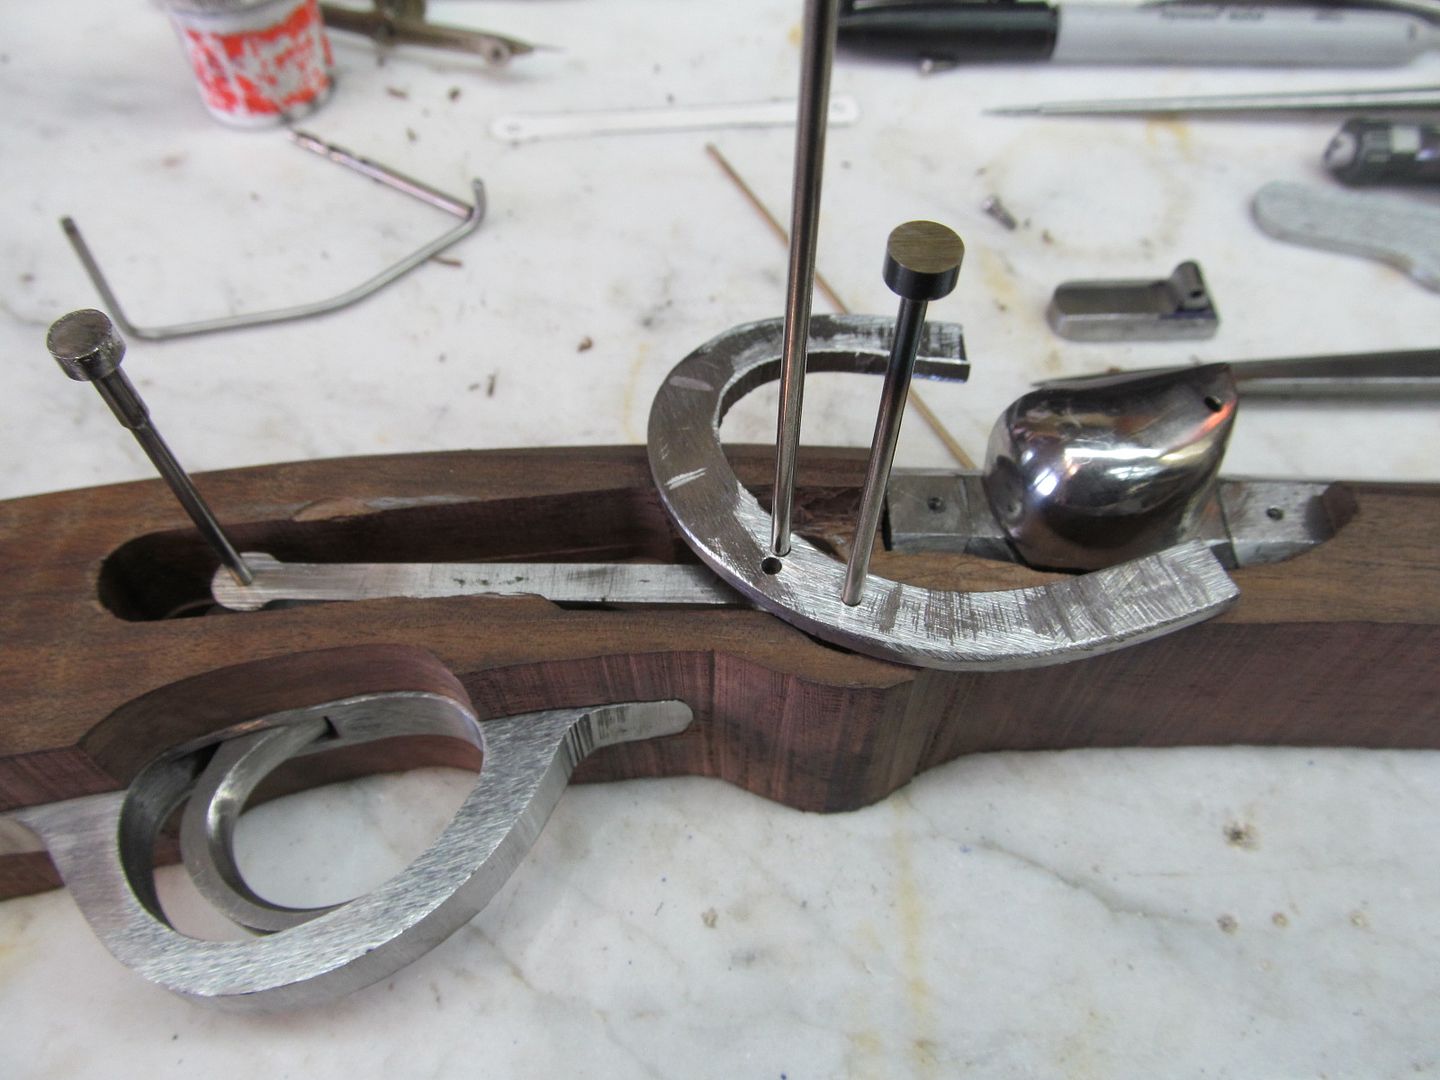
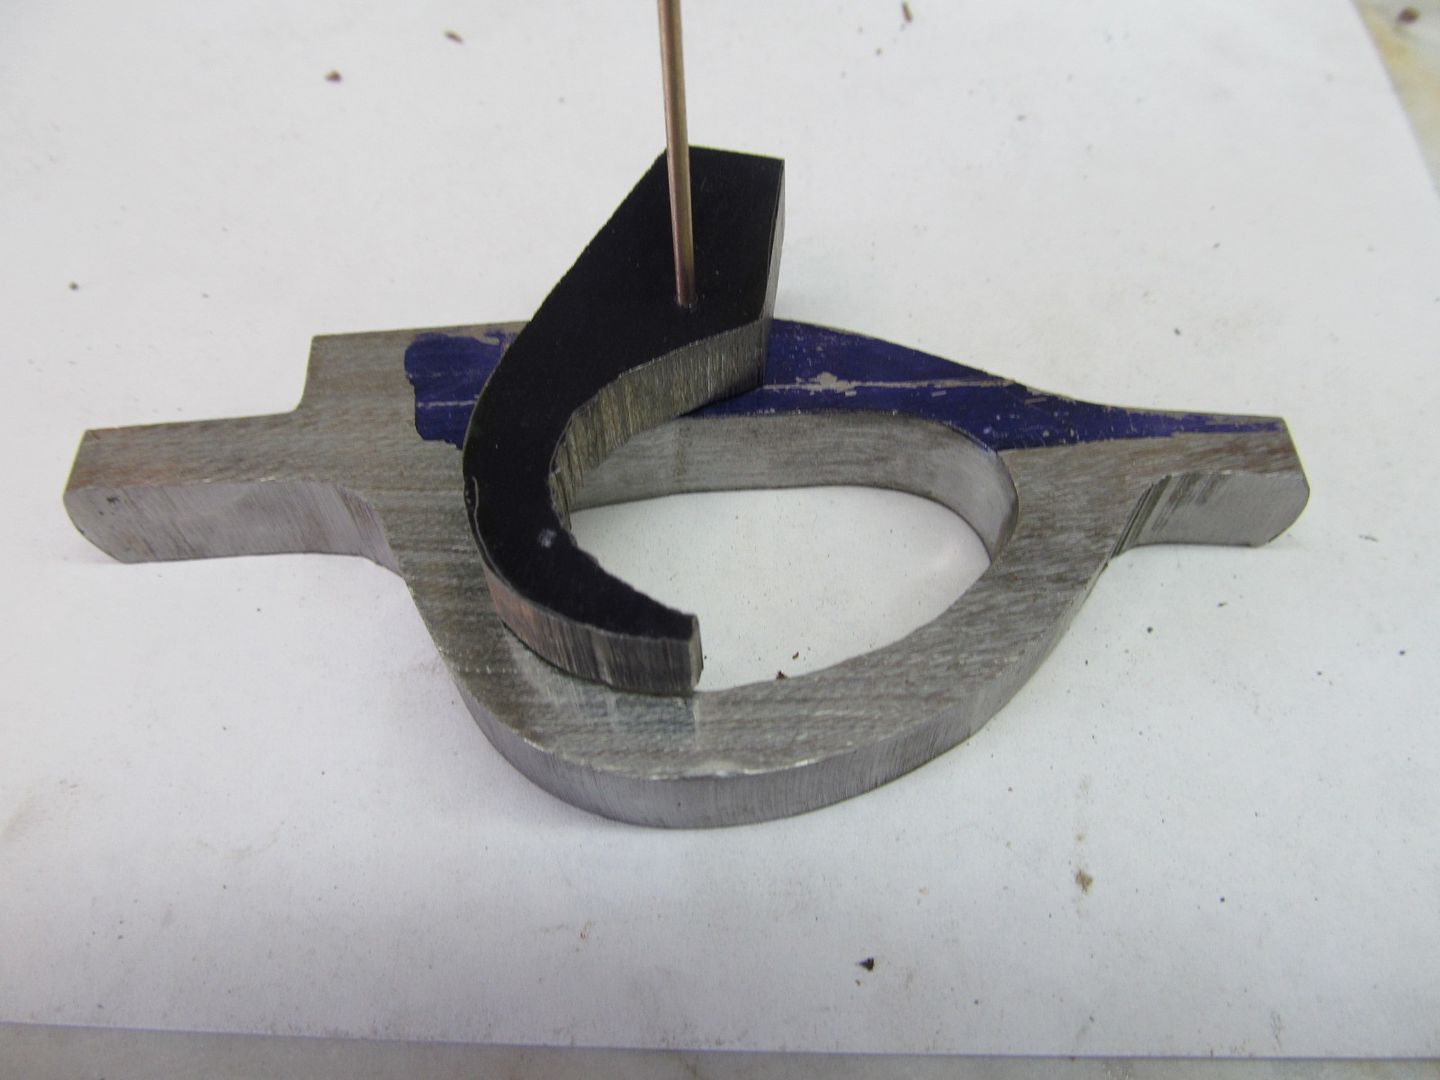
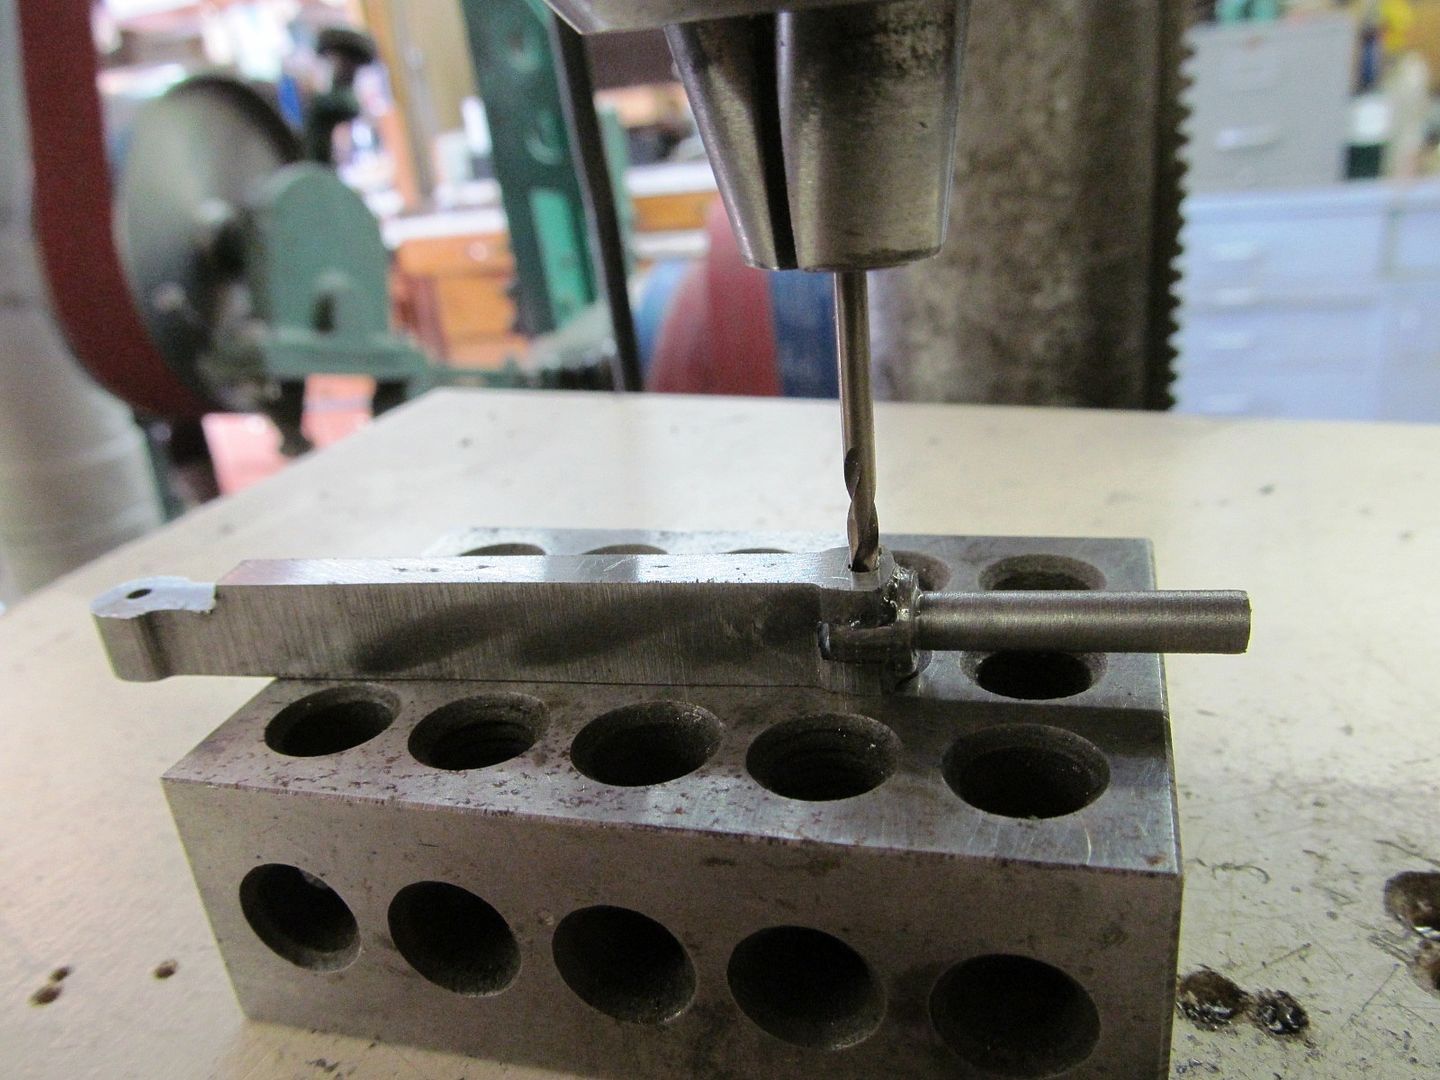
Ah, Bruce you are so clever. I thought, what an exposed rod linkage? What a bad idea. Then I saw the link bar and figured out you were just using a simple method to figure out the length of the link which will be inside the cover and the bend in the rod was just a length adjustment. Good thinking.
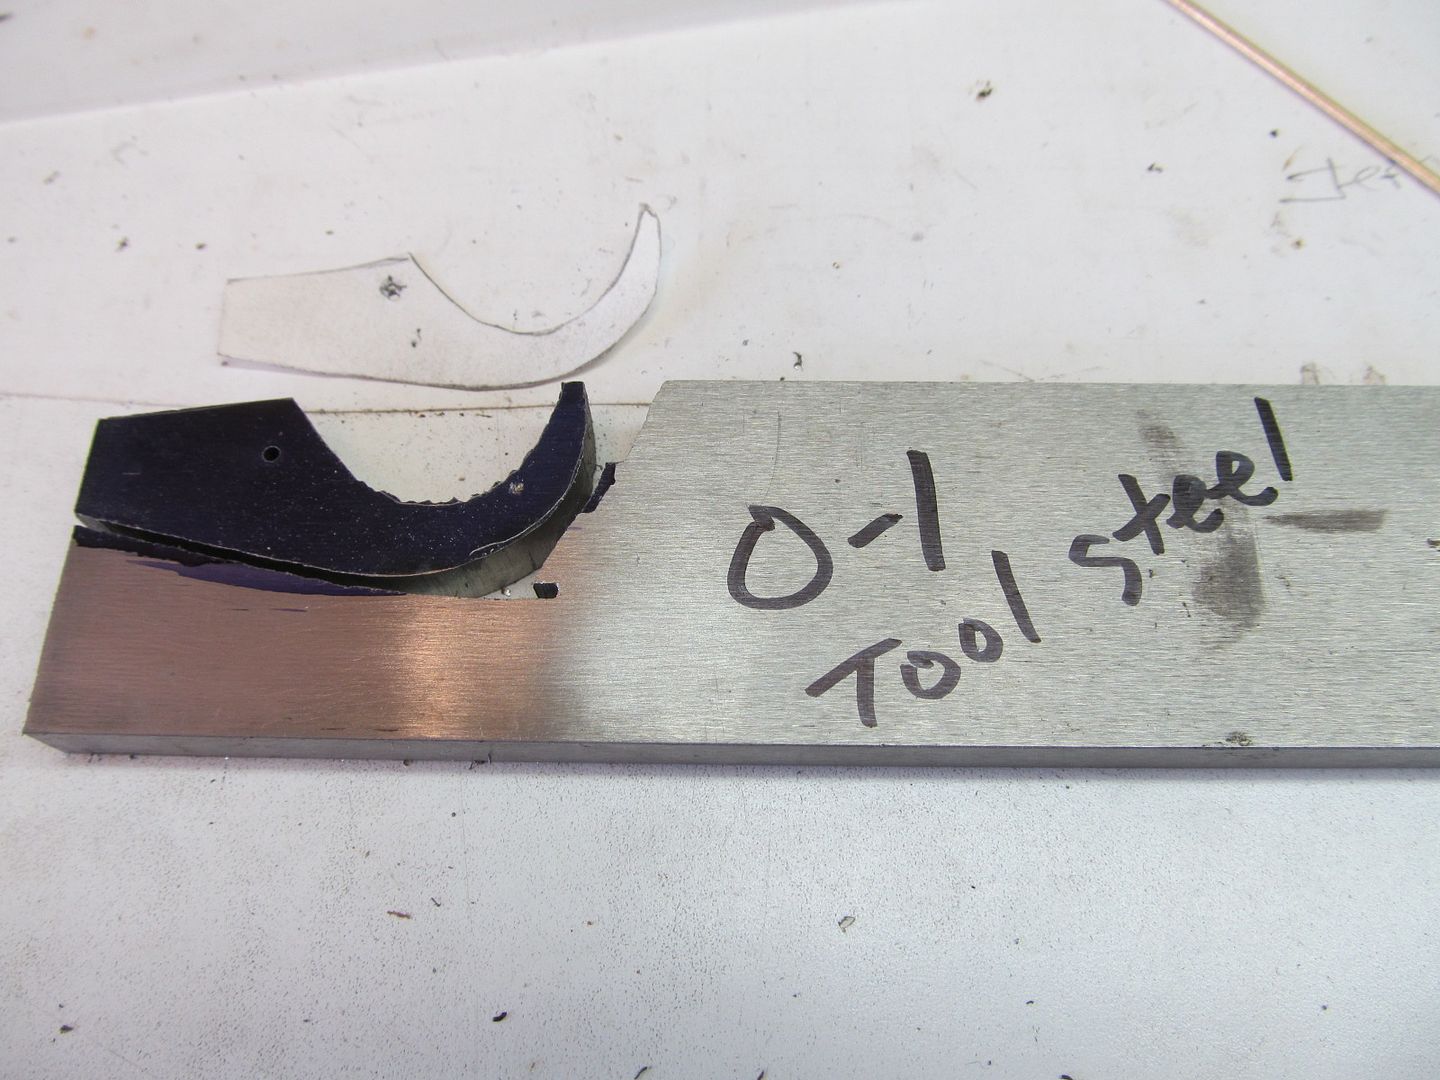
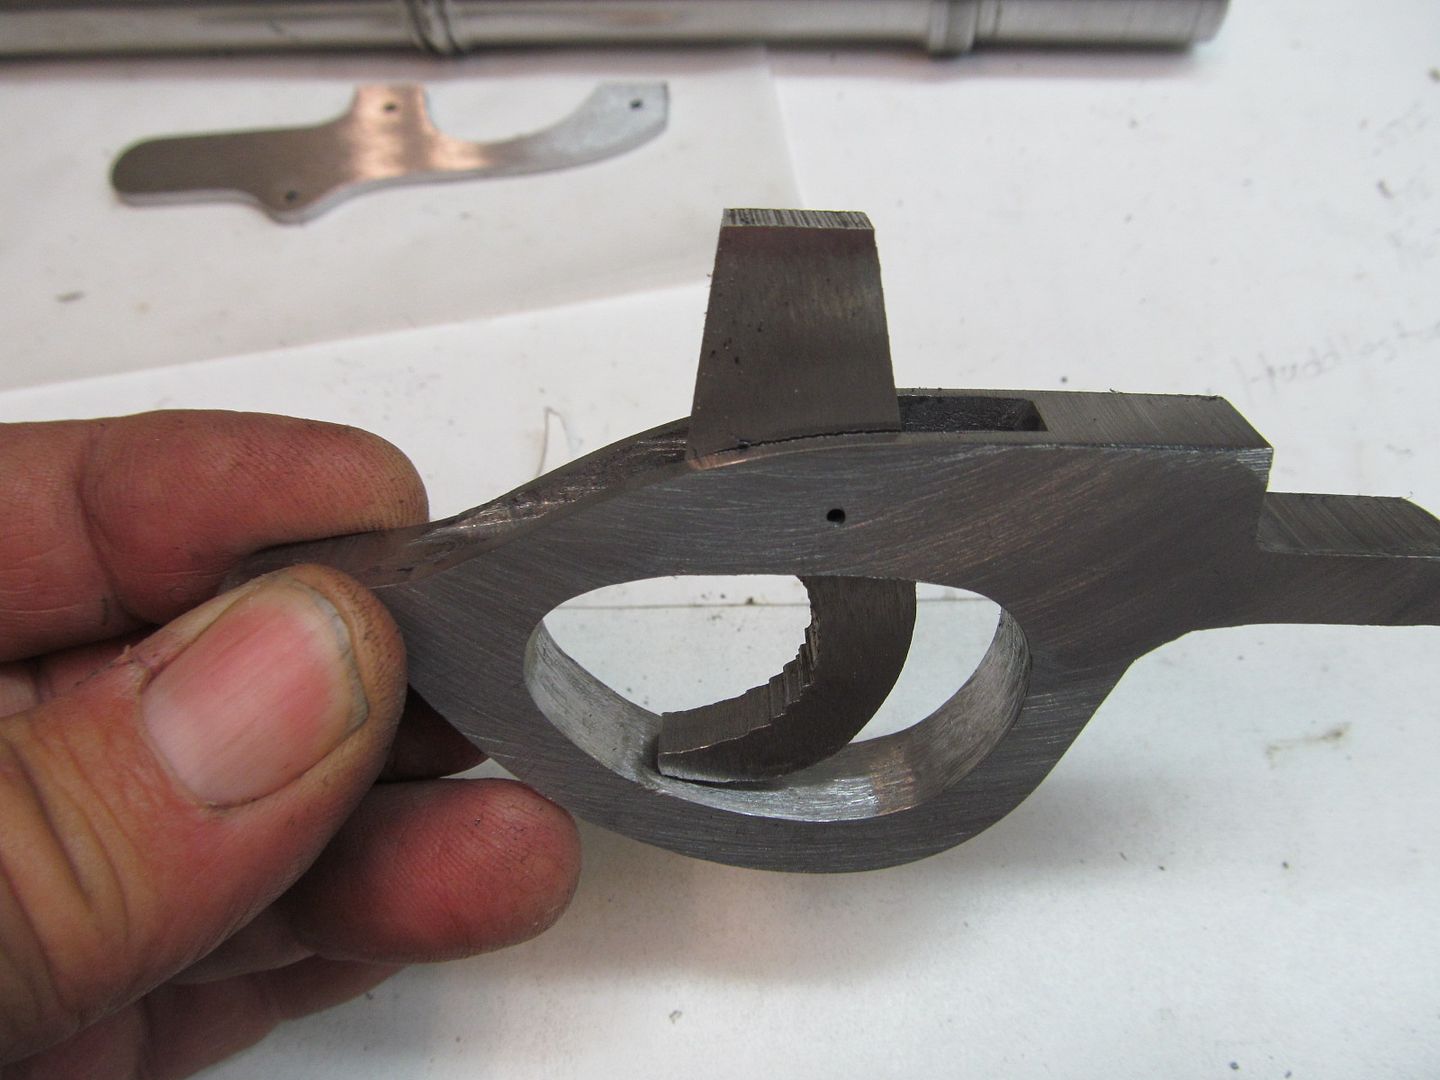
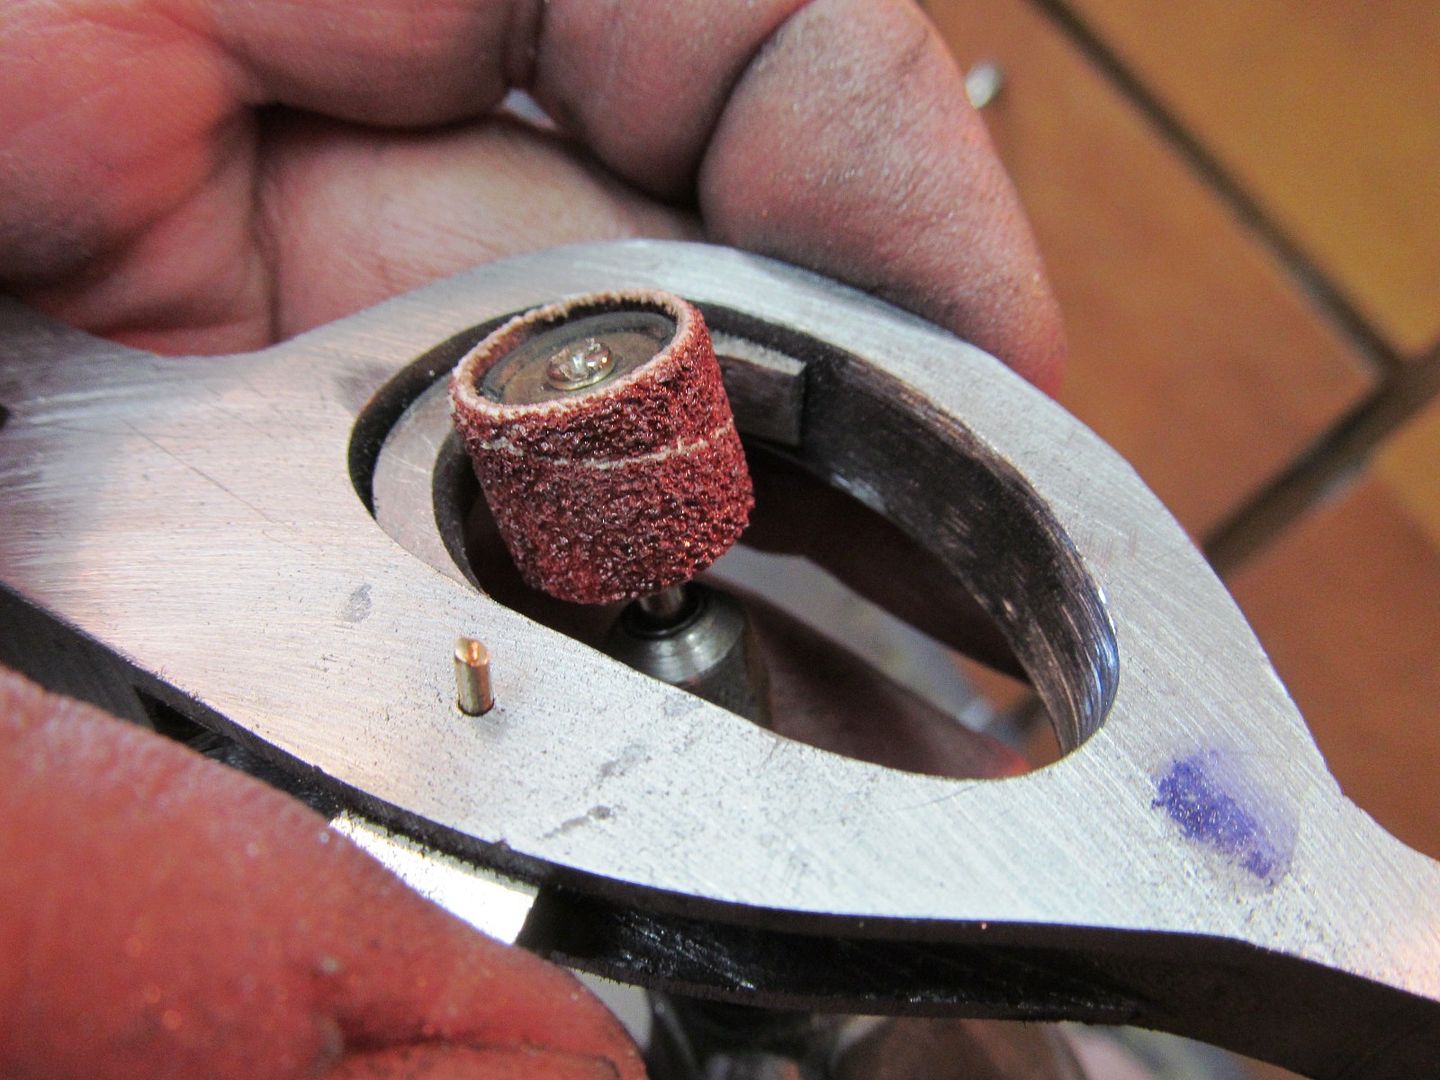
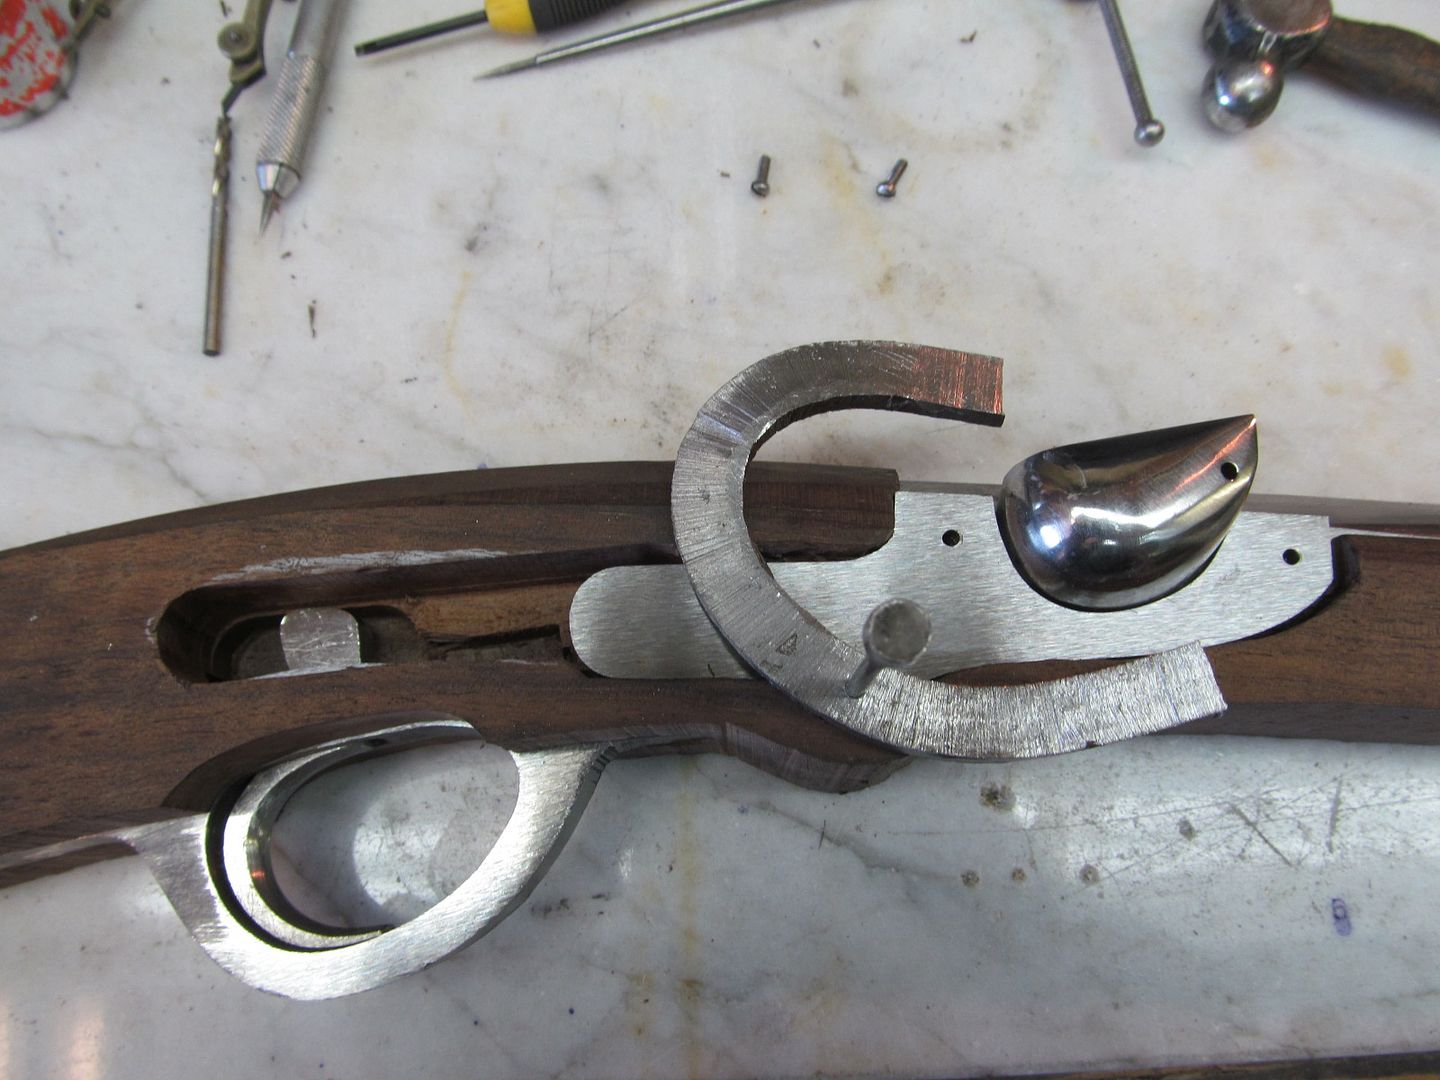
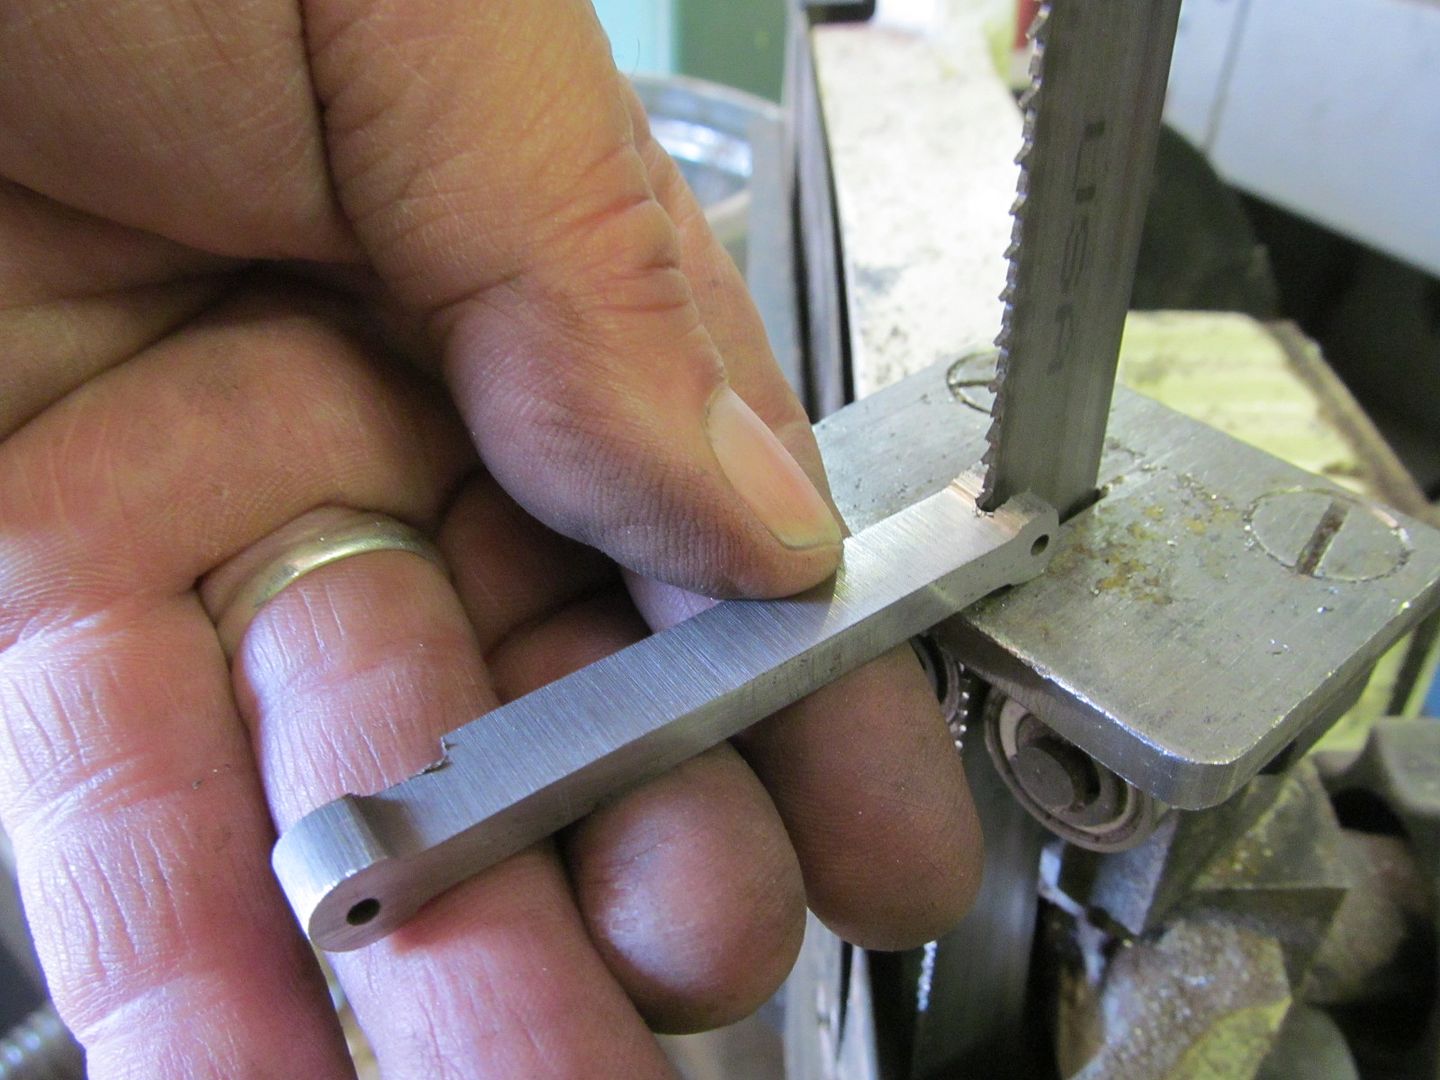
I have an old muzzle loading single shot pistol that is missing some pieces between the trigger and hammer lock. One day when I am a really grown up knife maker I will try a cut n shoot like my hero.:5:


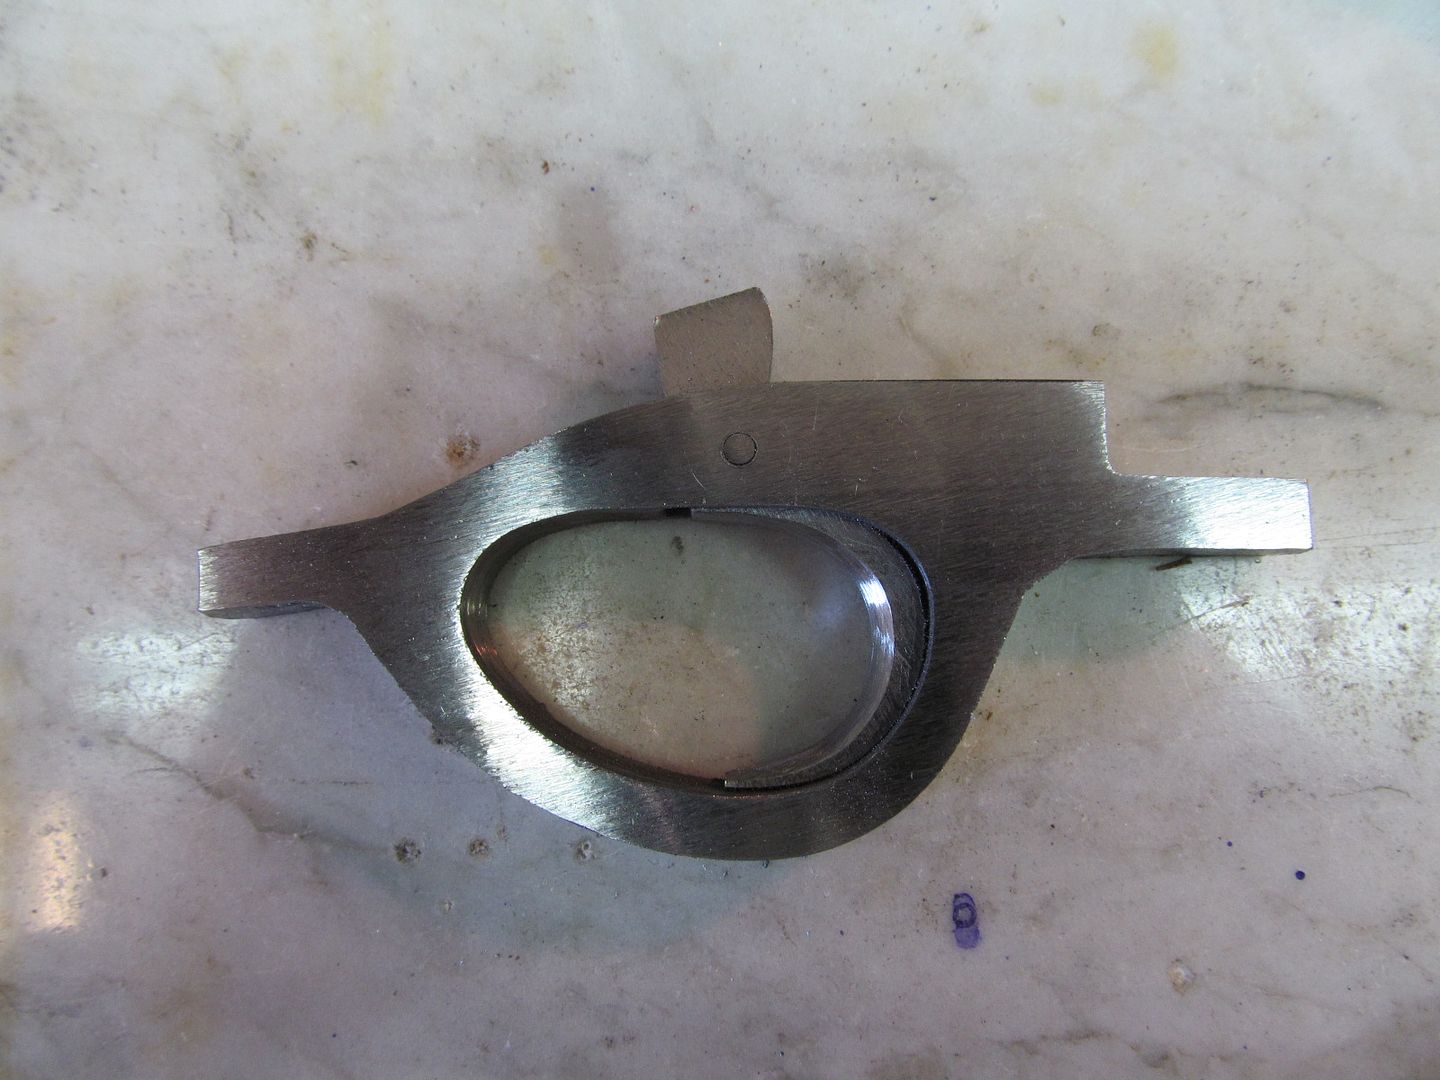
Great timing on that pic for sure!
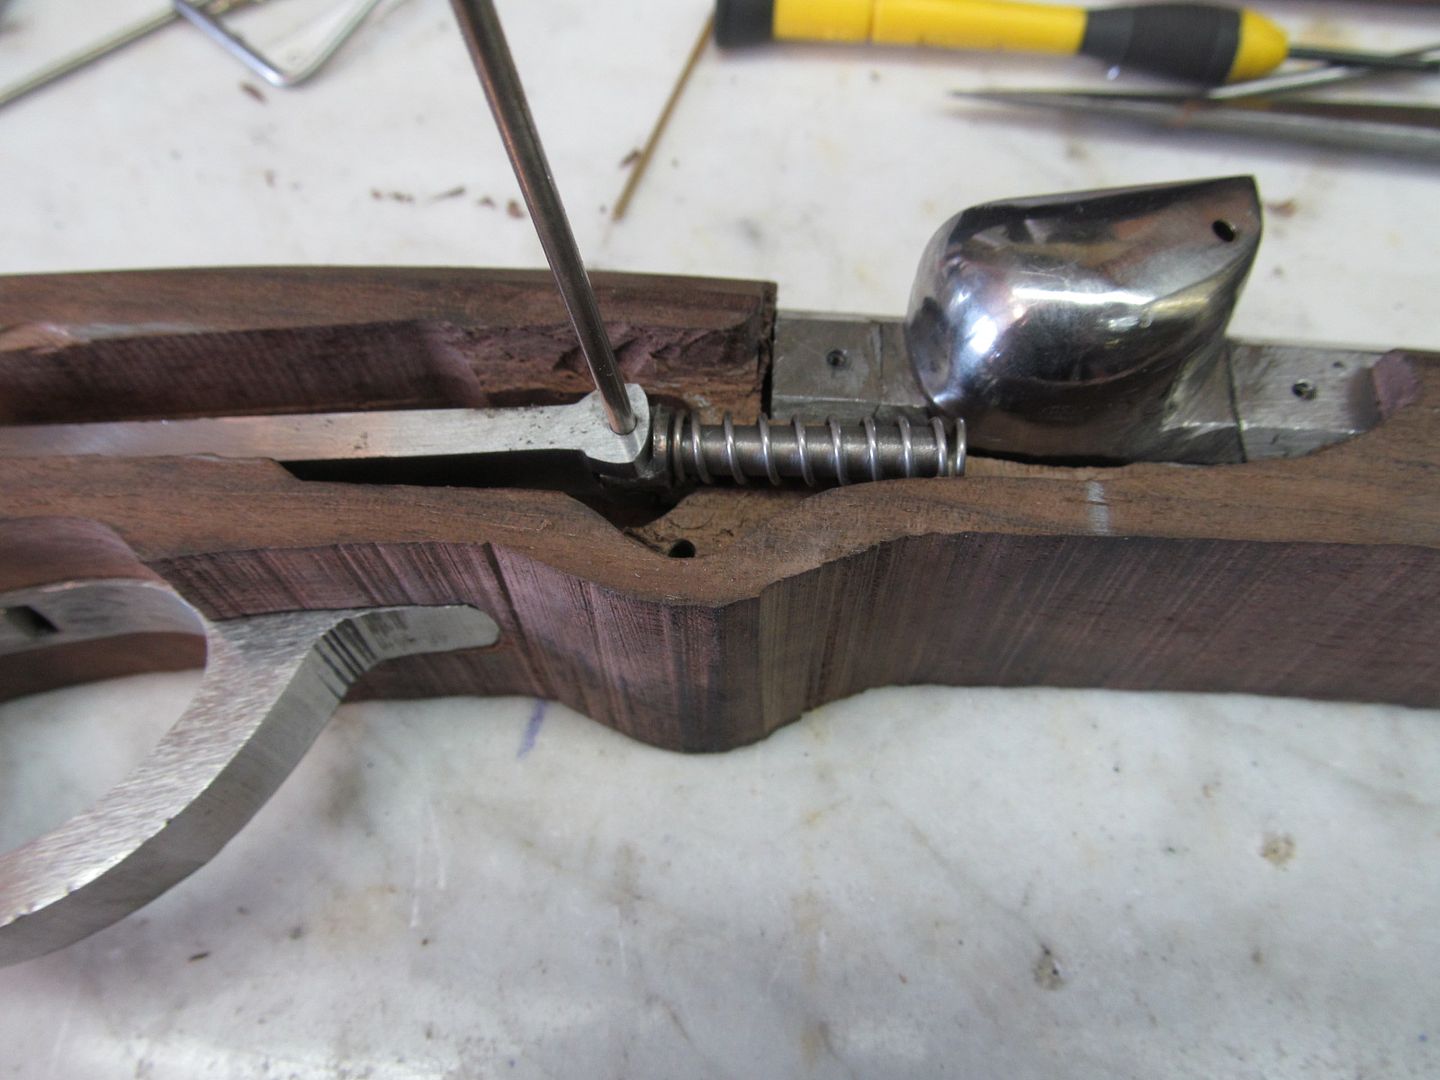
One thing I am not understanding, is how the lid of the powderbox will be opened. Is the lid just to keep things covered and then manually opened before firing?
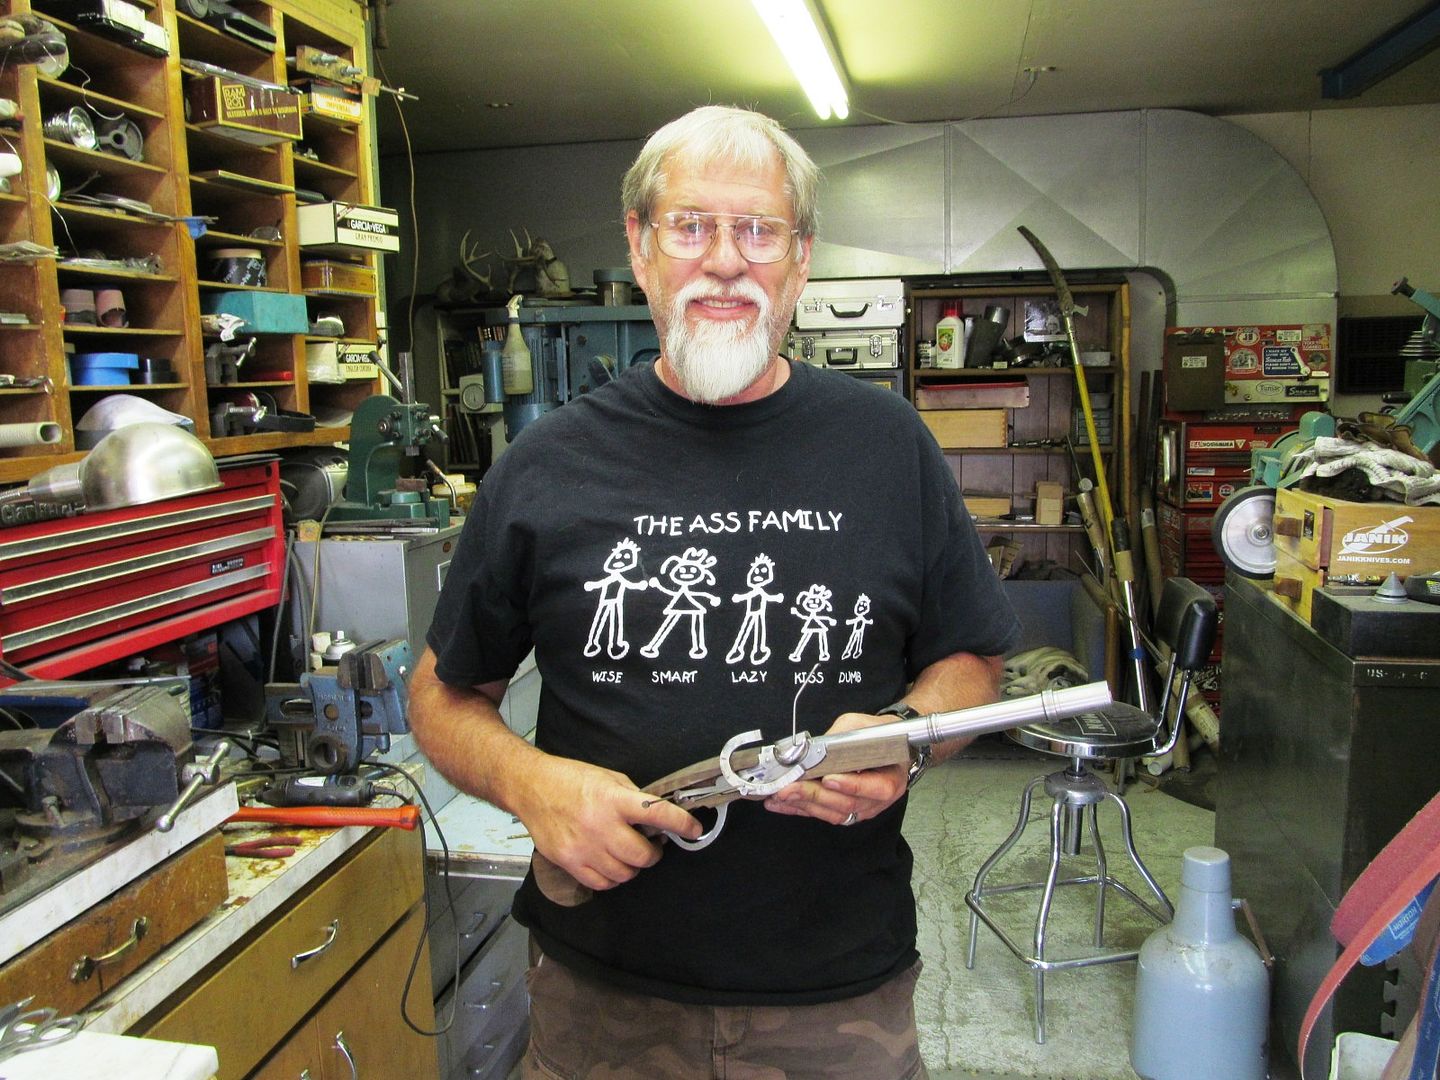
.Who is that dude in the last picture? Is that my good buddy Bruce Bump?! Pretty soon you're going to have to braid that
lock of whiskers to keep it out of the way when you grind and forge!
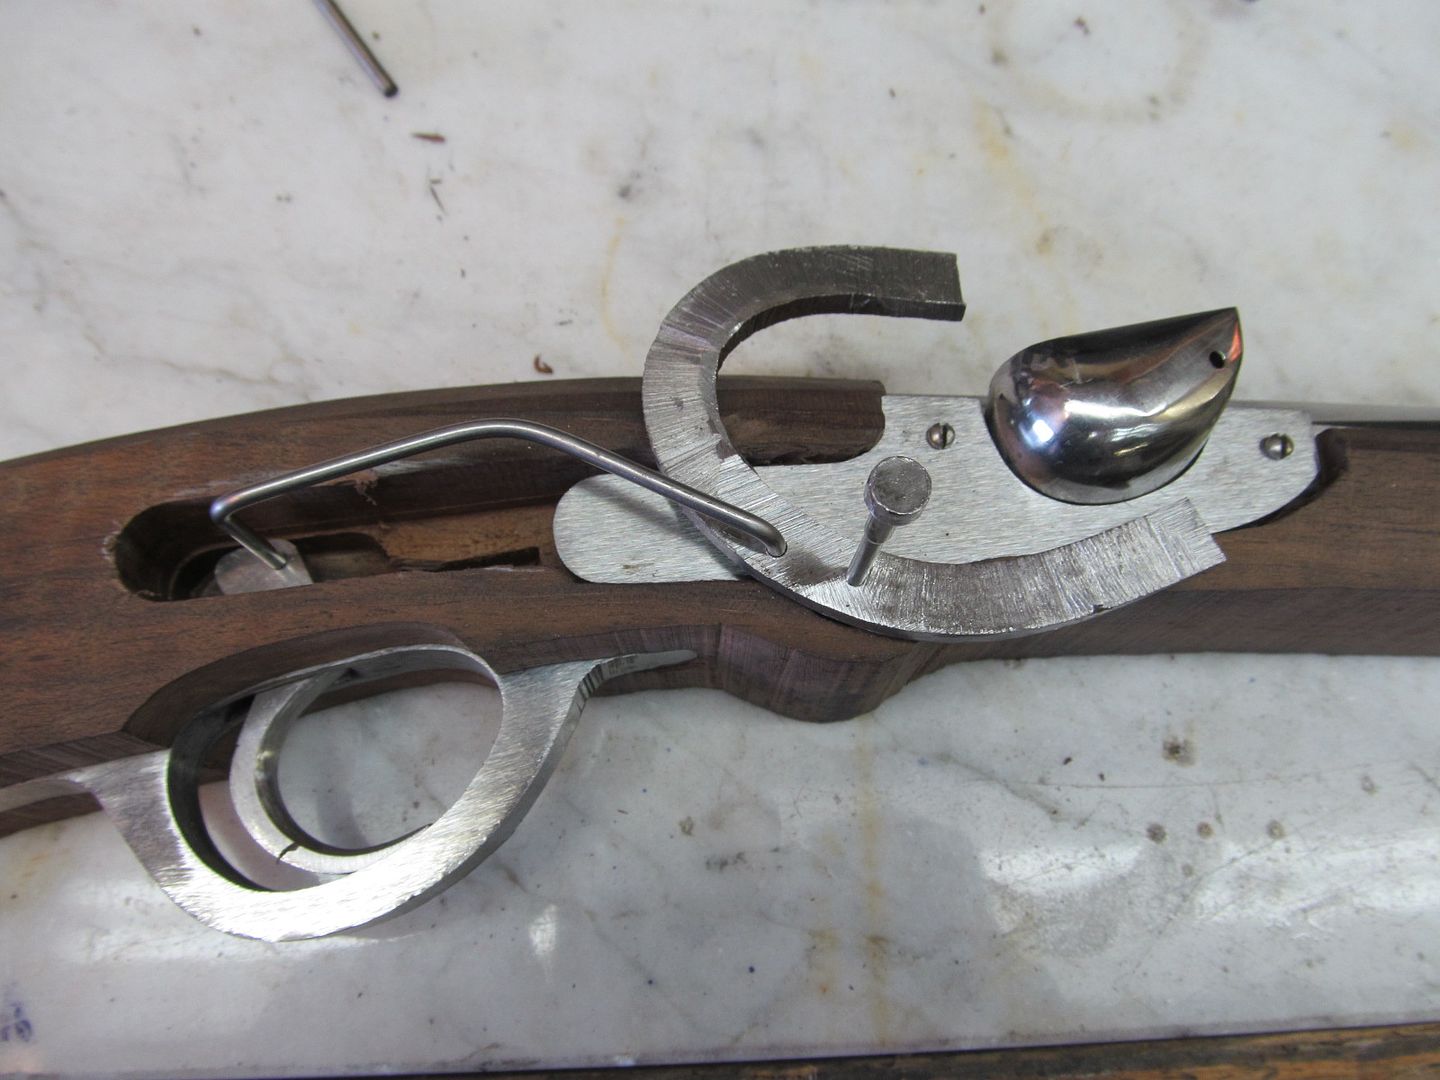
Say, that unit is coming right along. I can't wait to see the carved hammer mechanism
Dana