Patrice Lemée
Well-Known Member
Bruce, another question:
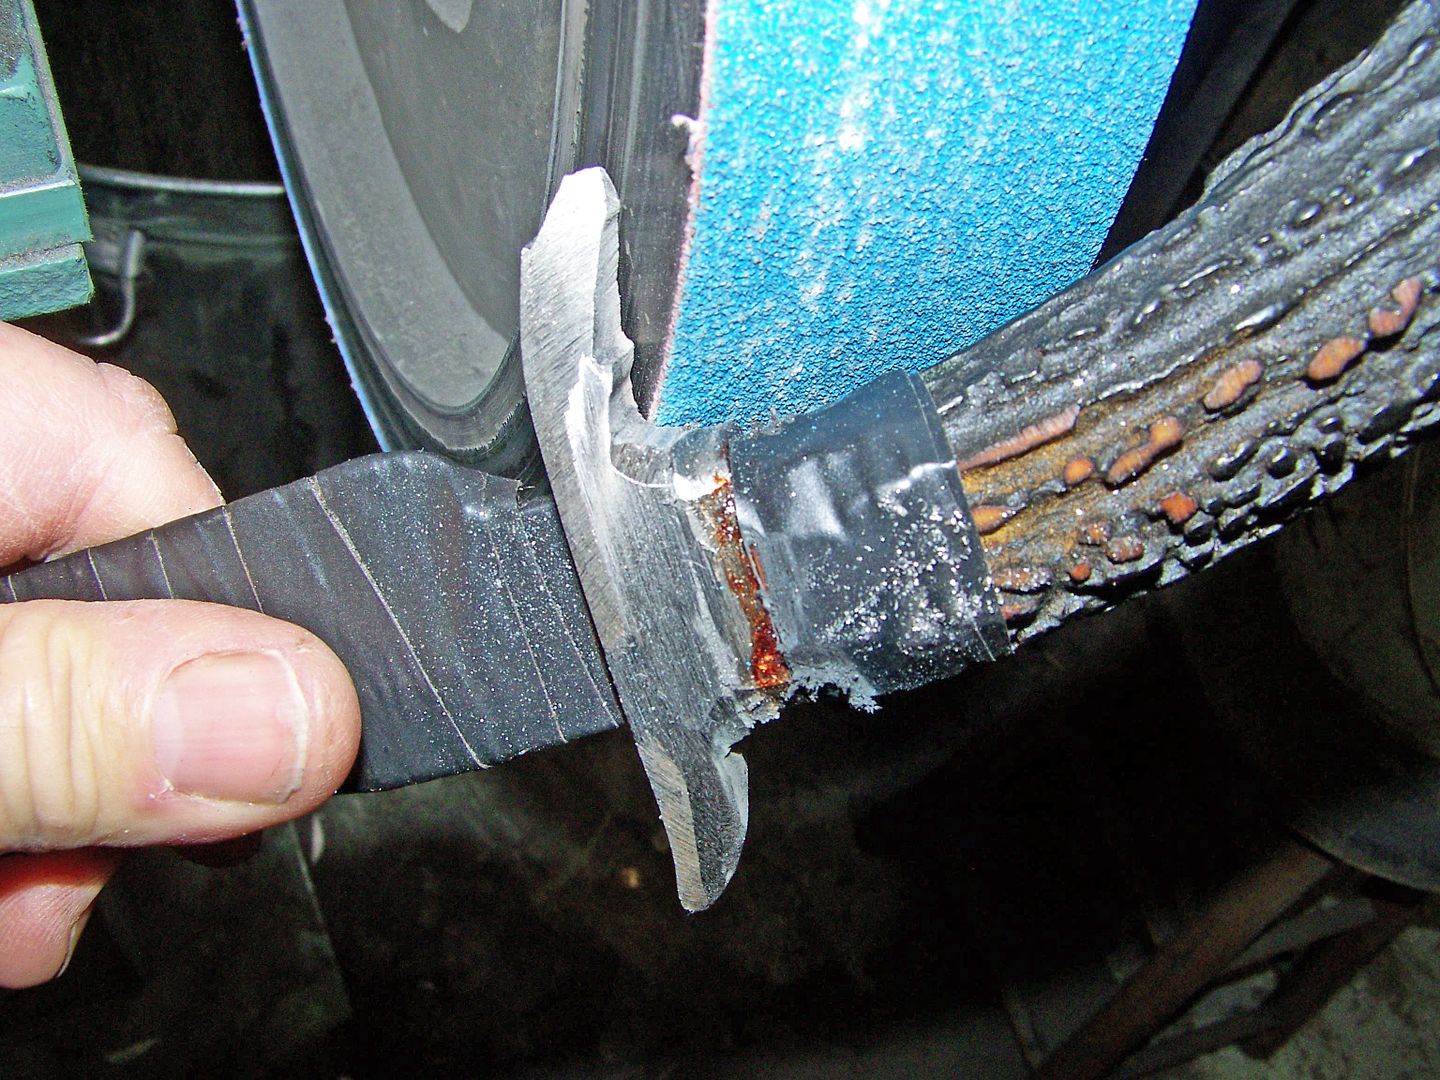
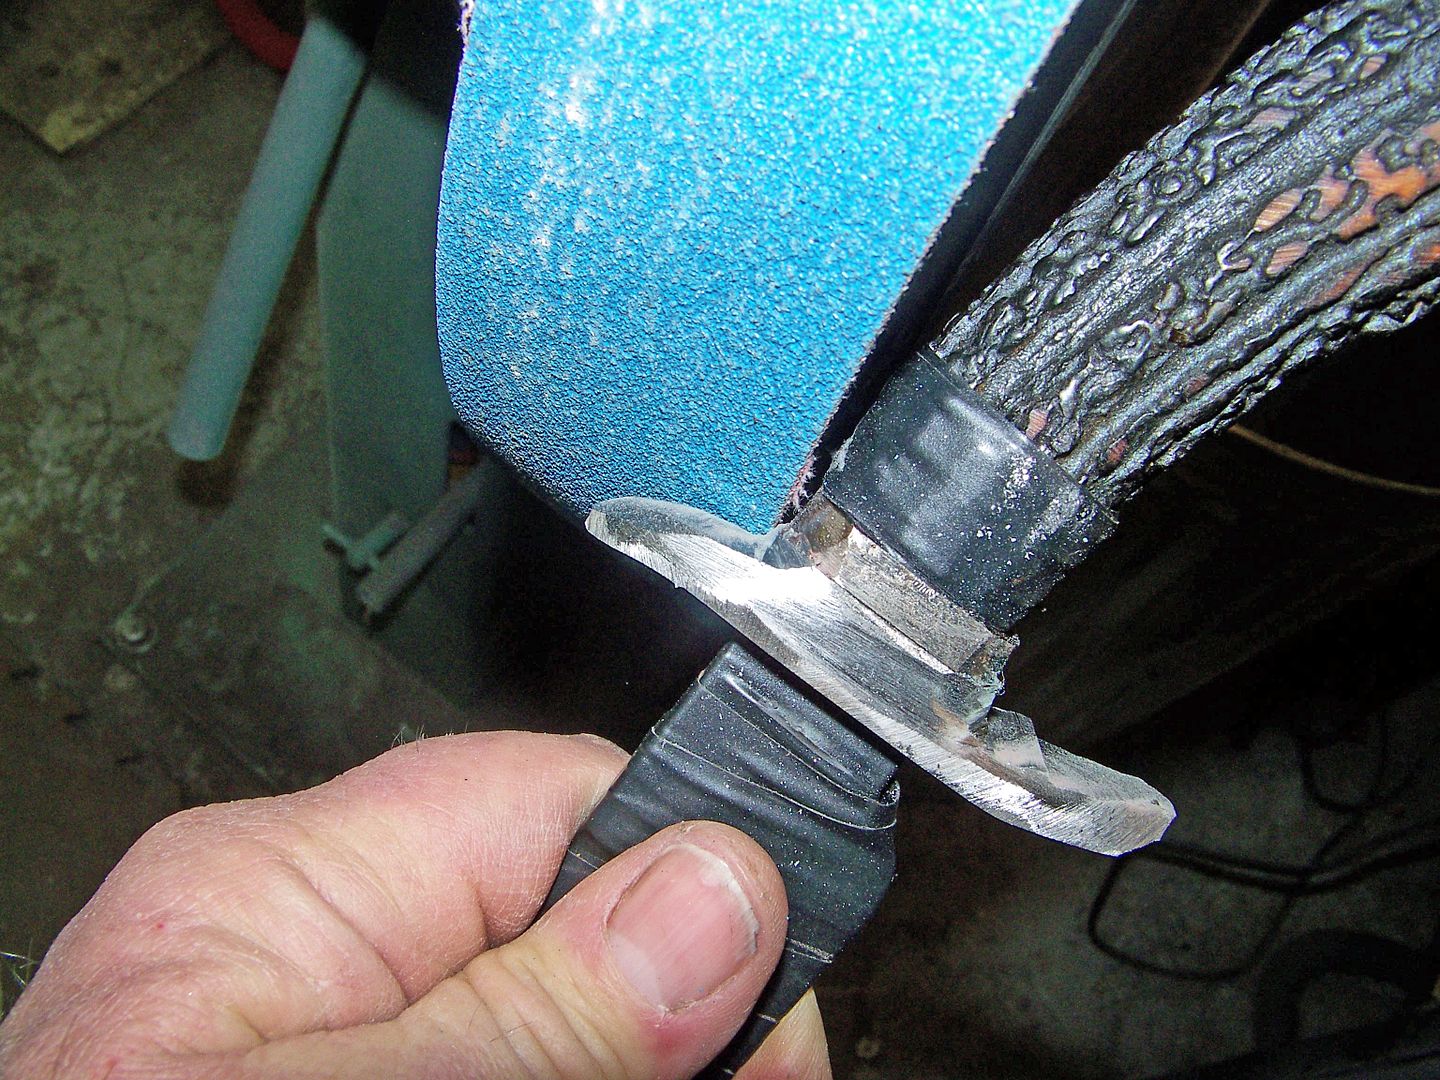
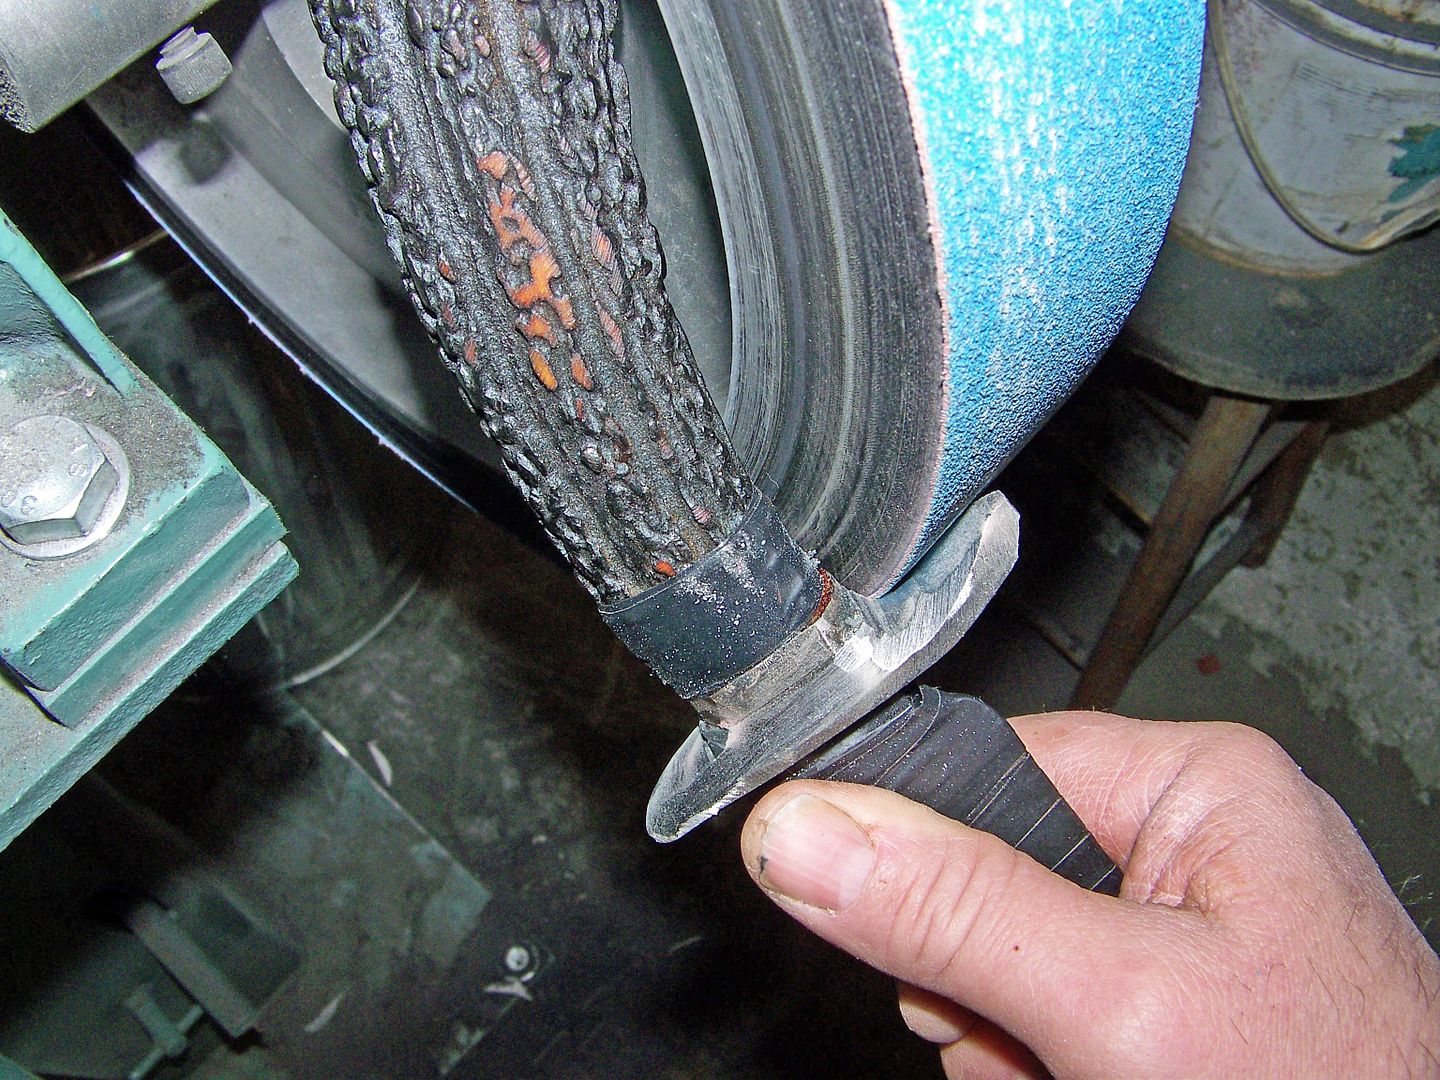
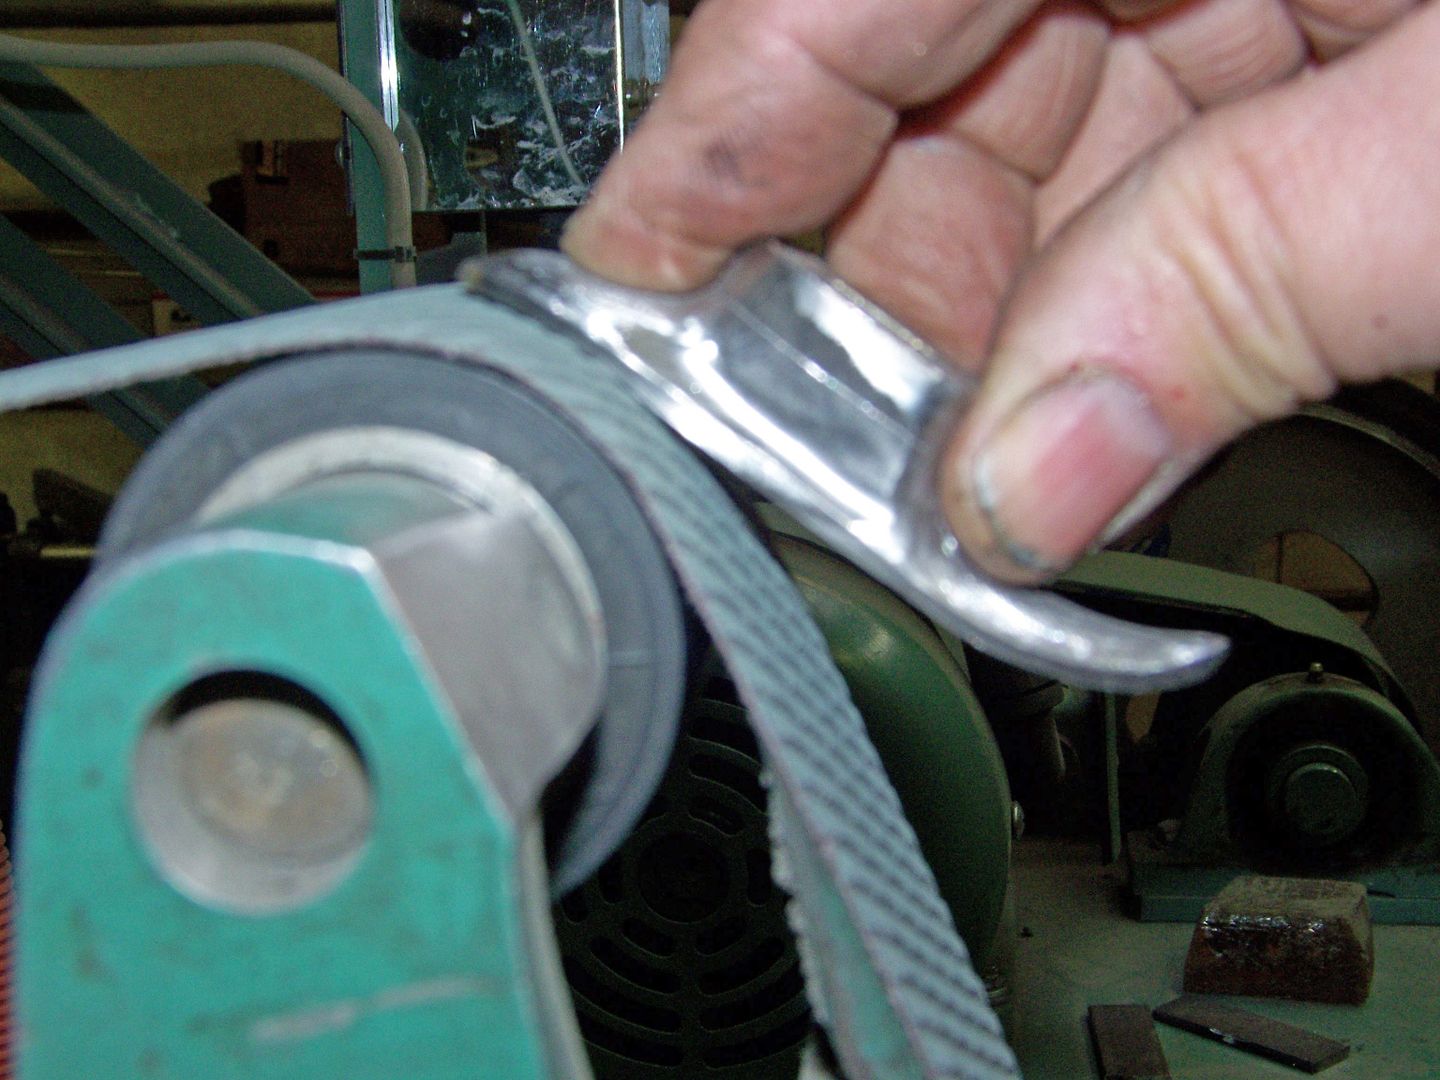
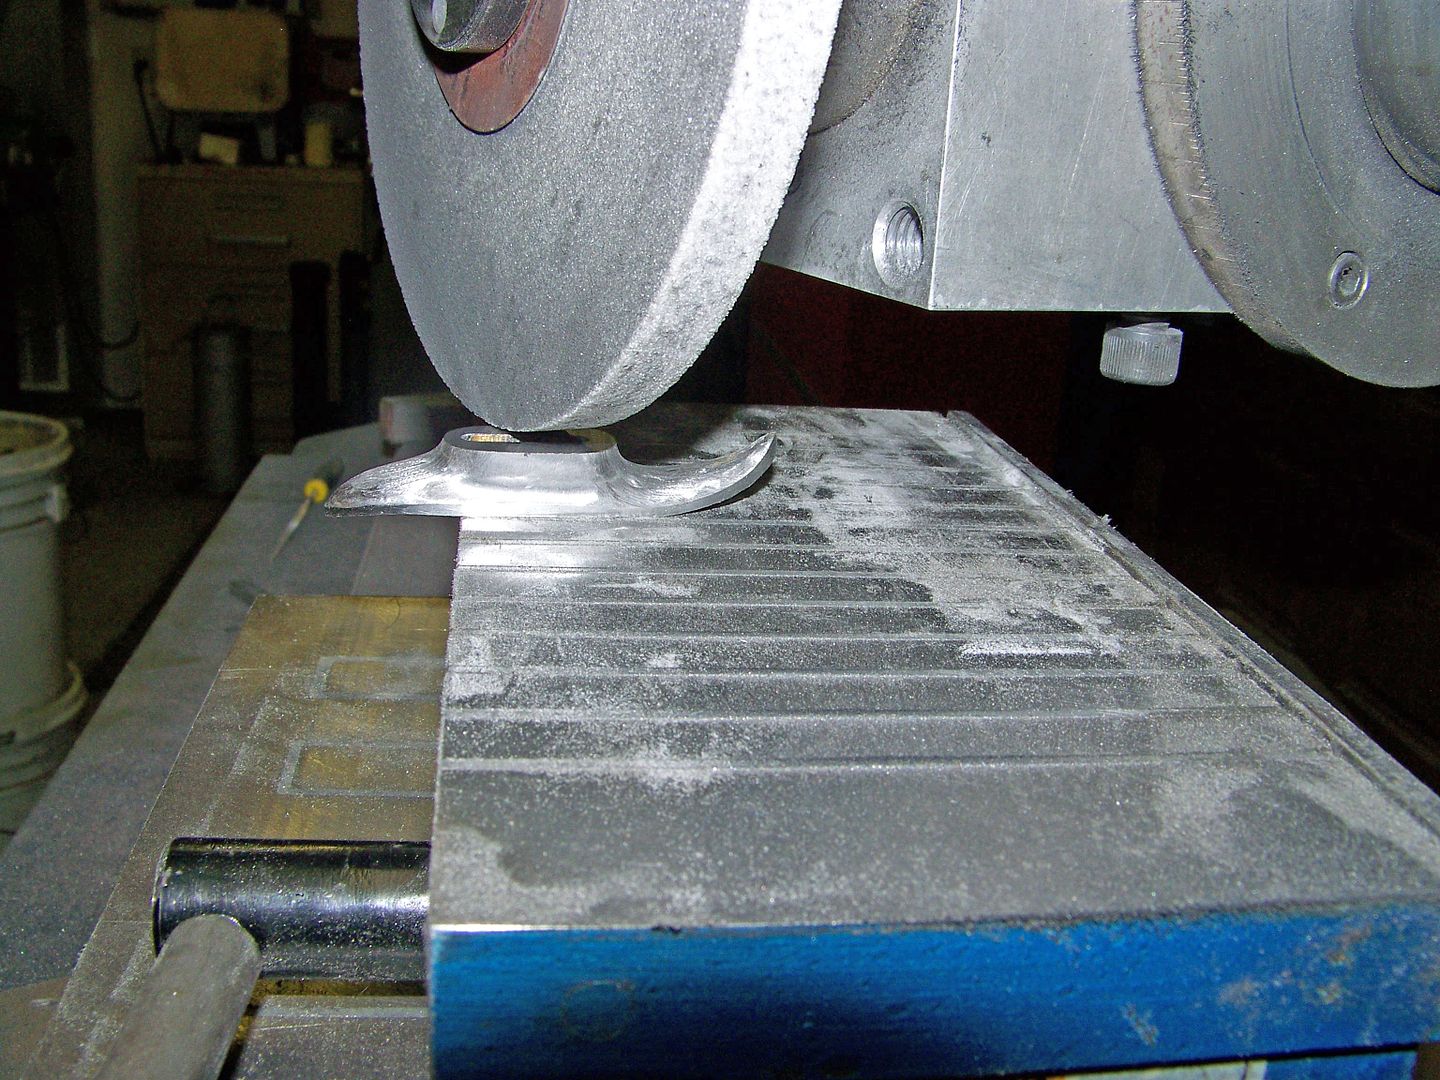
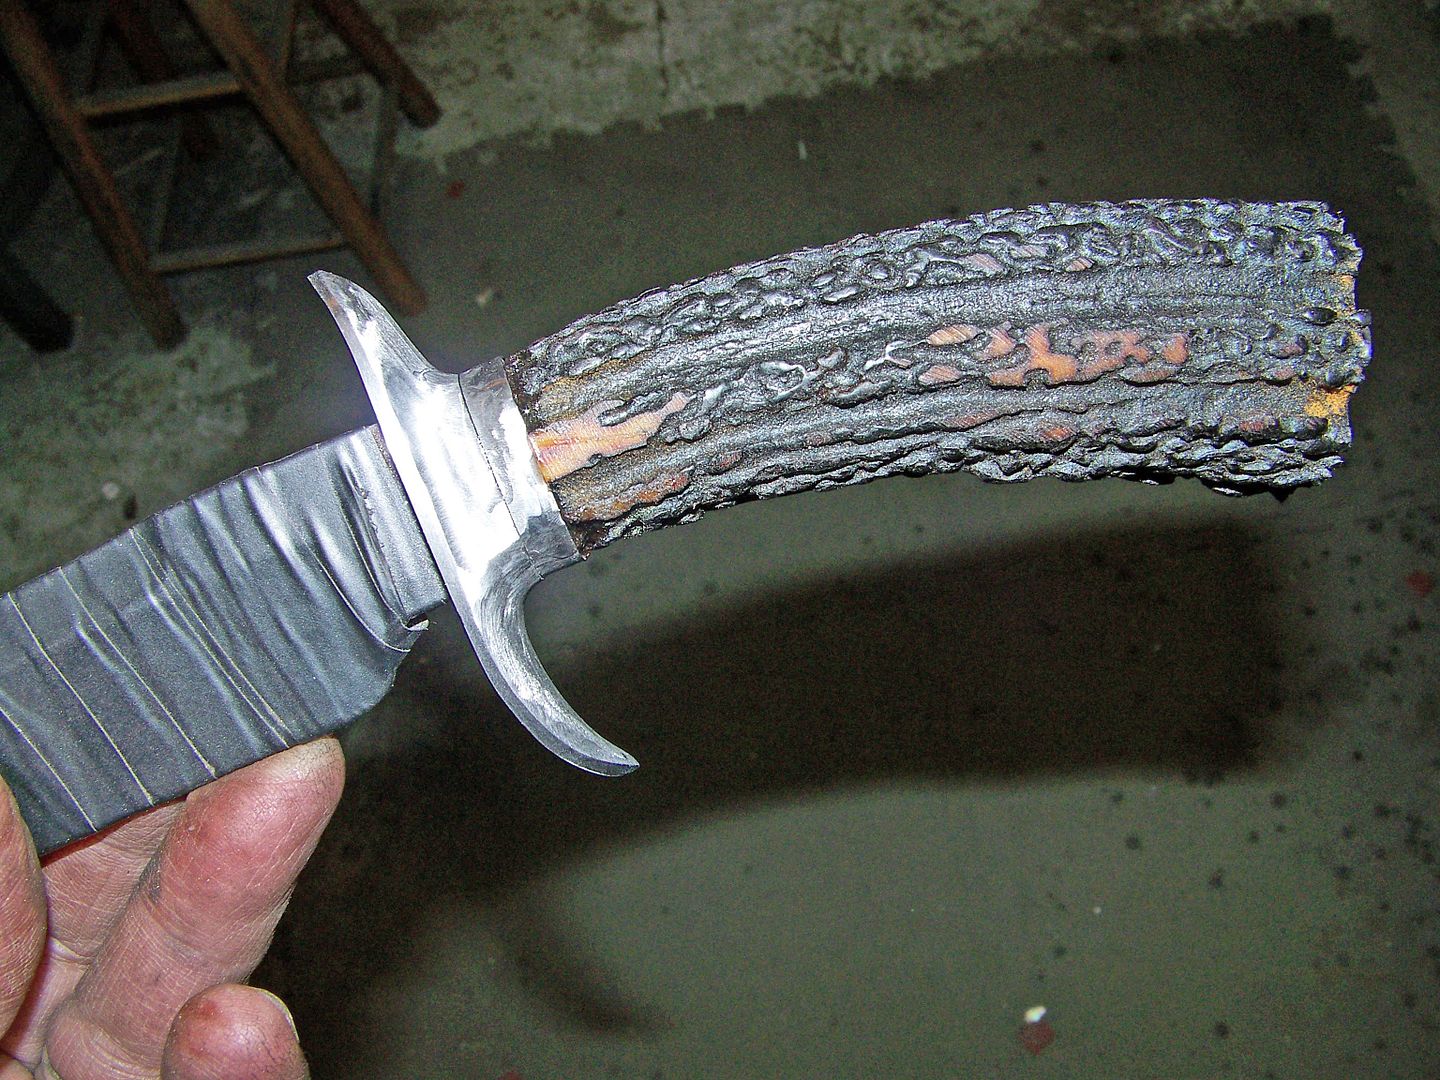
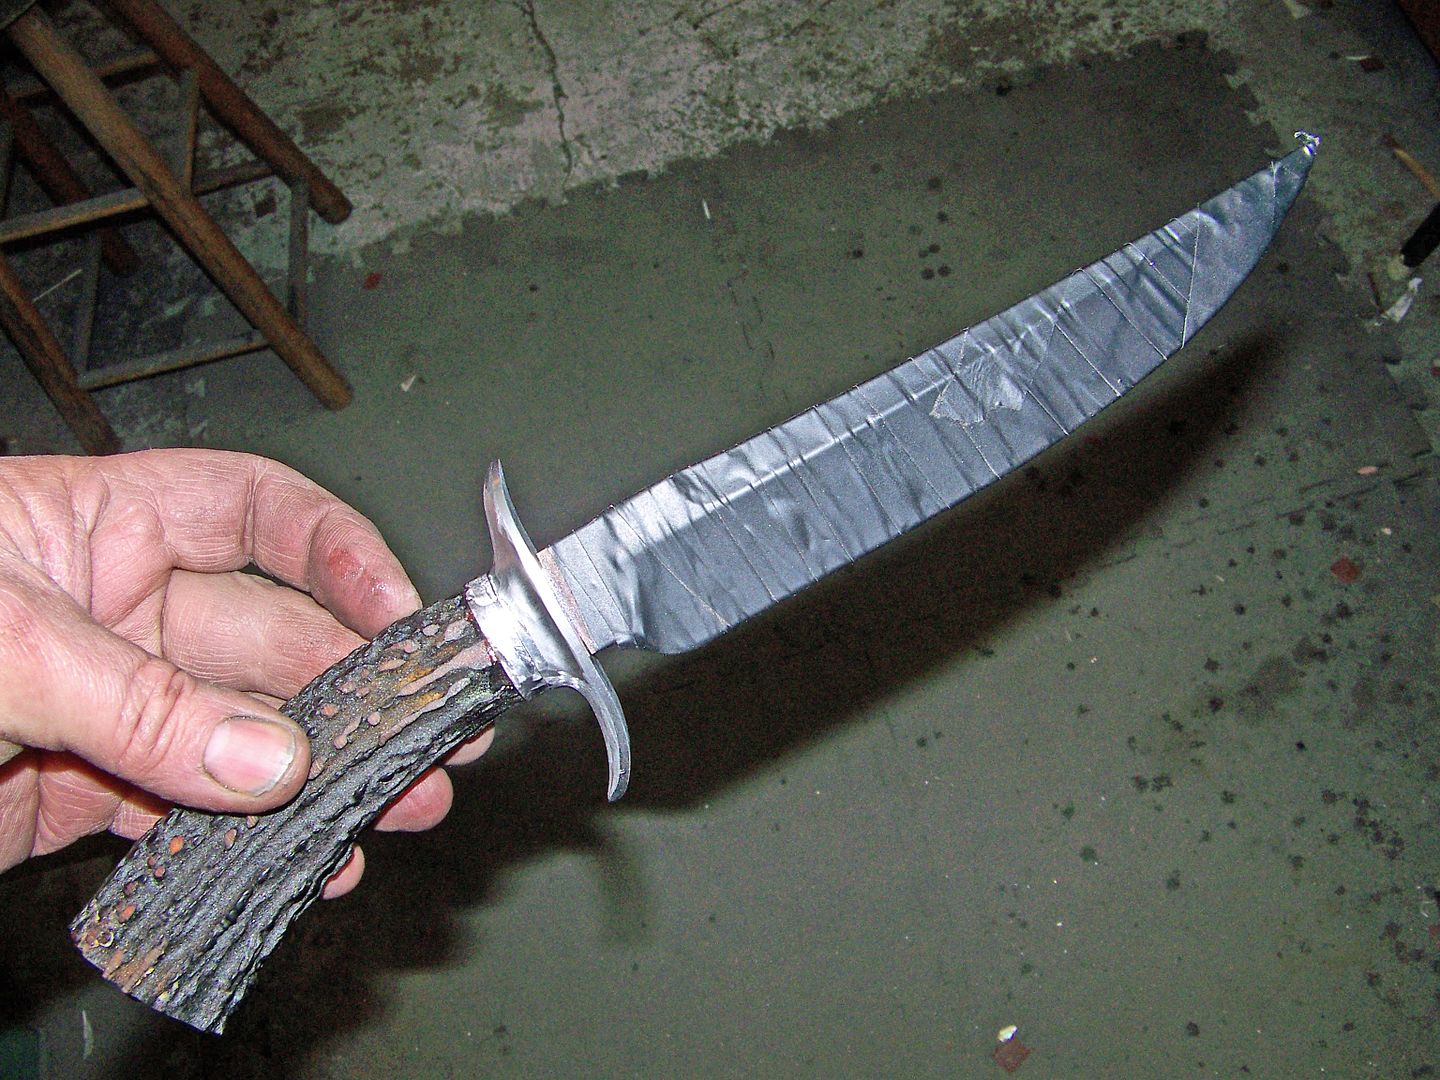
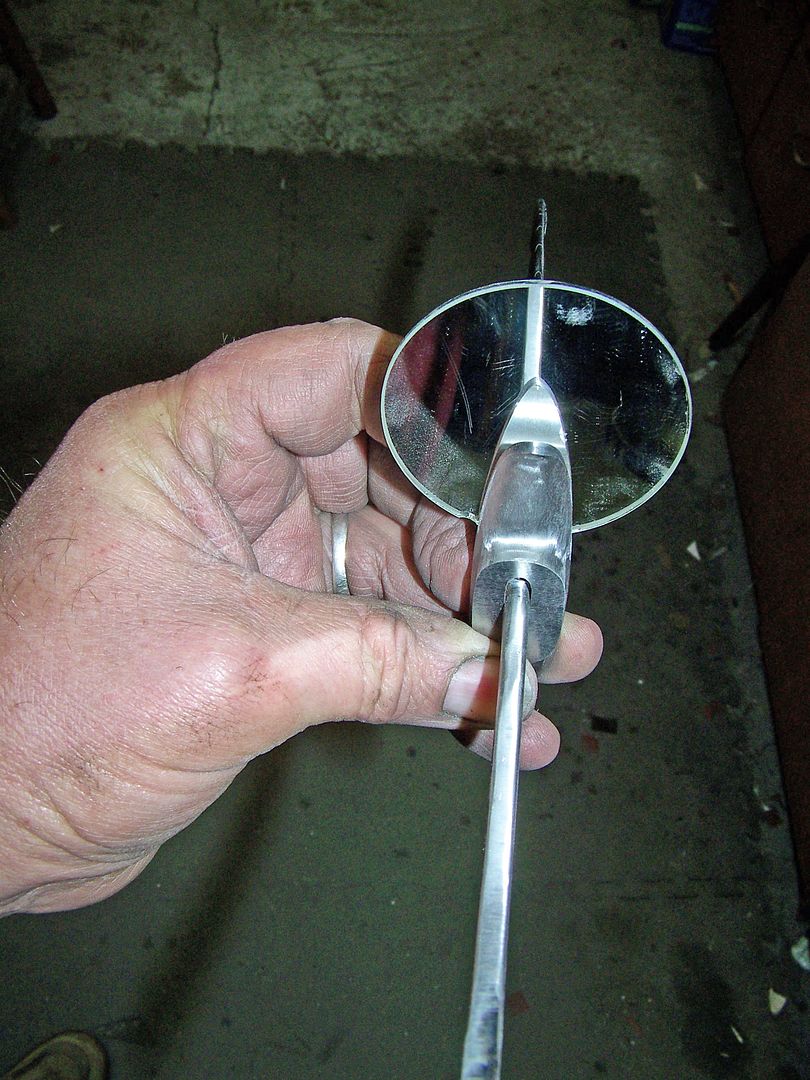
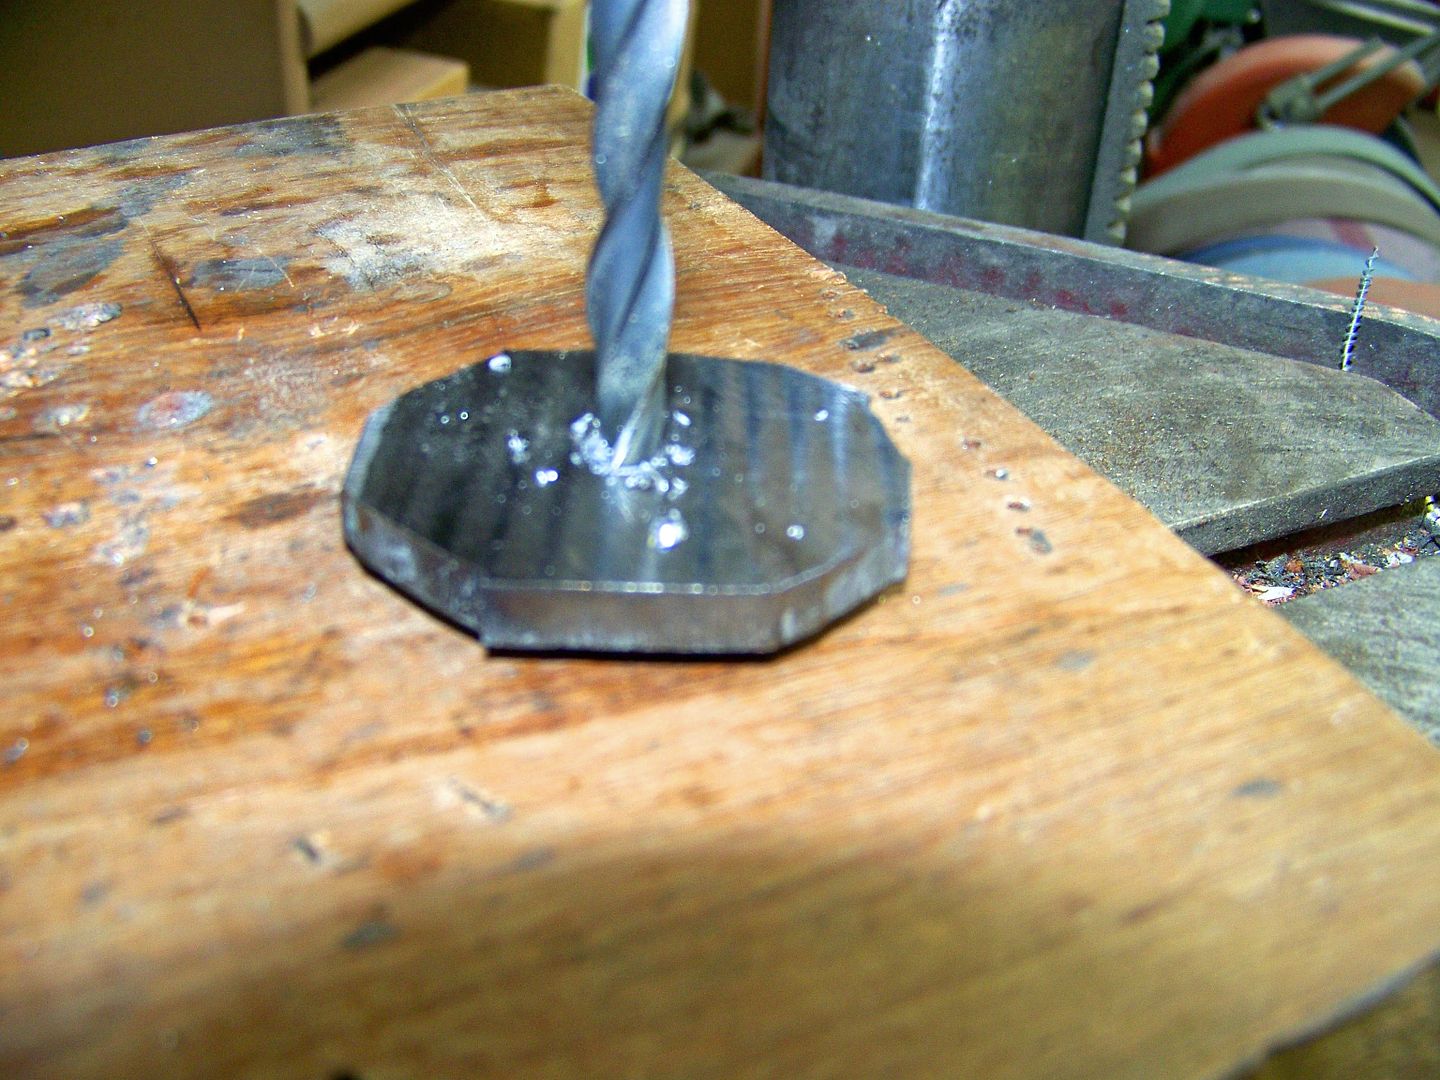
I was surprised by the fit at the back of the guard. Some big gaps there. Is it only for the locating tabs or am I just trying too hard to get a perfect fit all the way through when I do it?
Thanks again for taking the time to show us your work and answering our newbie questions, much appreciated.
Patrice
")