You are using an out of date browser. It may not display this or other websites correctly.
You should upgrade or use an alternative browser.
You should upgrade or use an alternative browser.
Matchlock Axe/Pistol
- Thread starter Bruce Bump
- Start date
Steve Culver
Well-Known Member
Bruce,
I'm enjoying watching your build. You really have to be able to think in 3D to make things like this.
I'm enjoying watching your build. You really have to be able to think in 3D to make things like this.
Allen Newberry
newberry knives
This thing is going to be cool!
") Thanks as always for sharing and I am watching intently as it progresses. -Burton
Thanks as always for sharing and I am watching intently as it progresses. -BurtonBruce Bump
Forum Owner-Moderator
Thanks guys. The comments are appreciated.
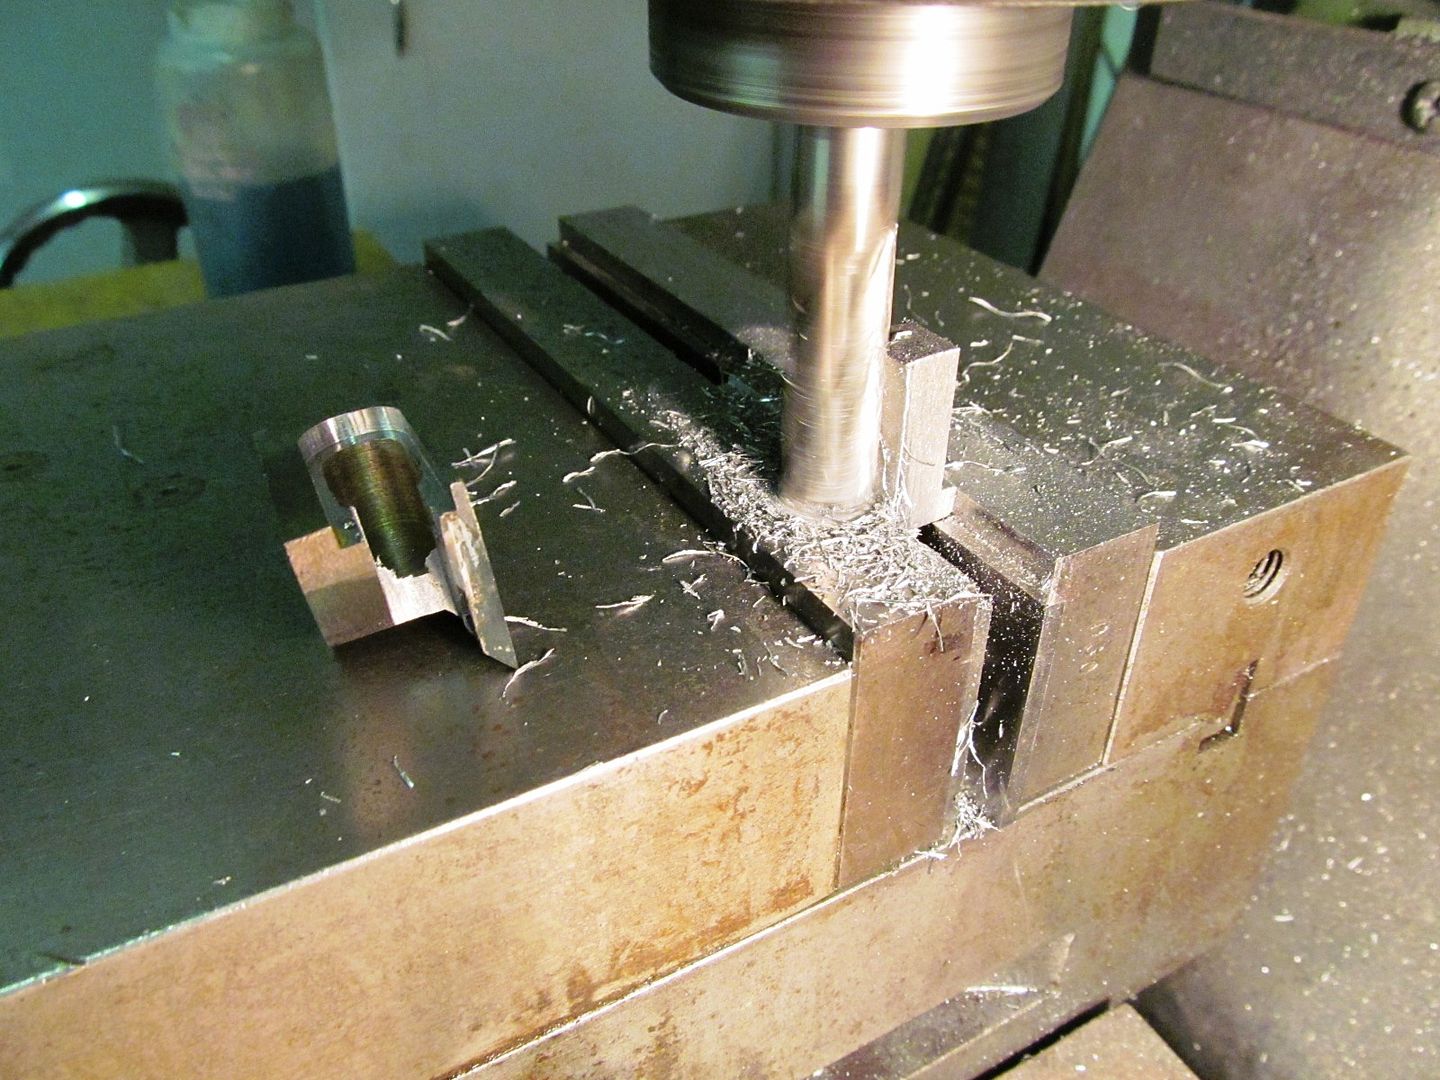
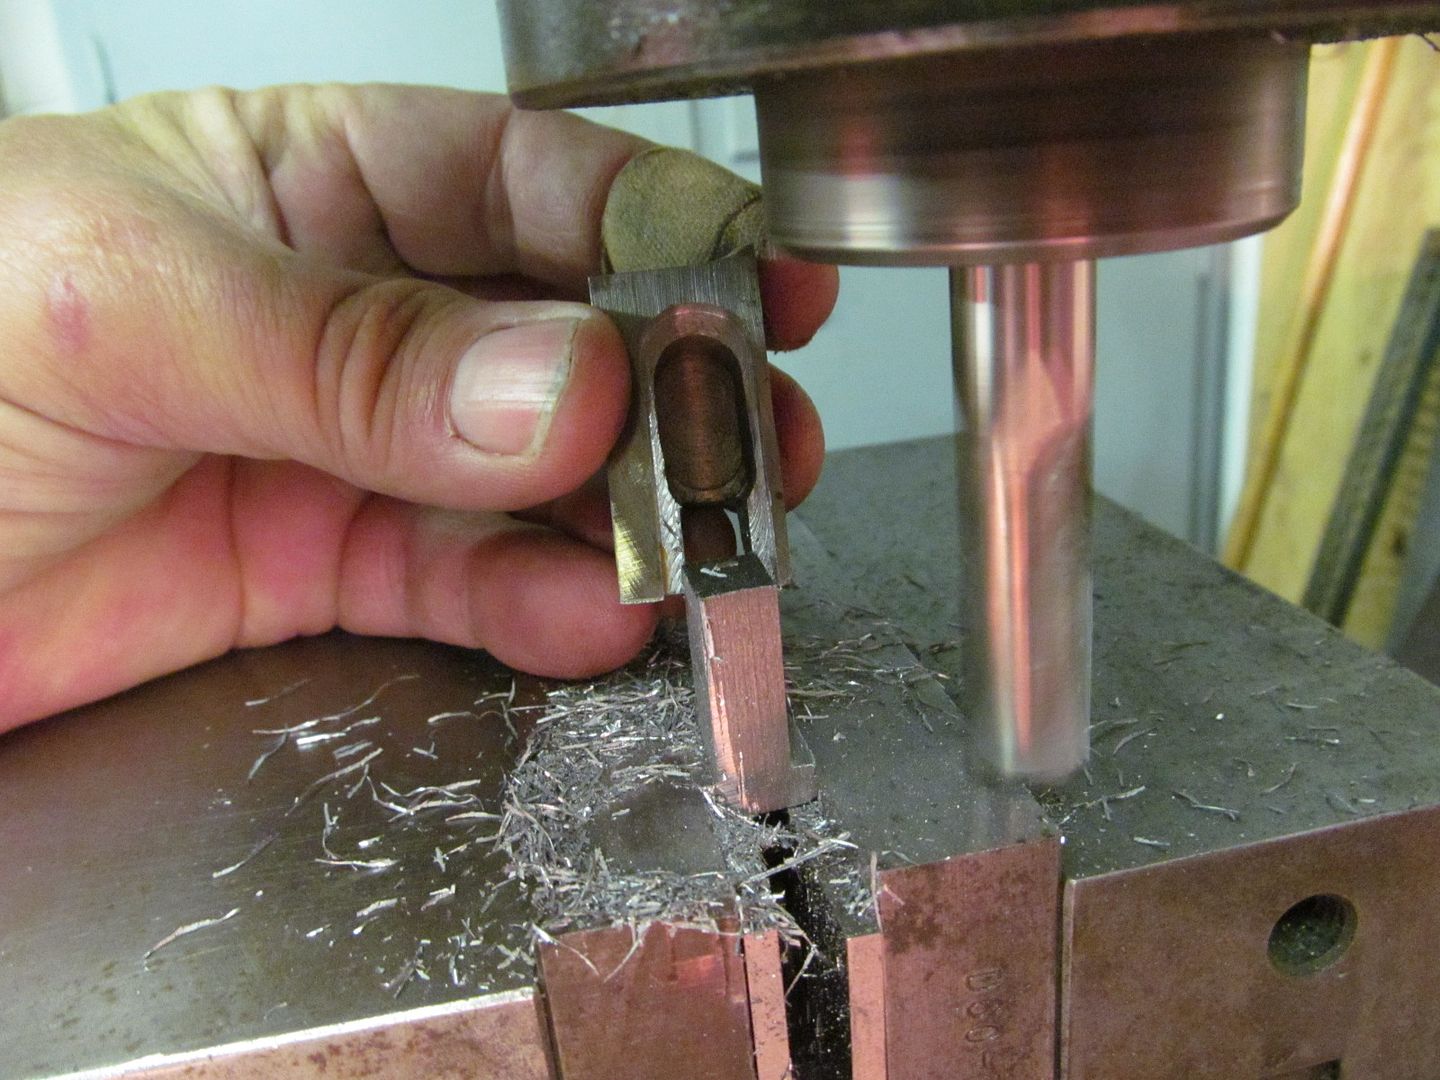
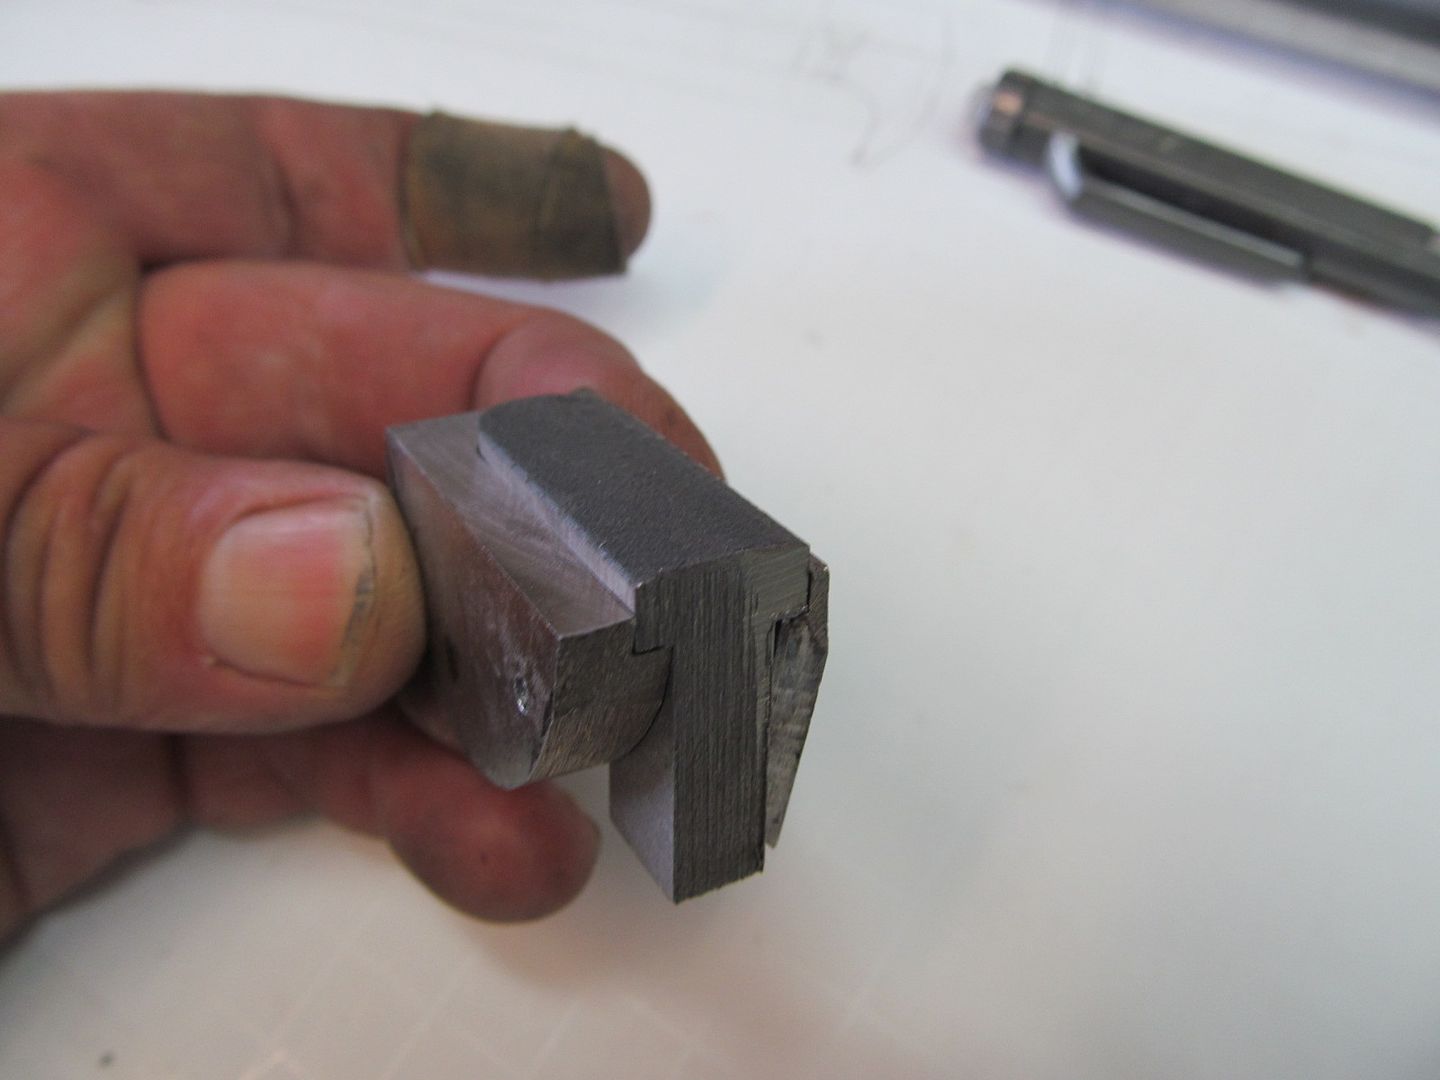
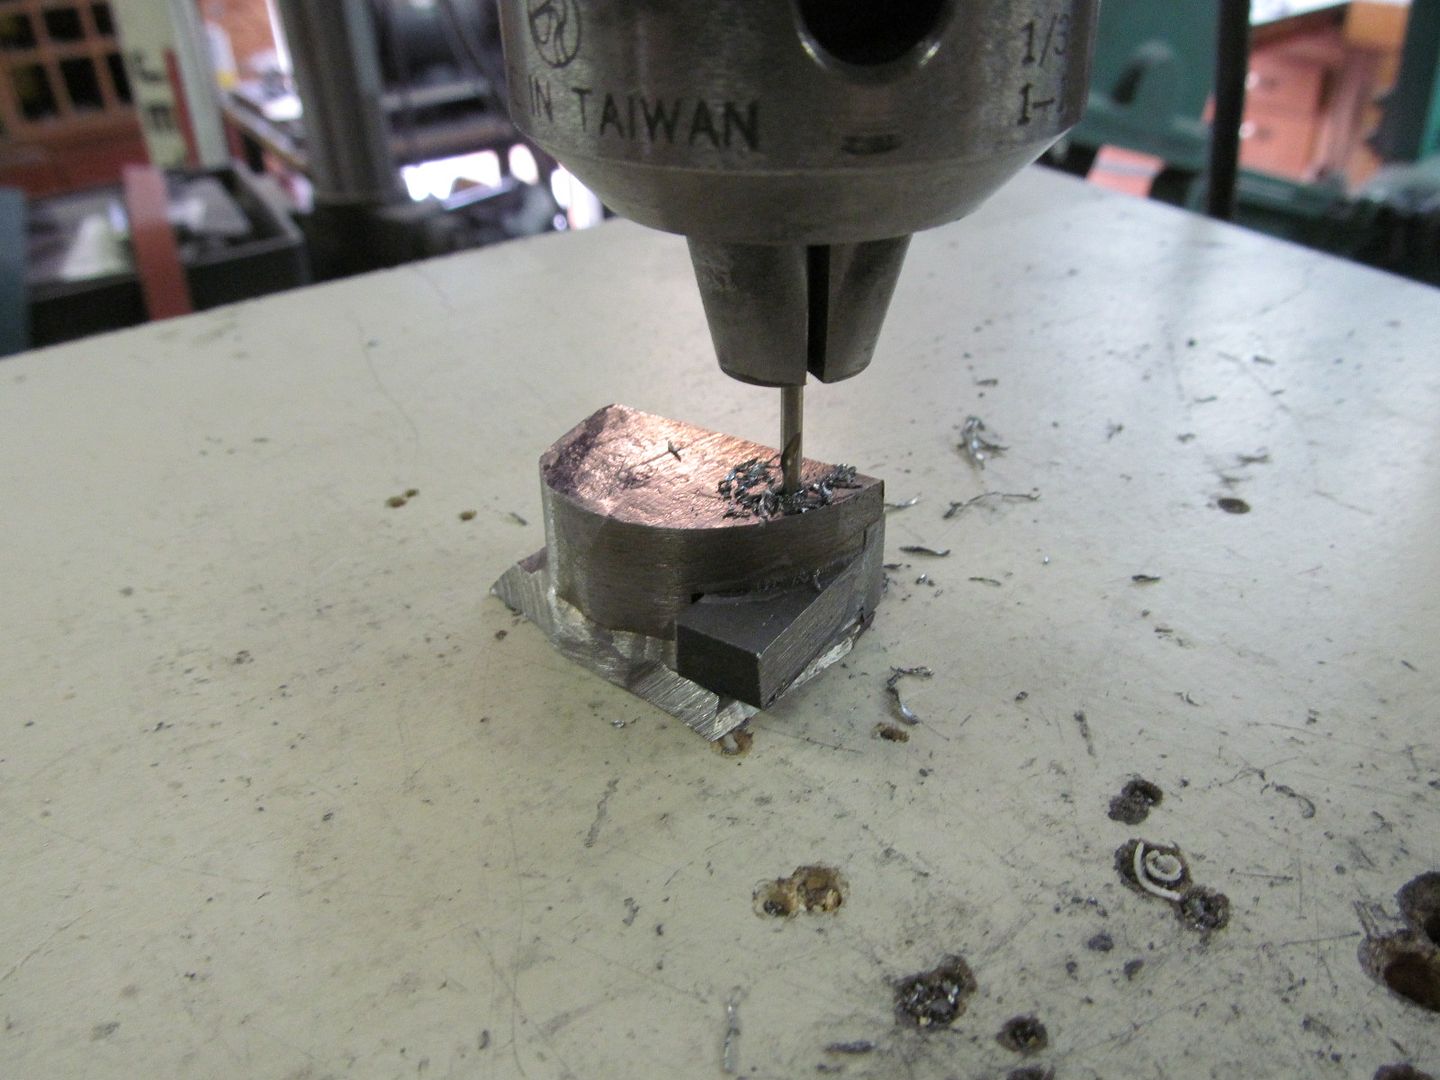
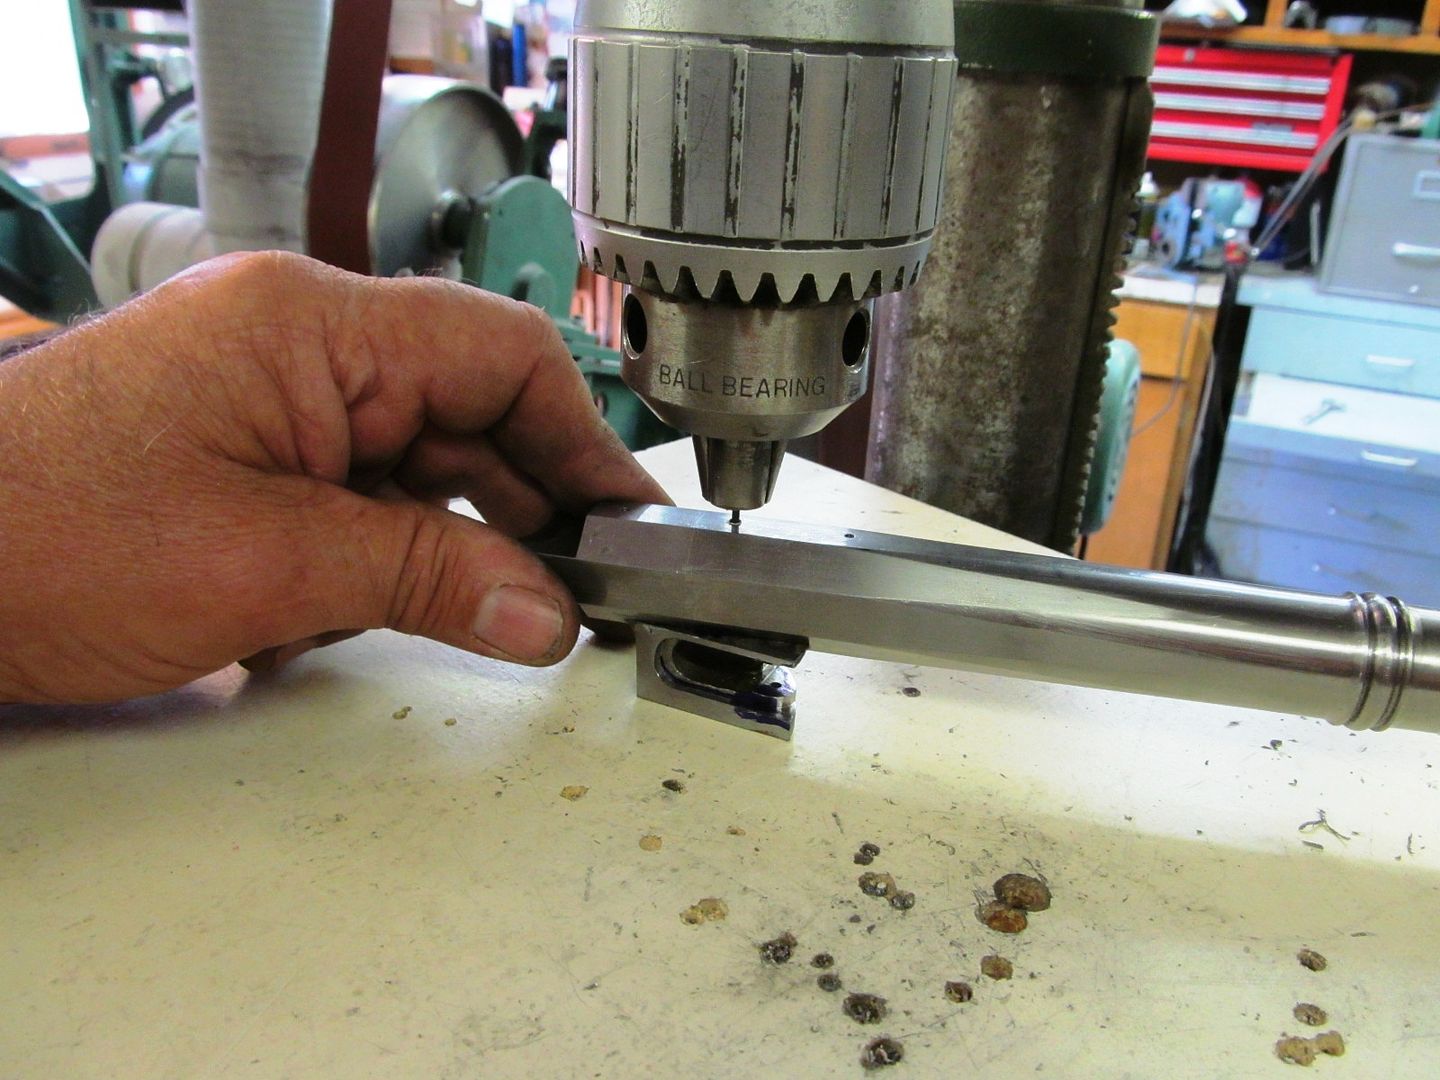
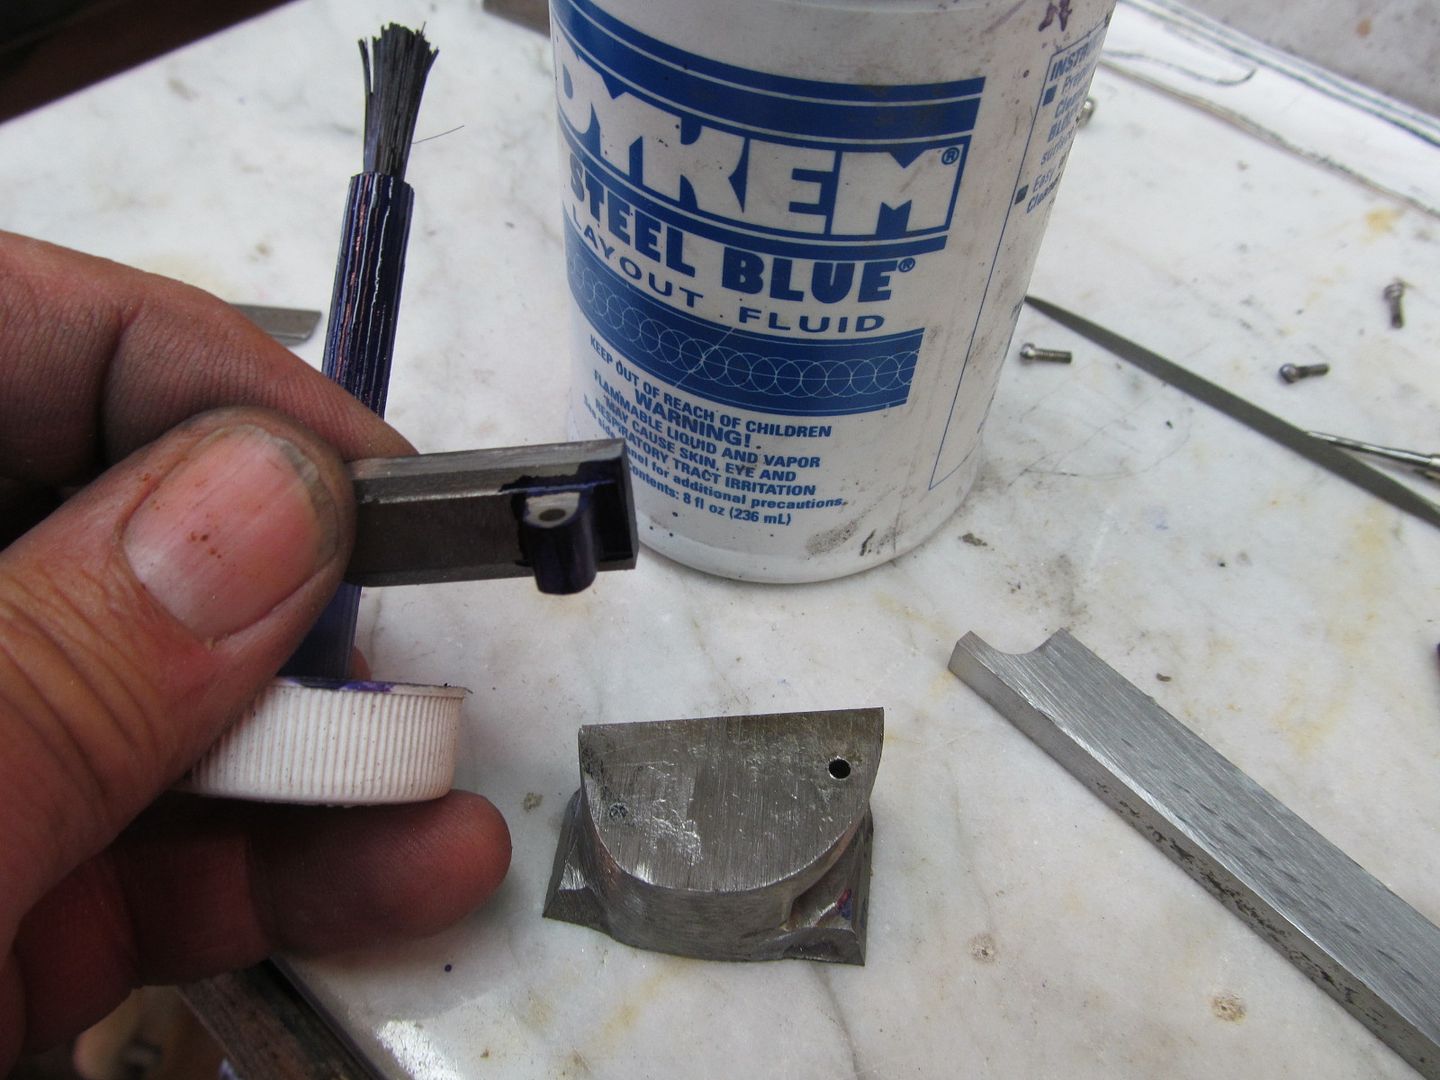
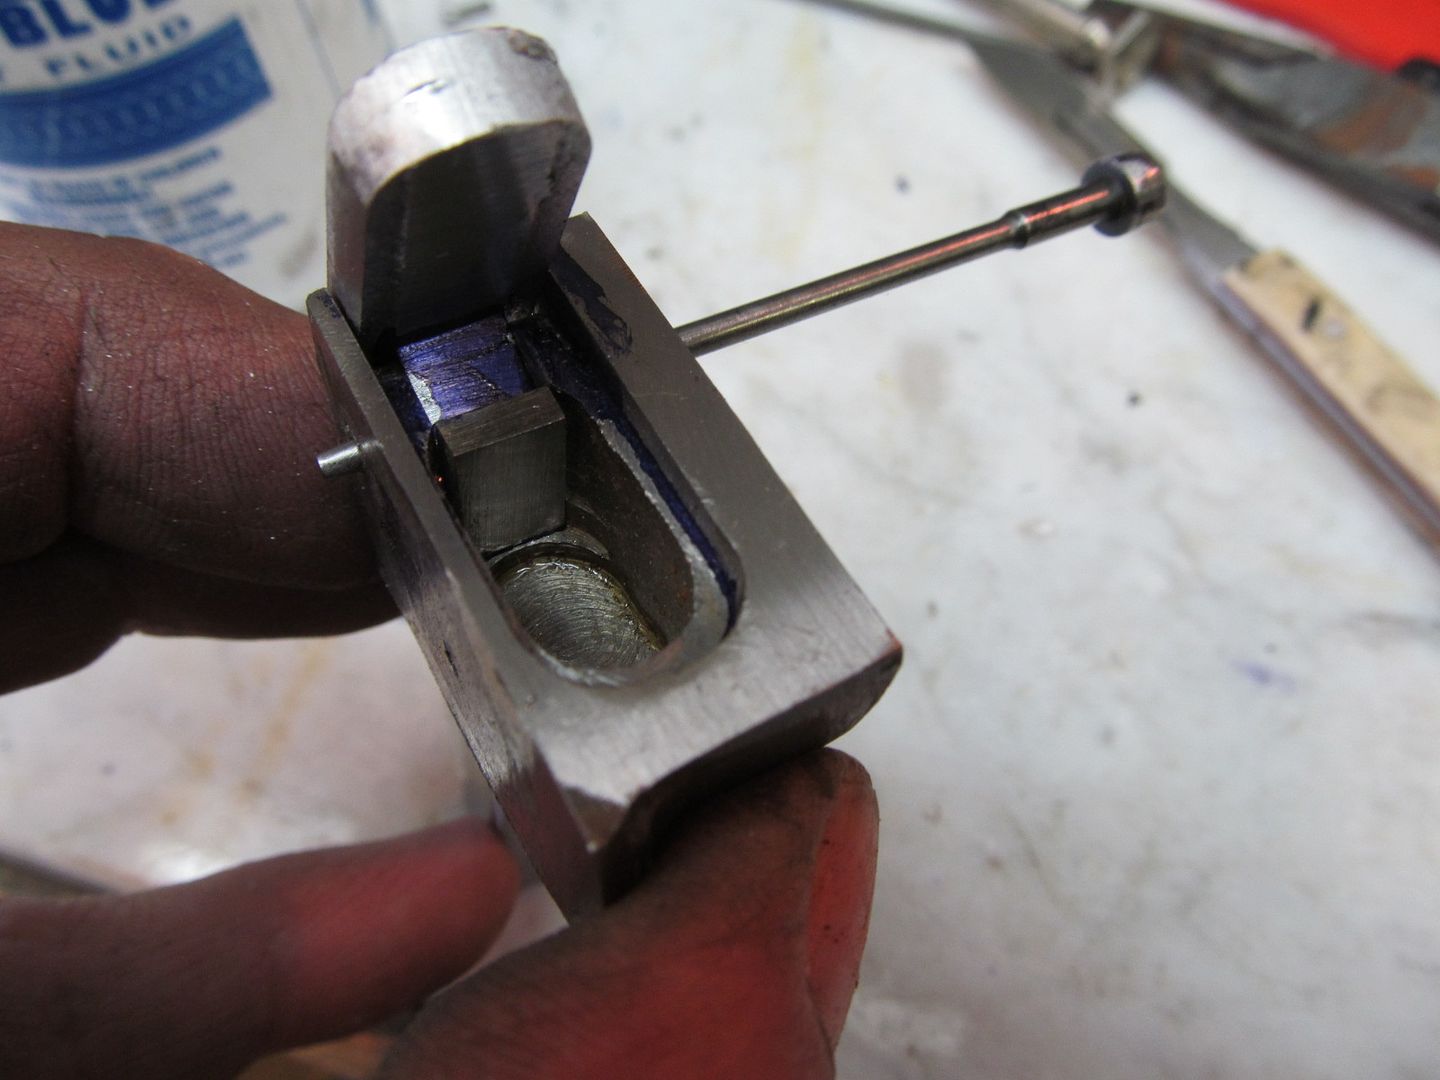
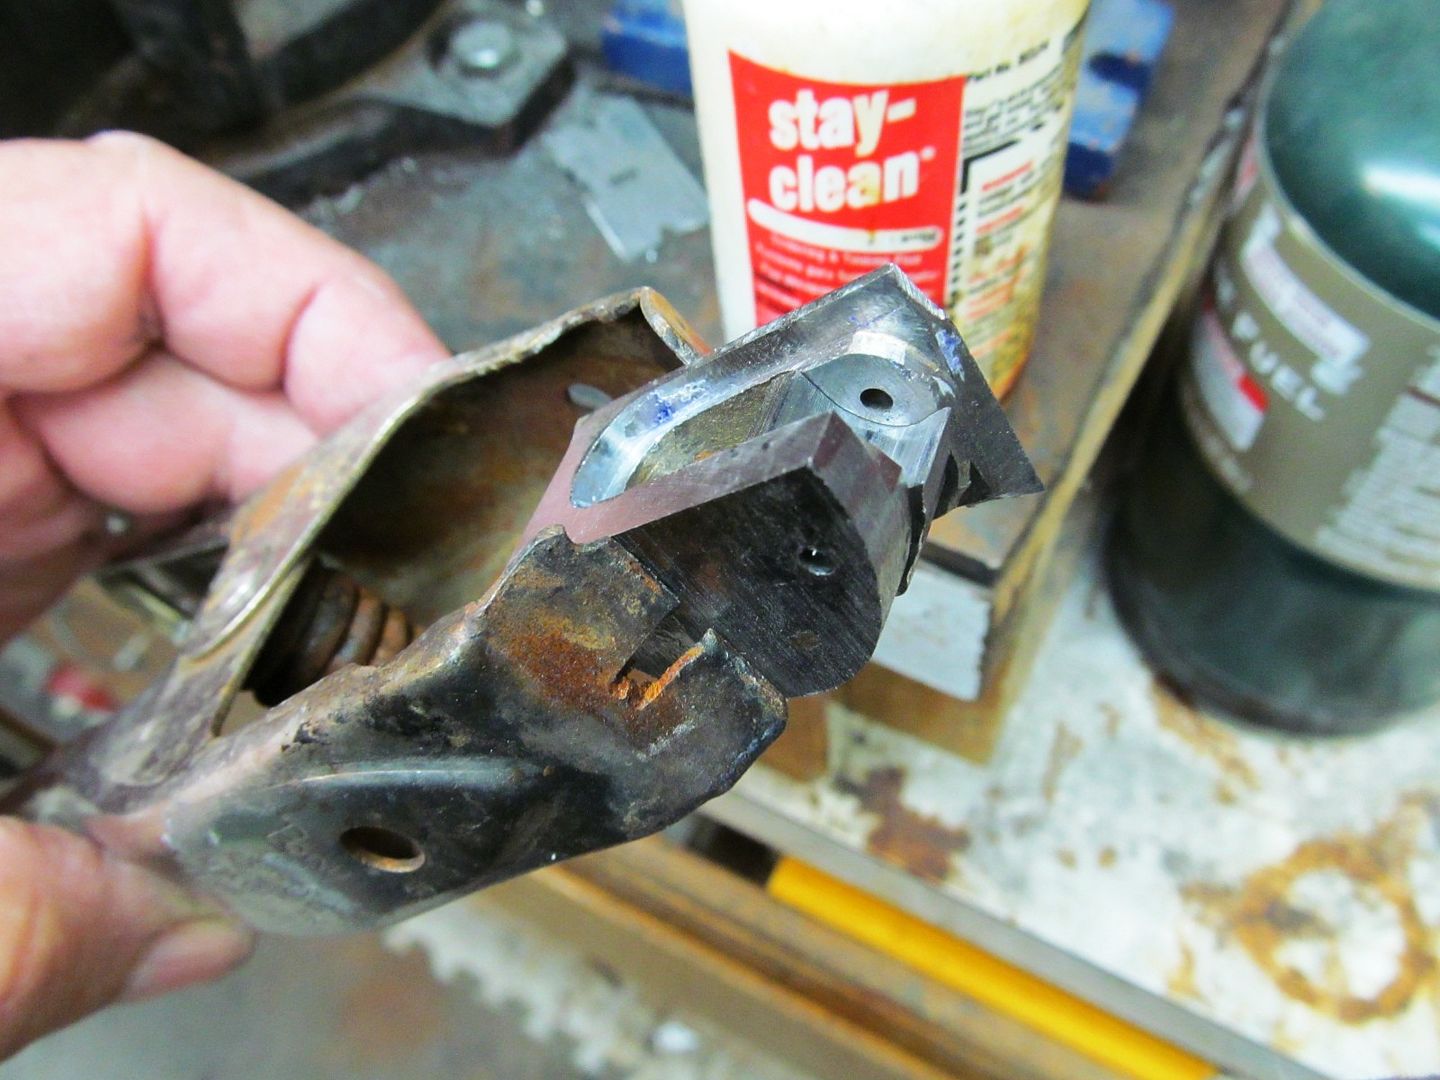
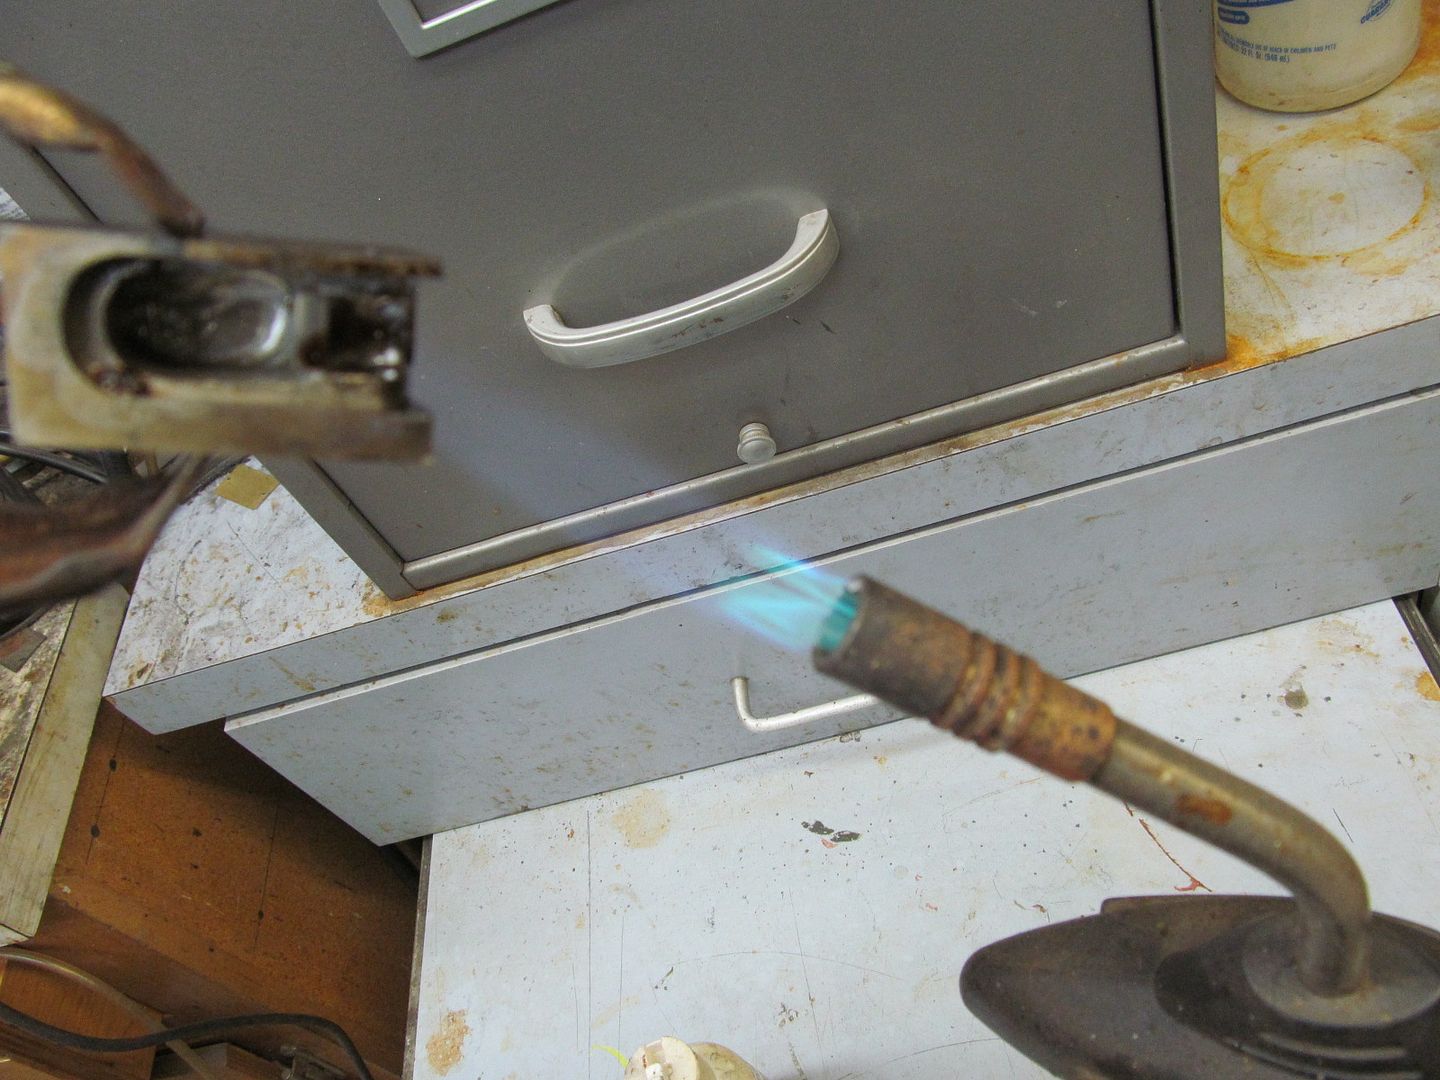
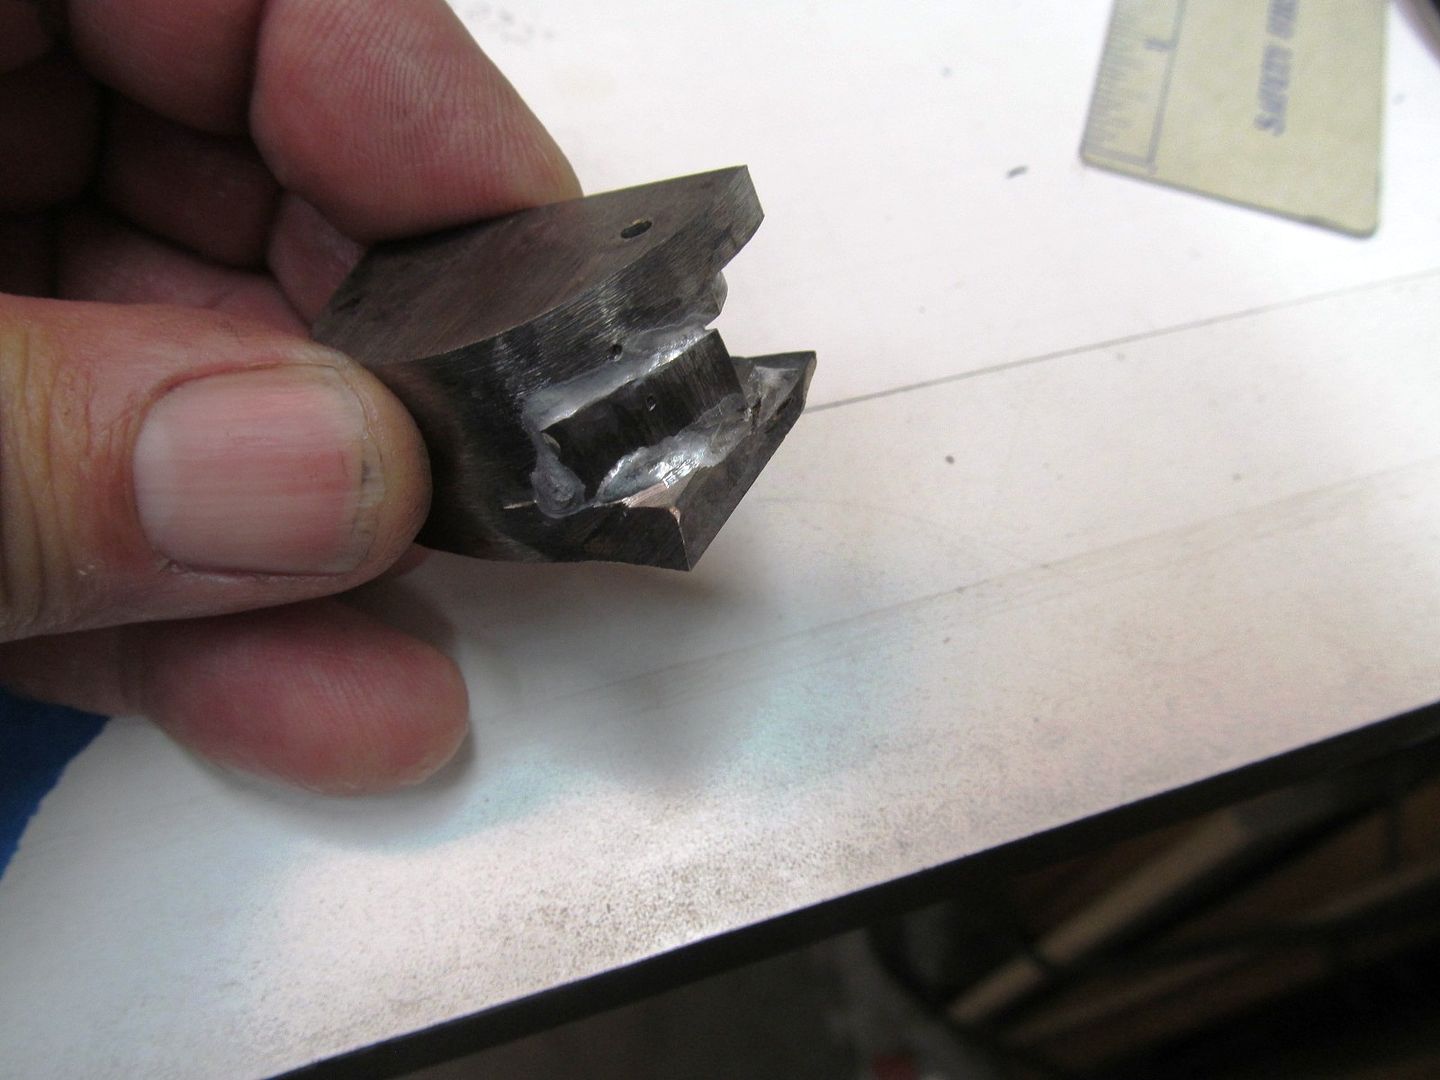
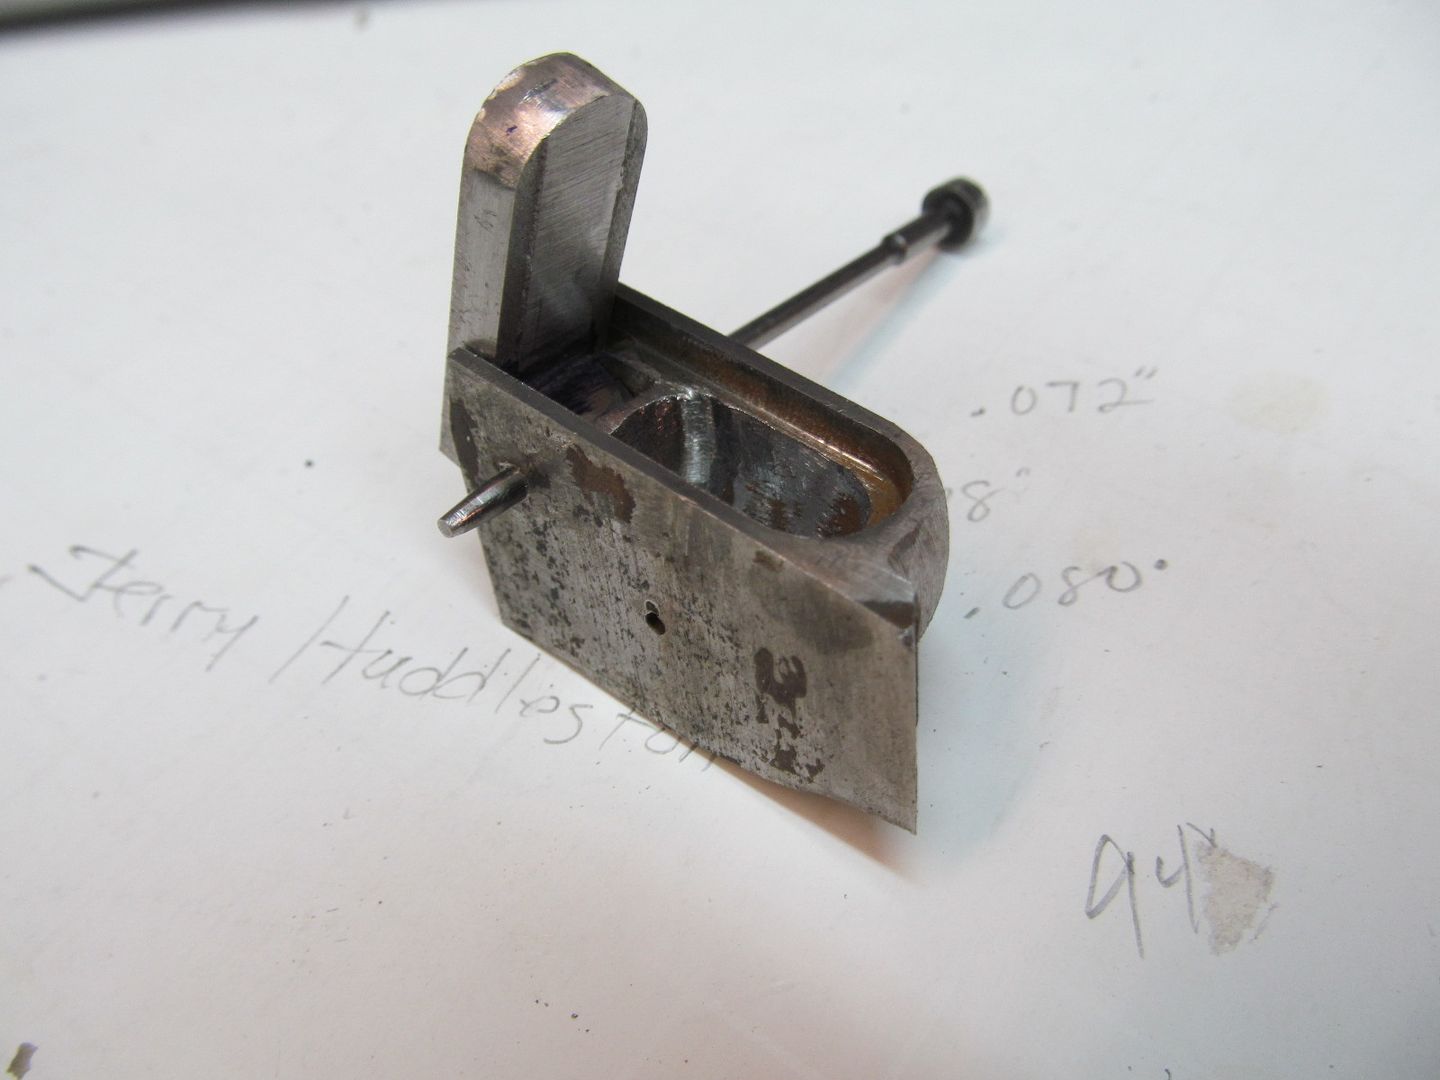
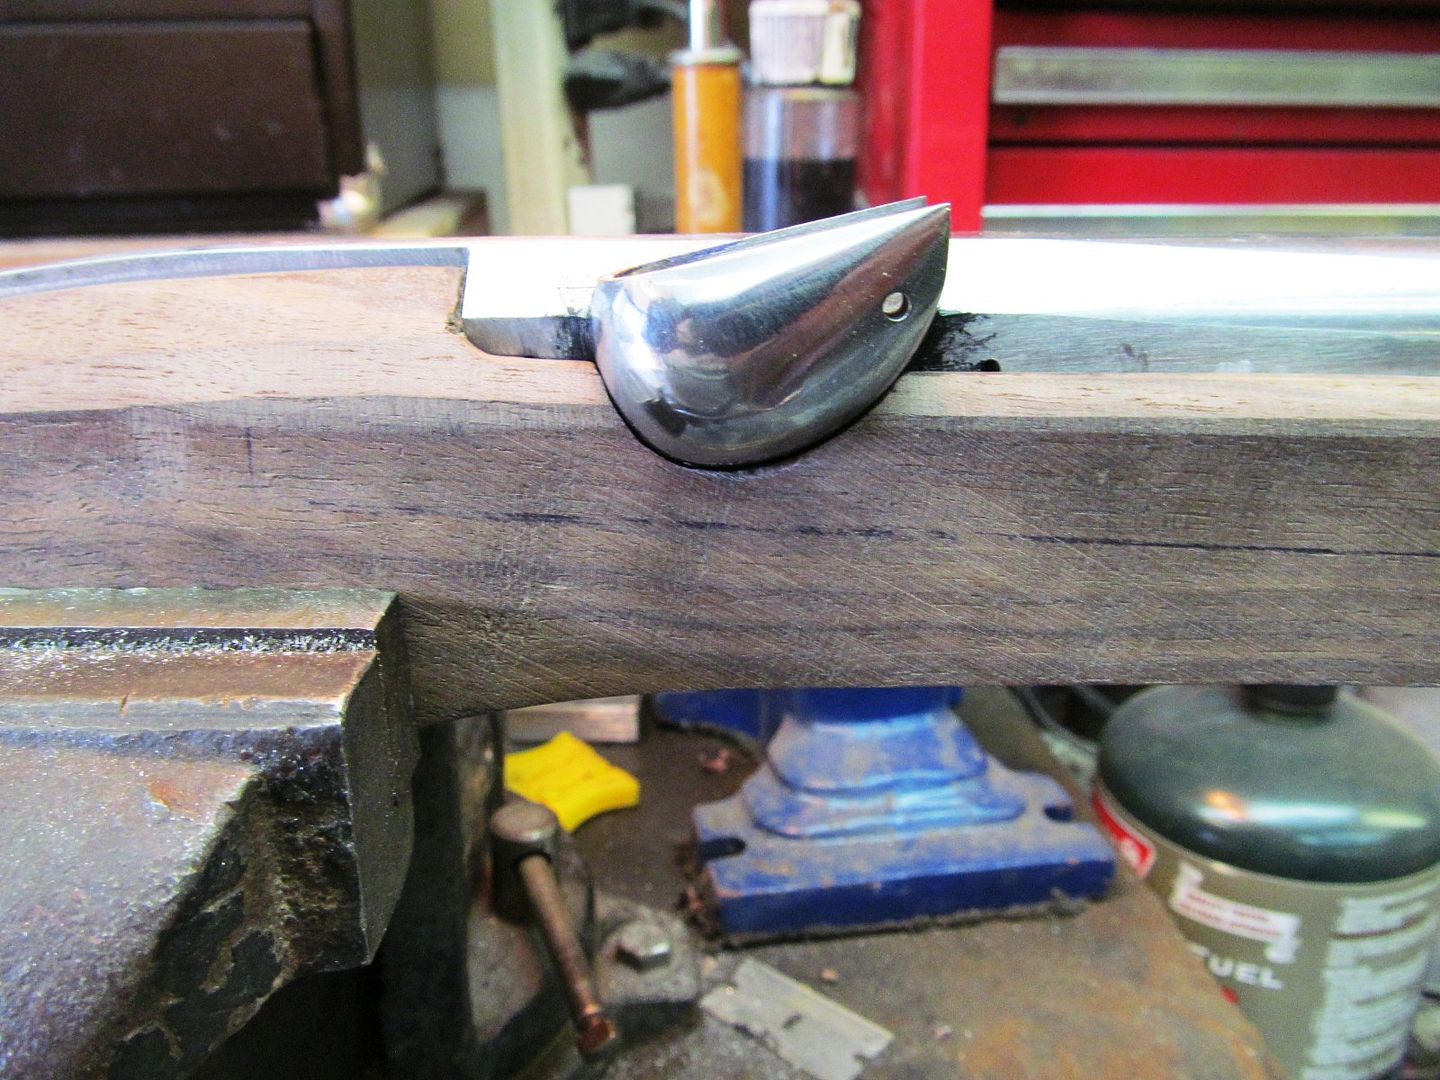
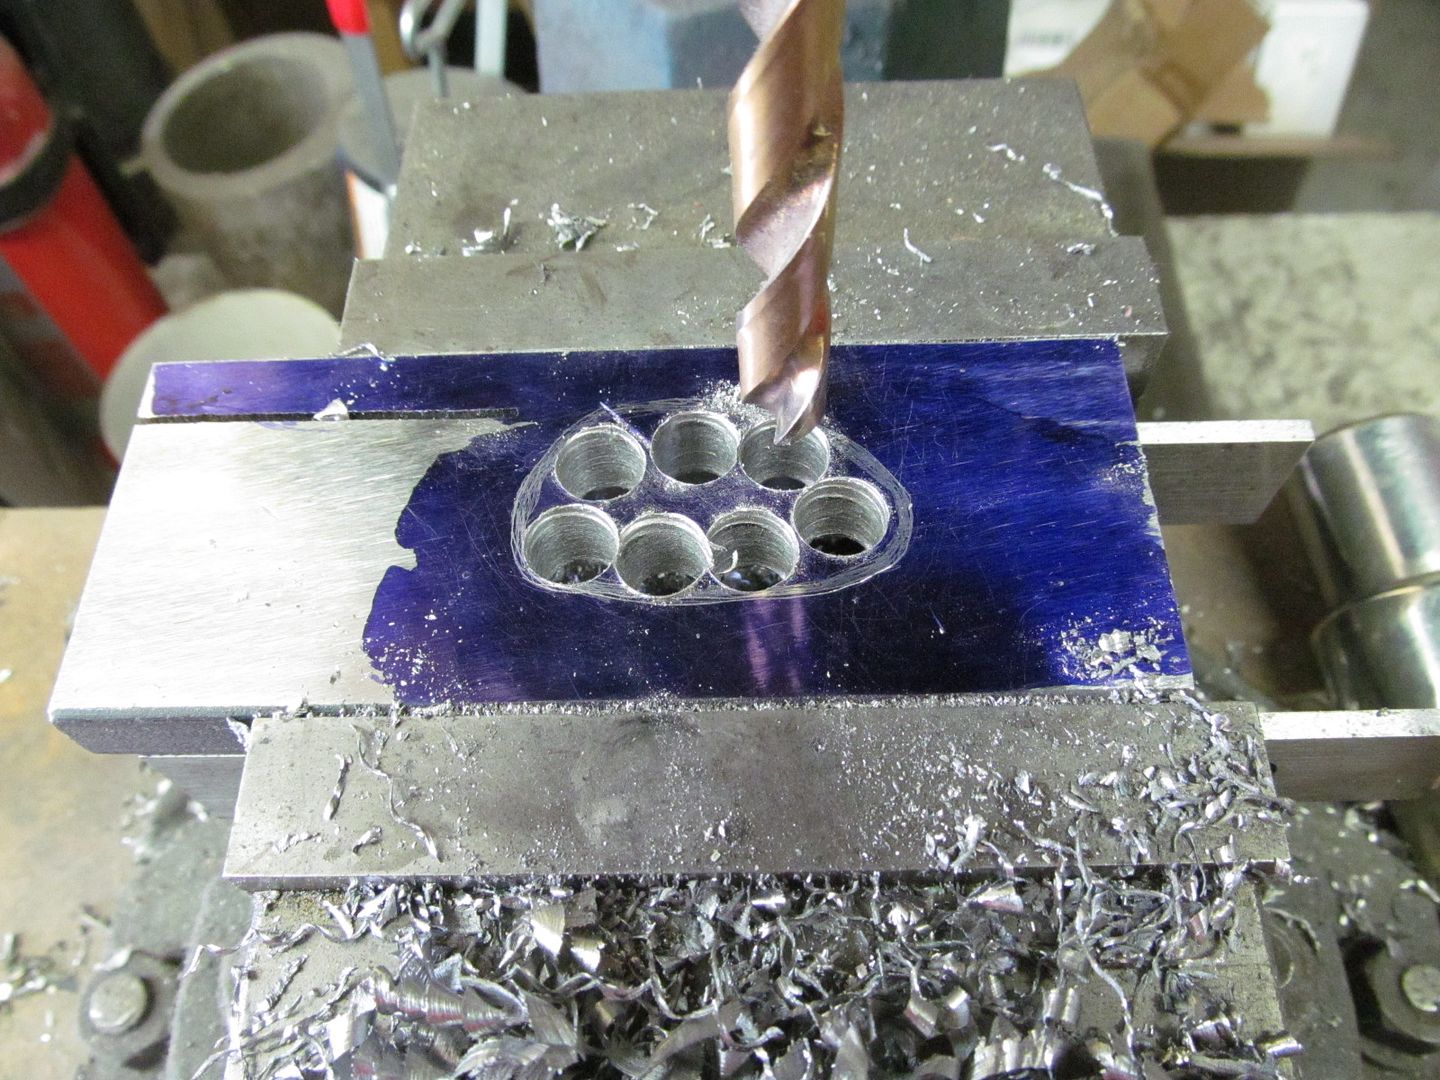
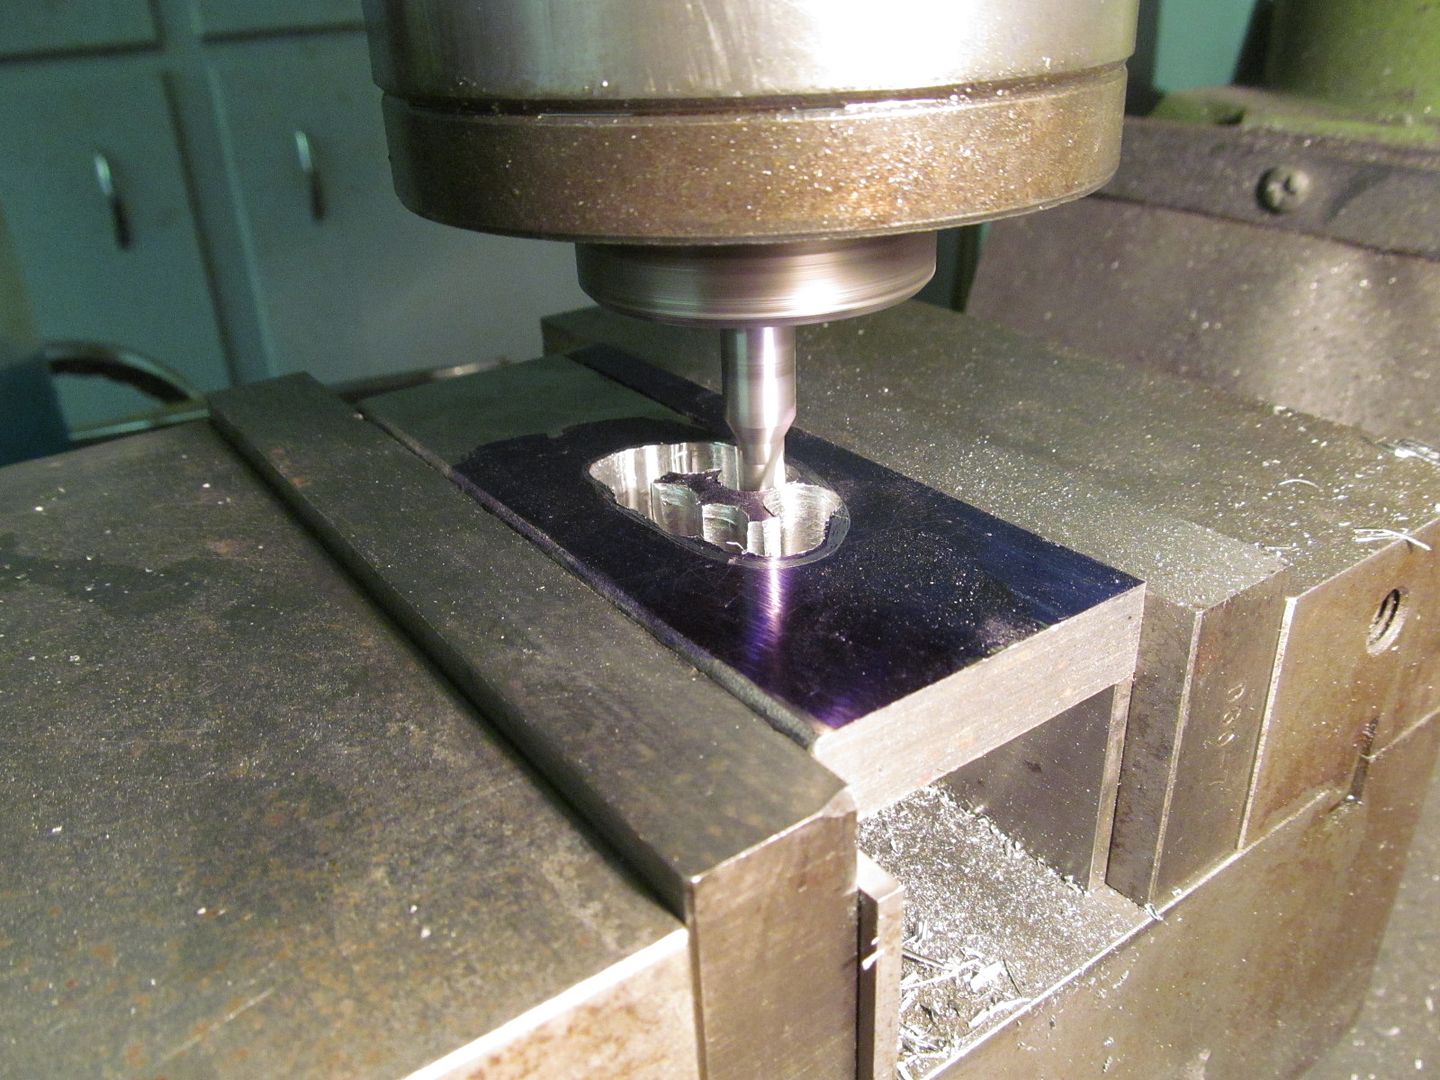
Today was spent on drilling the breech plug and the hinged lid on the primer box. I talked with a muzzle loading rifle maker about the "touch hole" size from the primer box to the barrel chamber. If the hole is drilled too small the heat may not transfer from the box to the main powder charge and missfire. If the touch hole is too large there will be flashback into the primer box. Maybe a bit too exciting for the shooter. He said to drill between .062" - .078". I drilled this one at .067"
You can bet I'm going to wear eye protection just in case of a ball of fire. Also the primer box is way bigger than needed so I'll have to be carefull to measure the proper amount of primer powder.
My friend also said to add a "clean out" plug so I drilled all the way through the breech plug and barrel and plan to drill and tap the barrel to ease cleaning after shooting and to clean out black powder just in case it has a misfire or gets loaded without powder. A small amount of black powder can be dribbled into the clean out hole, re-capped and fired to clear the barrel of a slug. Black powder guns are much different than modern firearms.
Dwane Oliver
Well-Known Member
Wow
Brad Lilly
Moderator and Awards Boss
This is going to be the envy of every pirate around. Looks good, real good.
Bruce Bump
Forum Owner-Moderator
Too bad all those type of pirates are all gone. Todays pirates all shoot automatics! I miss the good old days.
This is going to be the envy of every pirate around. Looks good, real good.
Bruce Bump
Forum Owner-Moderator
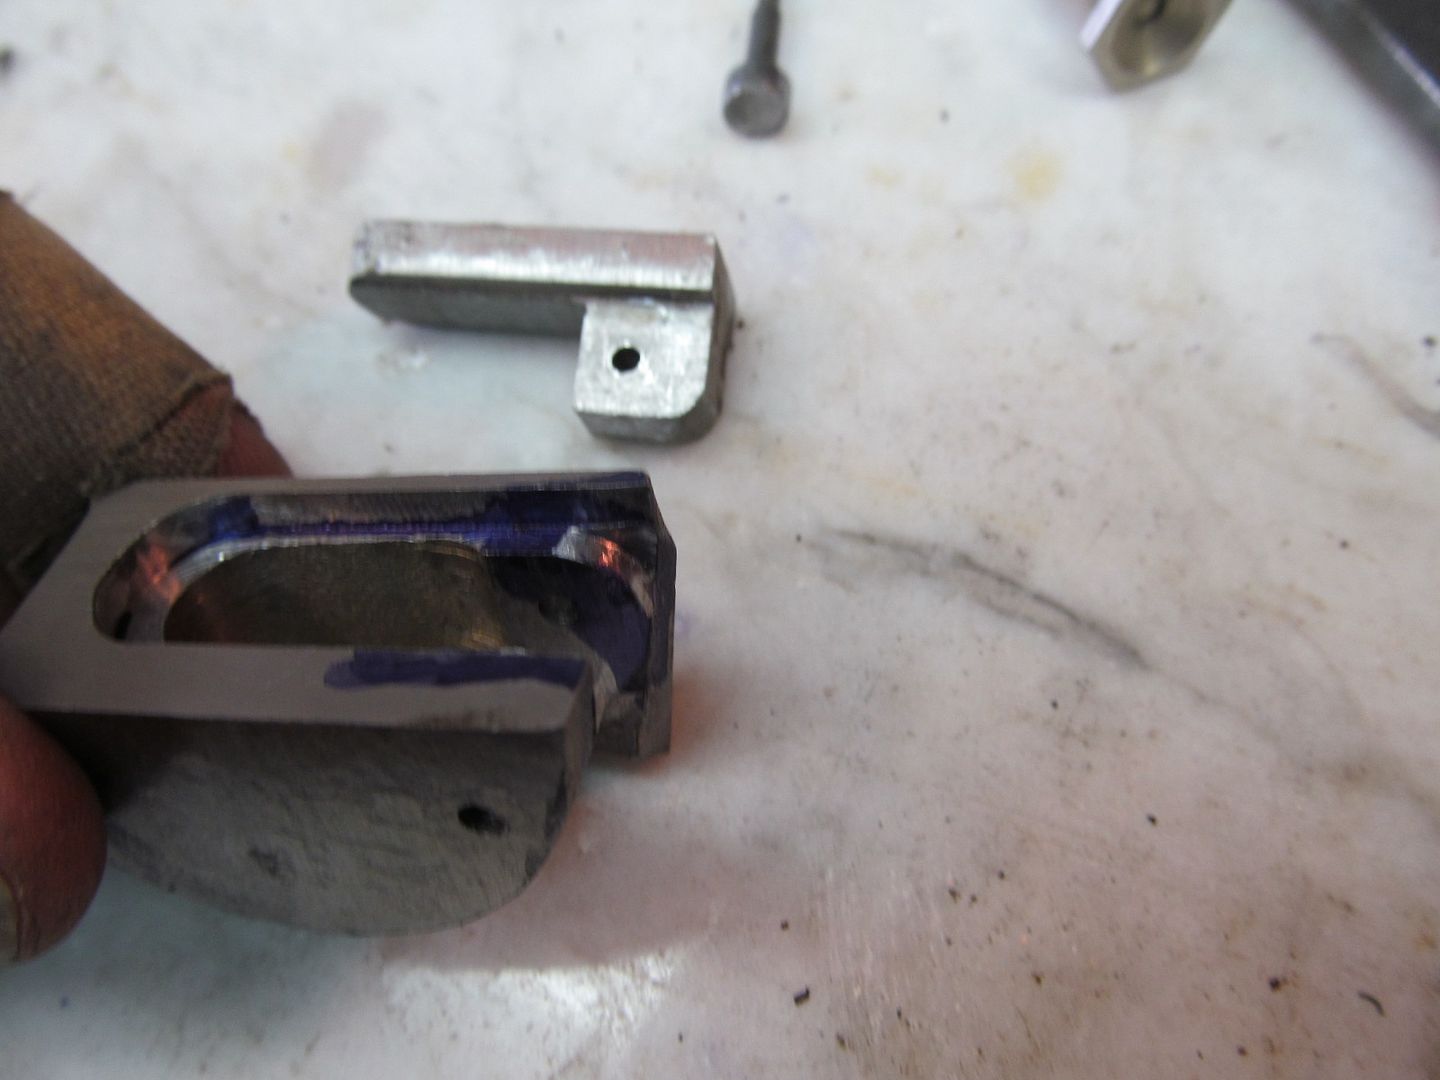
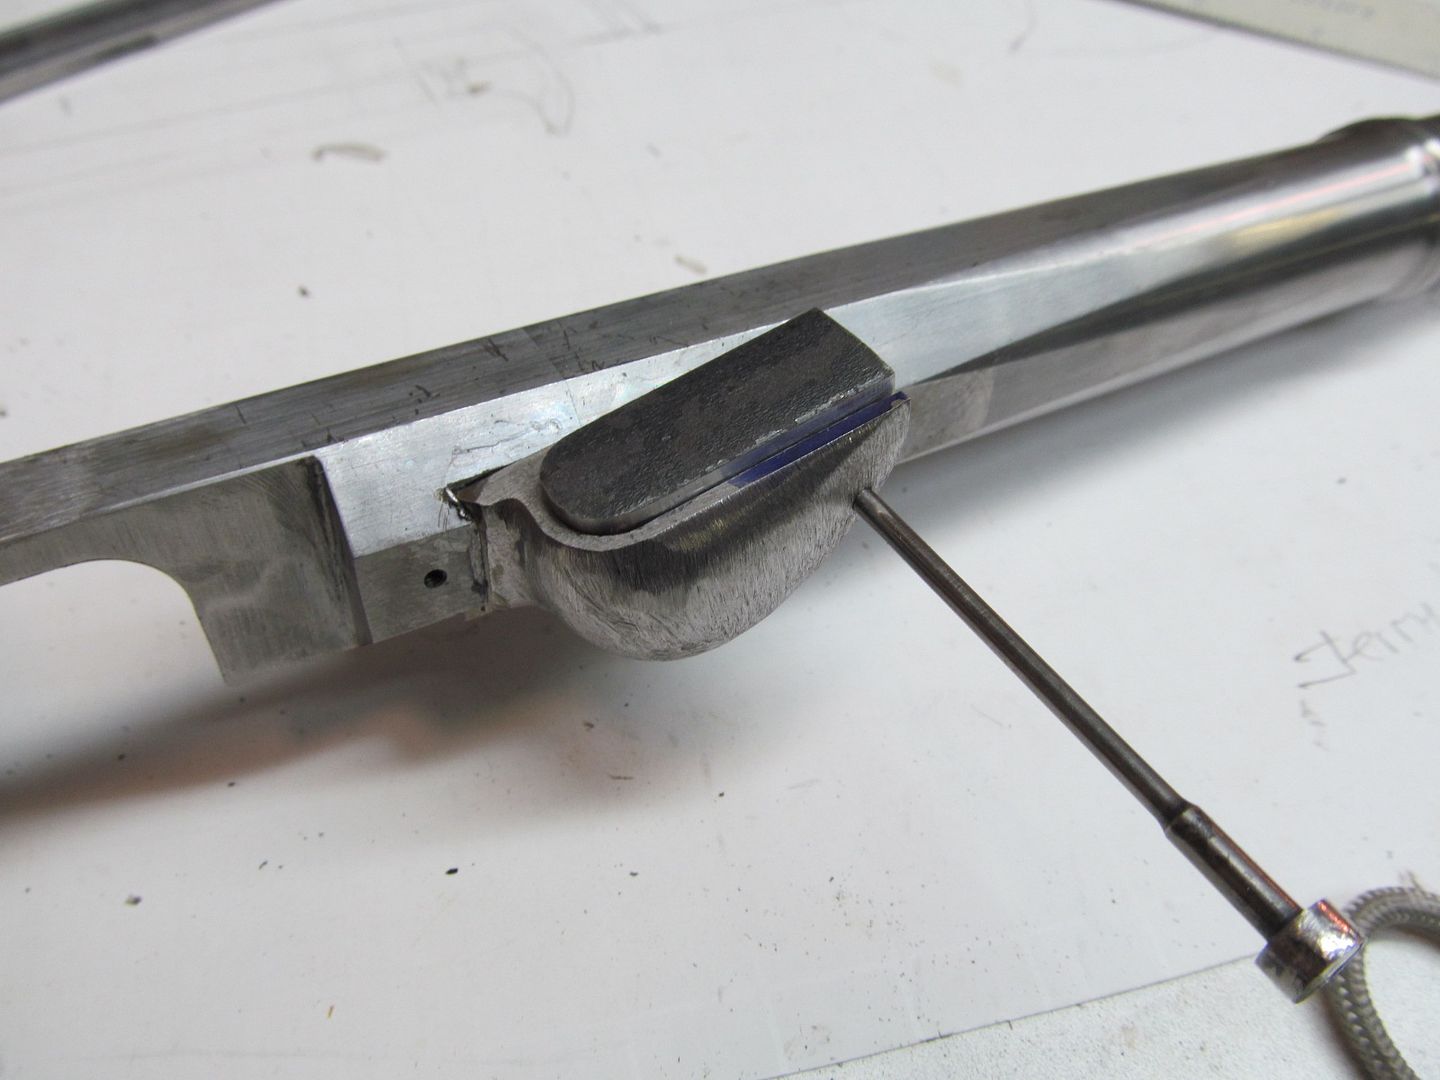
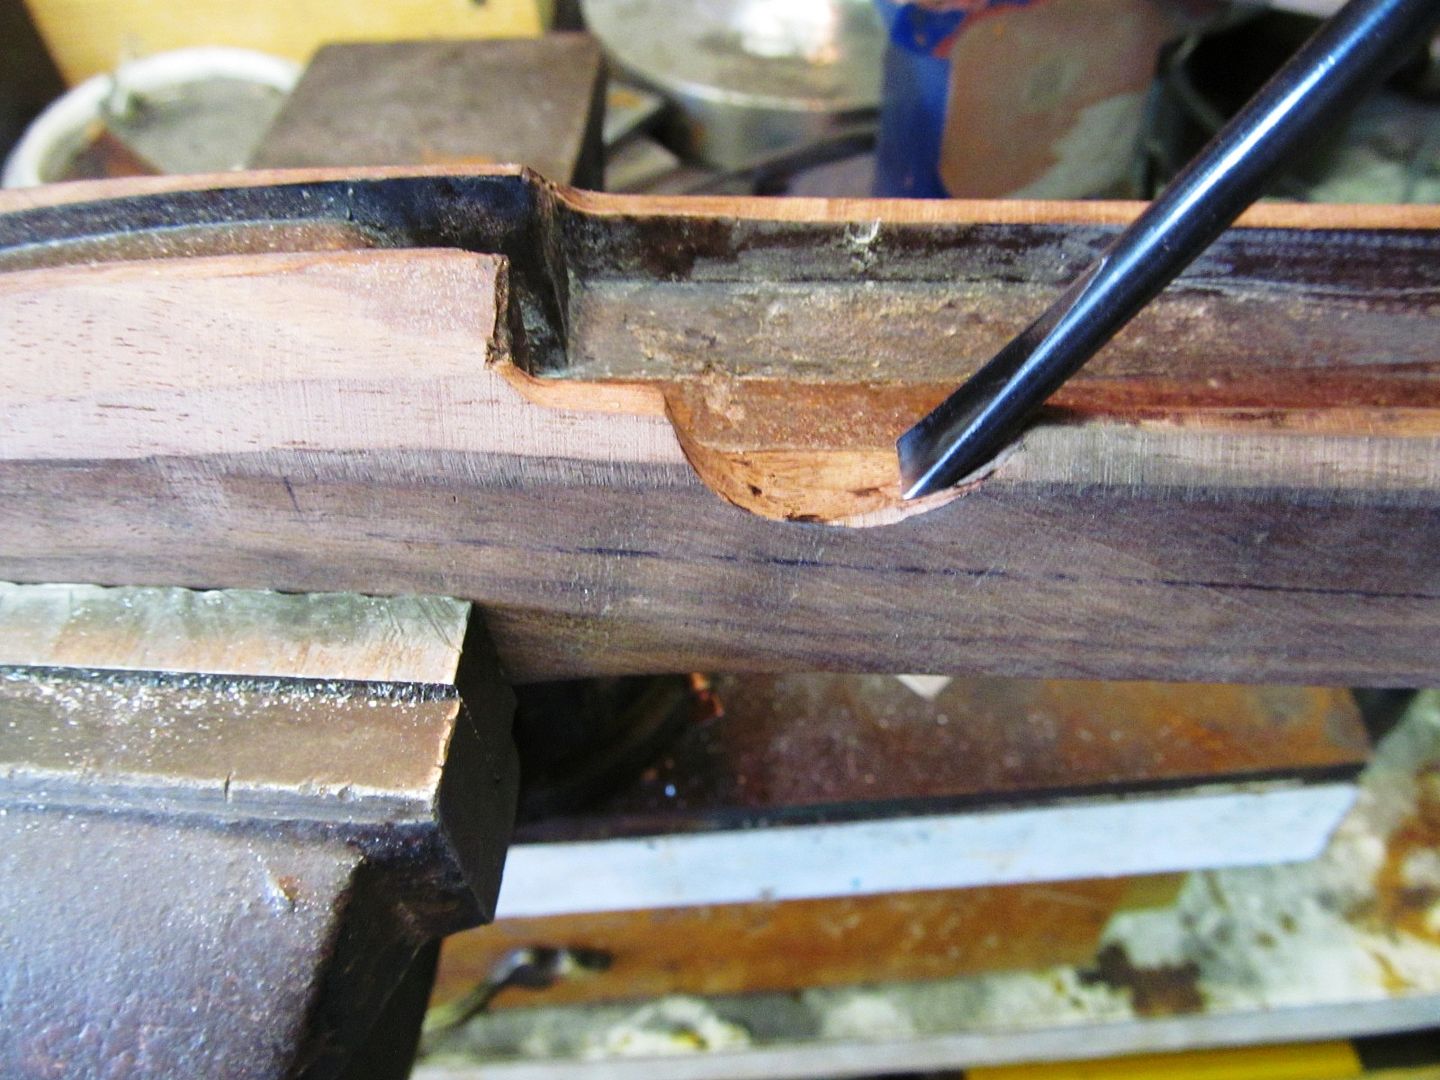
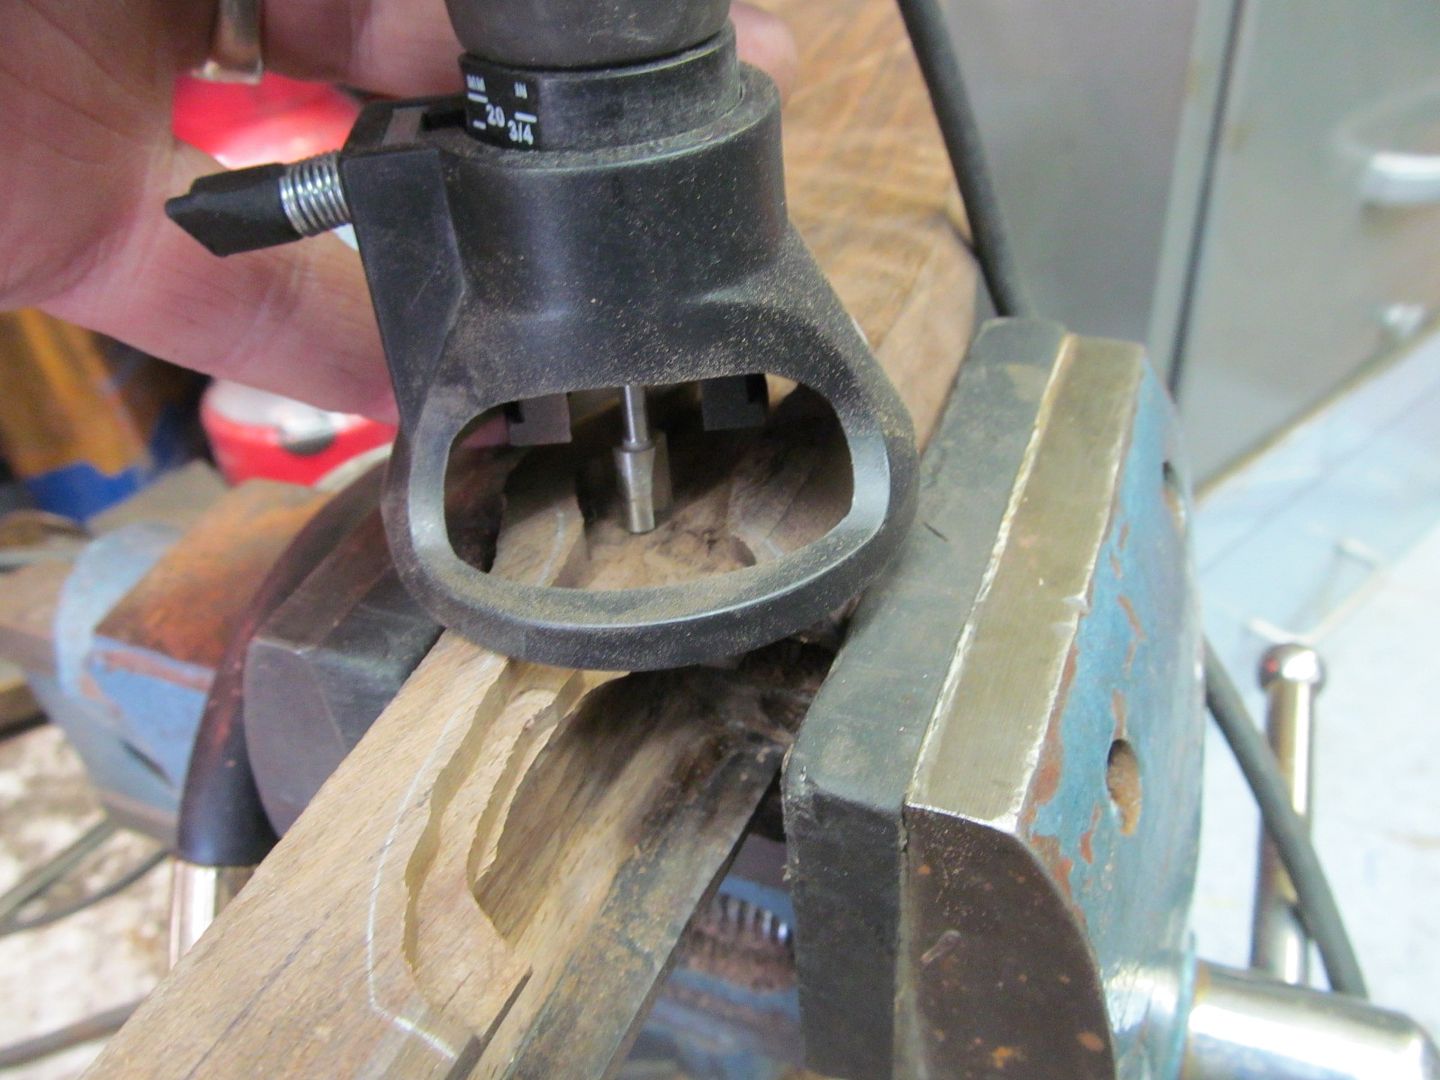
The primer box is in position now so I could relieve the wood for it. The steel plates need to be shaped and inlaid into the wood far enough to screw them to the barrel. I dont know what shape they need to be yet. Basically they attach the chamber end of the barrel solid to the wooden stock and offer a pivot for the serpentine. The wood needs to be hollowed out enough for a linkage from the trigger. That will come soon enough but I need to make the trigger guard and inlay that too. Lots of work to do.
Last edited:
Sean Jones
Well-Known Member
coming along beautifully amazing work
Diamond G Knives
Well-Known Member
Bruce
Your WIP's are such a joy to follow! Thanks for doing them!!
Your talent is nothing less than awe inspiring!
God Bless
Mike
Your WIP's are such a joy to follow! Thanks for doing them!!
Your talent is nothing less than awe inspiring!
God Bless
Mike
ddavelarsen
Well-Known Member
I feel silly just gawking like this, but what else can a man do in such company? I'm blown away. It's like reading a great novel that you never want to end.
Roger T
Well-Known Member
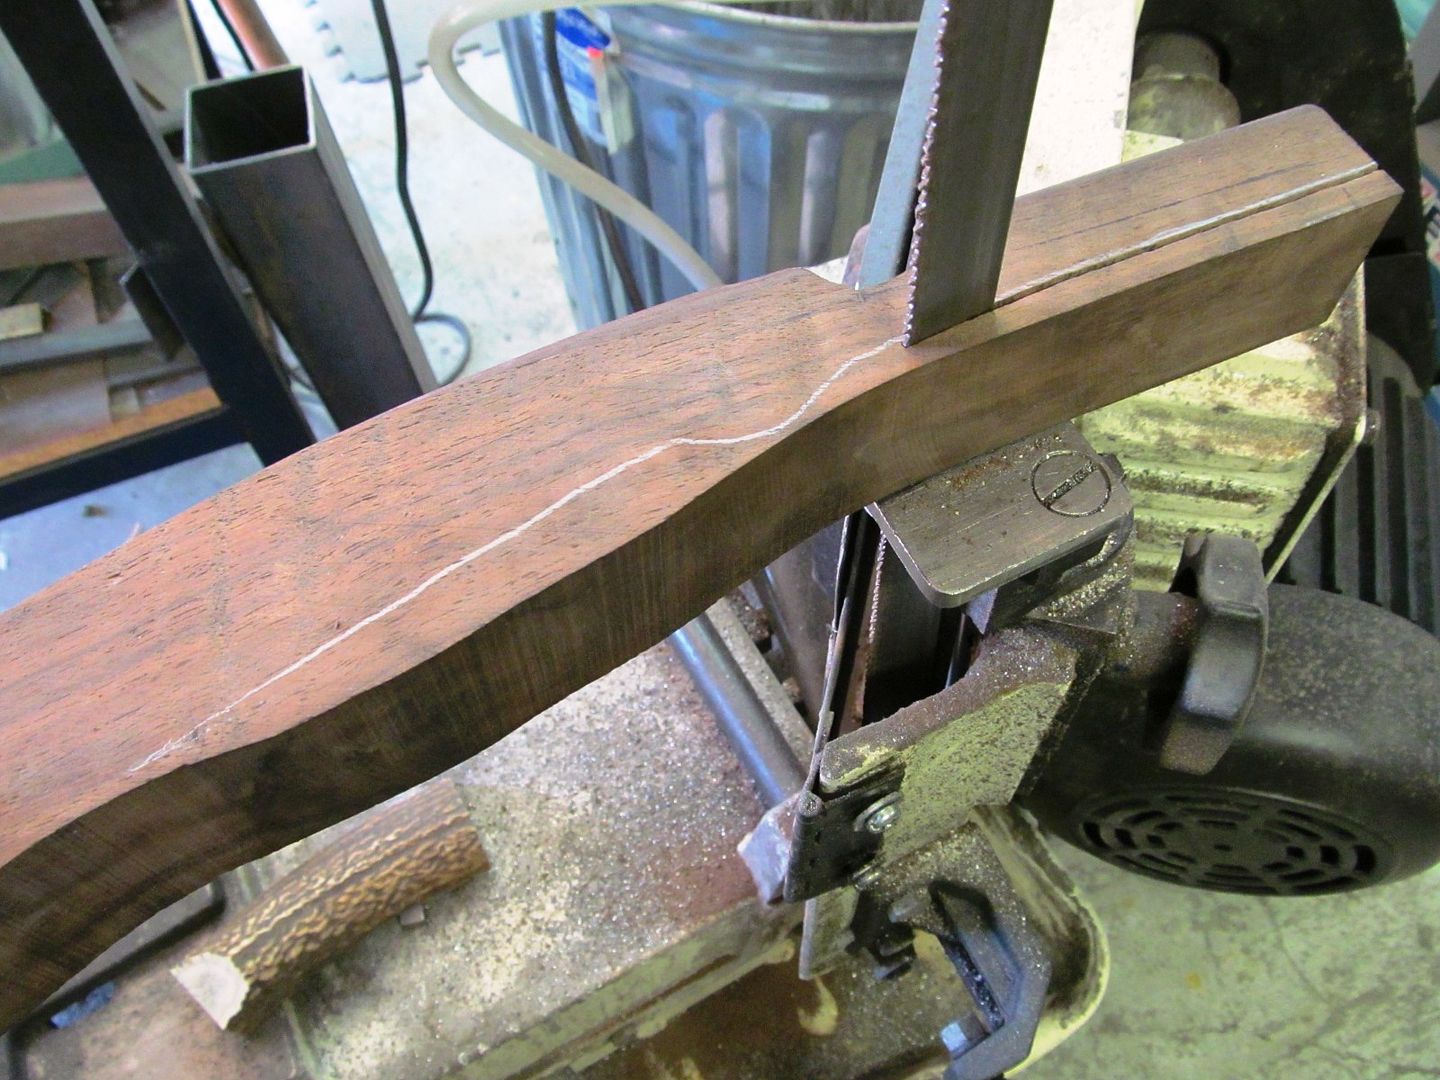
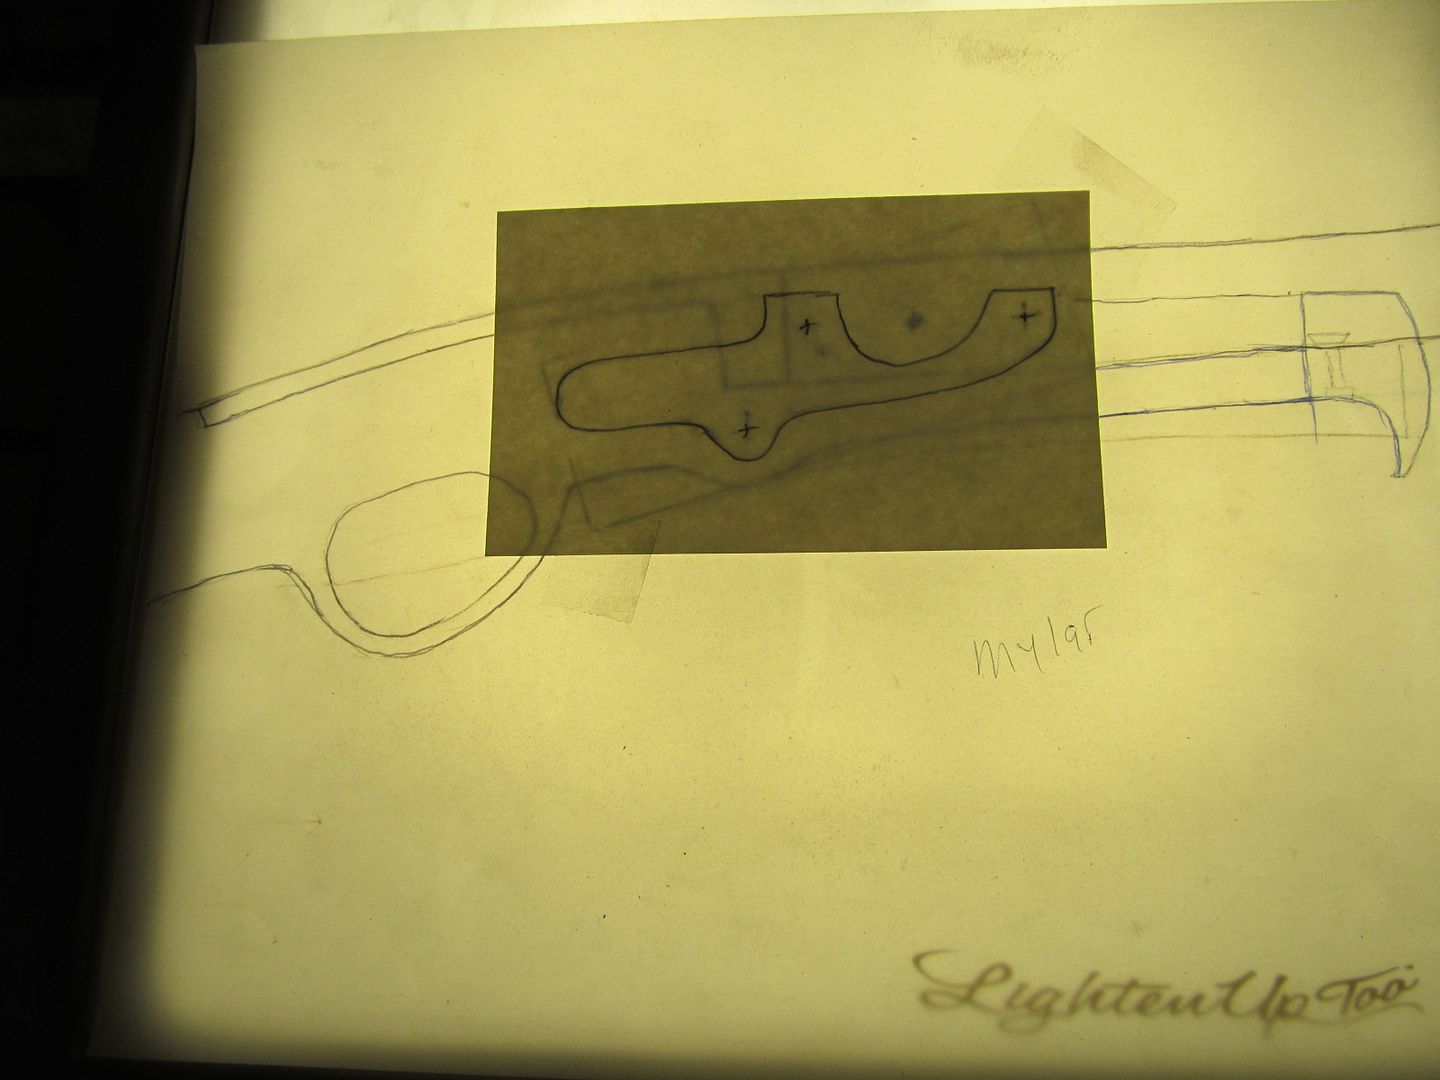
Hello all of you Bruce Bump WIP followers. Bruce has invited me to add some woodwork to this thread. My name is Roger Treis and I've been building furniture and cabinetry full-time since 1994. About four years ago Bruce approached me about building a presentation case for one of his knife/guns and since then we've worked together on several of these. This one started with a sketch of a basic shape and size that the case needed to be; so armed with a cardboard silhouette of this weapon, I drew this pattern.

We decided to make this out of Black Cherry, So I milled these boards and laid out the shape of the bow-front. Then cut out the shape on the bandsaw and sanded roughly to size


Black Cherry is a stabil wood to work with. It has a nice shimmer when finished and it has the interesting property of darkening to a rich reddish brown when exposed to light. It's a pale salmon-pink when freshly cut.

More to follow,
Roger T
We decided to make this out of Black Cherry, So I milled these boards and laid out the shape of the bow-front. Then cut out the shape on the bandsaw and sanded roughly to size
Black Cherry is a stabil wood to work with. It has a nice shimmer when finished and it has the interesting property of darkening to a rich reddish brown when exposed to light. It's a pale salmon-pink when freshly cut.
More to follow,
Roger T
Last edited:
Roger T
Well-Known Member
Bump Box Boogie
Here's some further progress on the box:
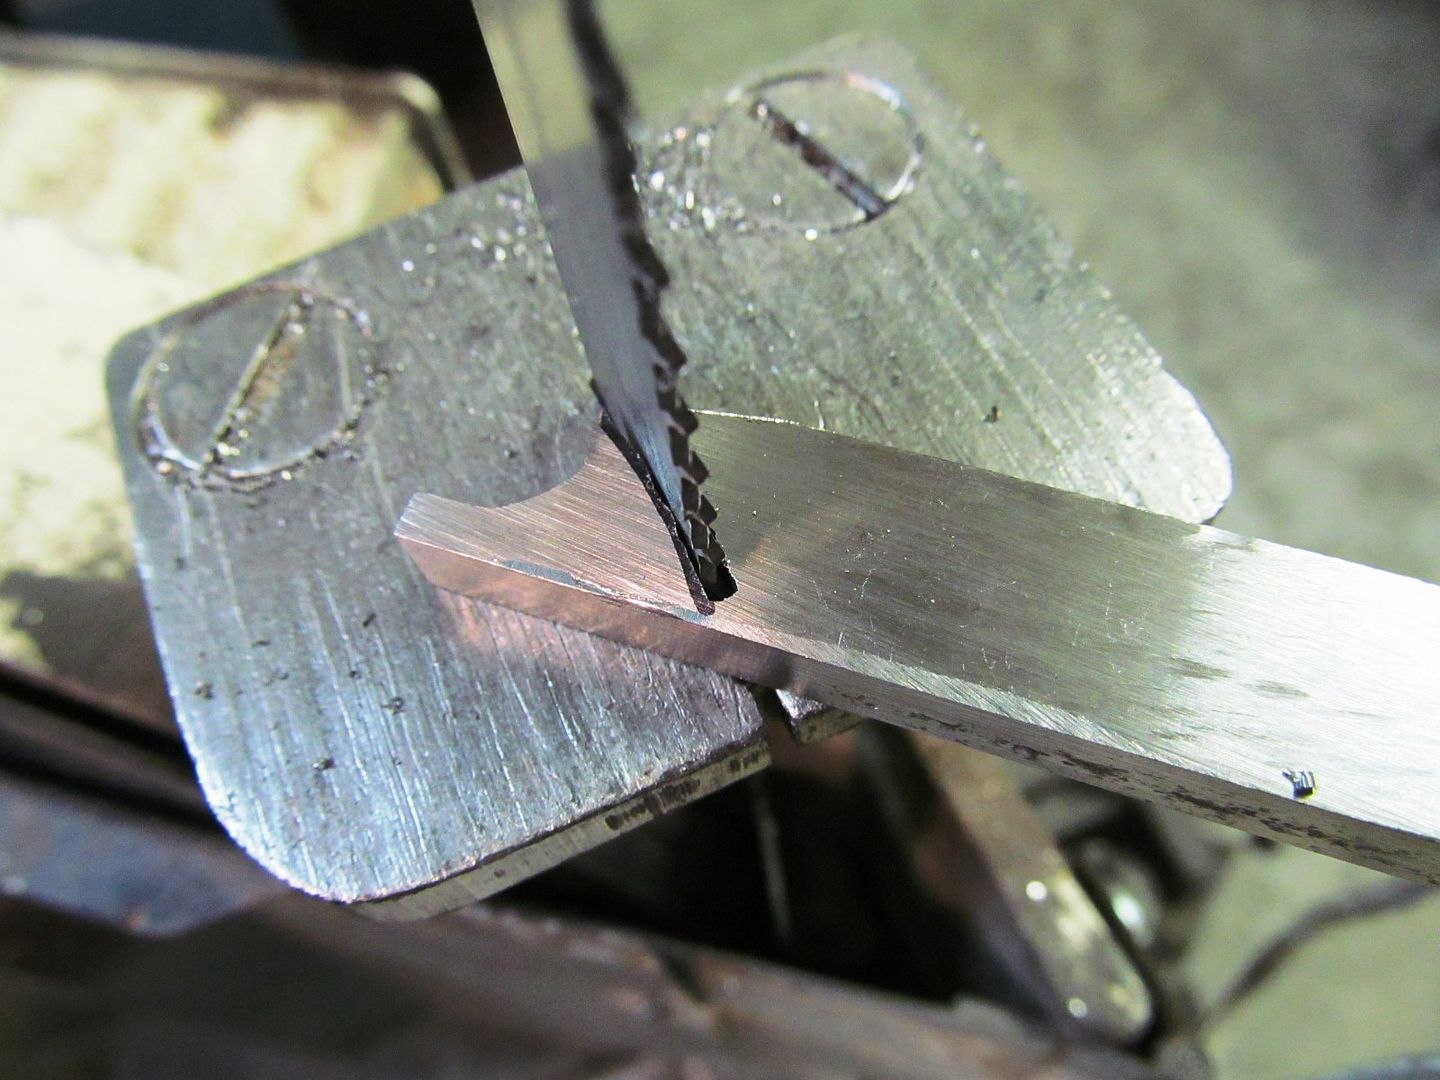
I'm using box joints at the corners for strength because I'm guessing that this thing will be kind of heavy. Using a 1/4" dado blade, this fixture lets me adjust the width of the pins so that the joints slide together easily. After the front and back pieces are cut, I turn one of them around and use it as a spacer to cut the slots in the sides


This is how they fit. I trim off the extra length after the glue sets up.

Now I cut a groove to hold the bottom

Sand to the finished shape

Wipe on a quick coat of sealer so any excess glue won't soak in

And glue the whole thing together. Ordinarily I use yellow wood glue but in this heat it sets up like contact cement, so I'm using urethane glue to give me lots of time to snug things up. The stuff is so messy that I use masking tape on the inside of the corners so I don't have to try to scrape them clean later.

Here's some further progress on the box:
I'm using box joints at the corners for strength because I'm guessing that this thing will be kind of heavy. Using a 1/4" dado blade, this fixture lets me adjust the width of the pins so that the joints slide together easily. After the front and back pieces are cut, I turn one of them around and use it as a spacer to cut the slots in the sides
This is how they fit. I trim off the extra length after the glue sets up.
Now I cut a groove to hold the bottom
Sand to the finished shape
Wipe on a quick coat of sealer so any excess glue won't soak in
And glue the whole thing together. Ordinarily I use yellow wood glue but in this heat it sets up like contact cement, so I'm using urethane glue to give me lots of time to snug things up. The stuff is so messy that I use masking tape on the inside of the corners so I don't have to try to scrape them clean later.
Bruce Bump
Forum Owner-Moderator
Man, O Man, Roger! This box looks complex. I'm really impressed with your tools and skill to use them. Cant wait to see it progress. Thanks for posting and adding to the WIP.
Last edited:
Bruce Bump
Forum Owner-Moderator
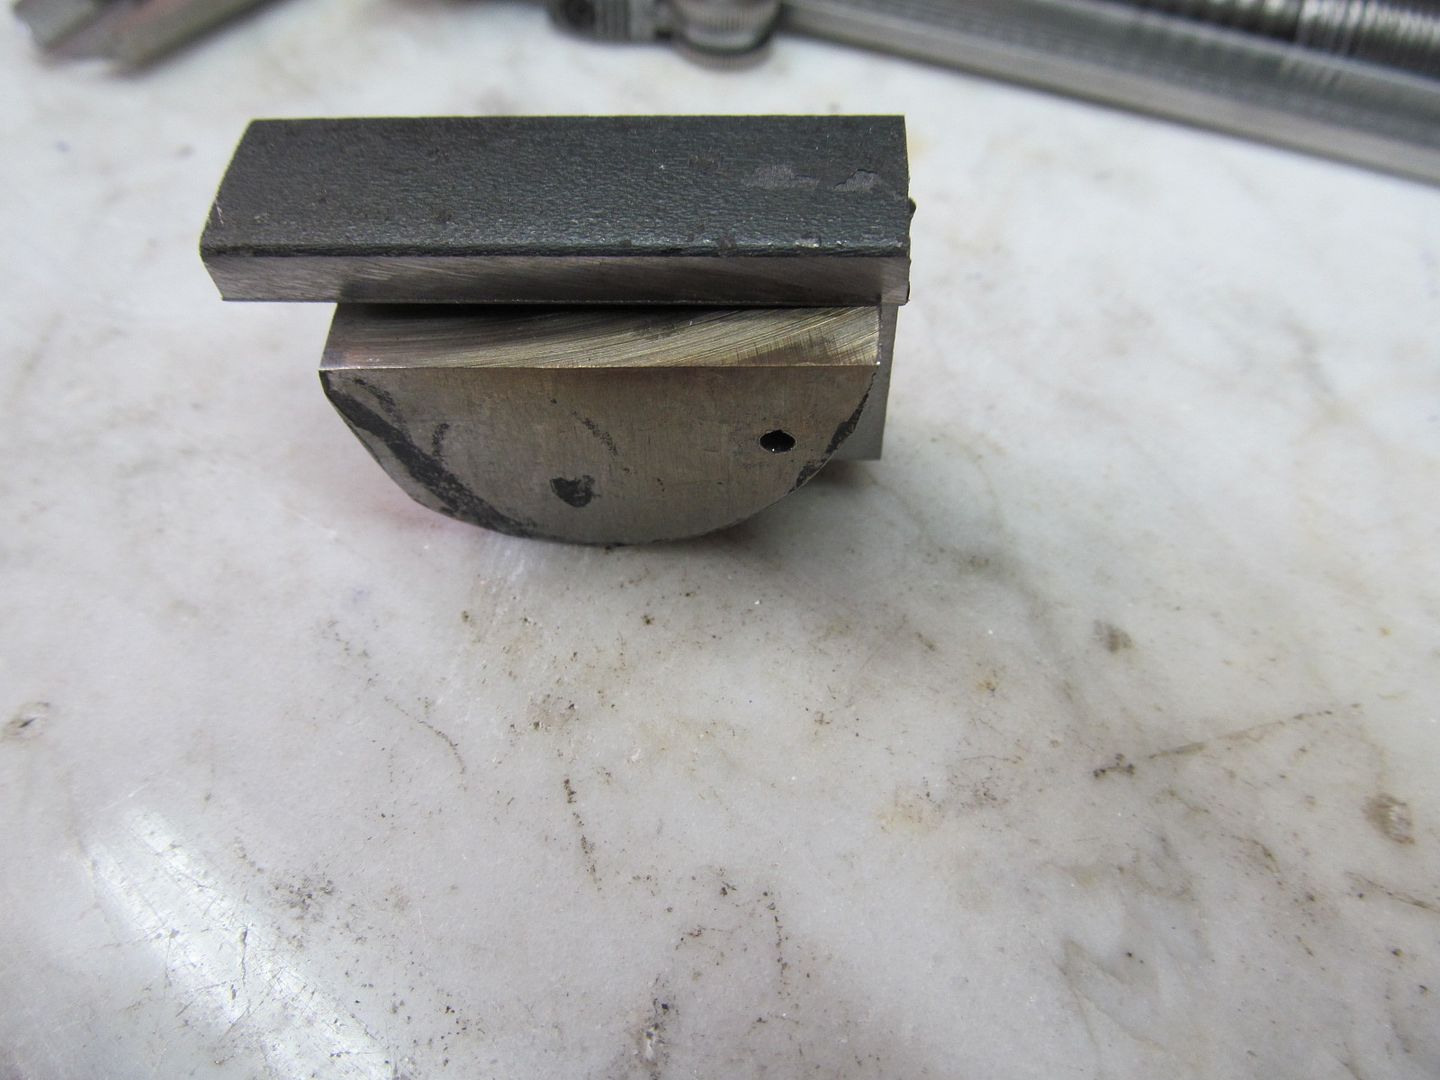
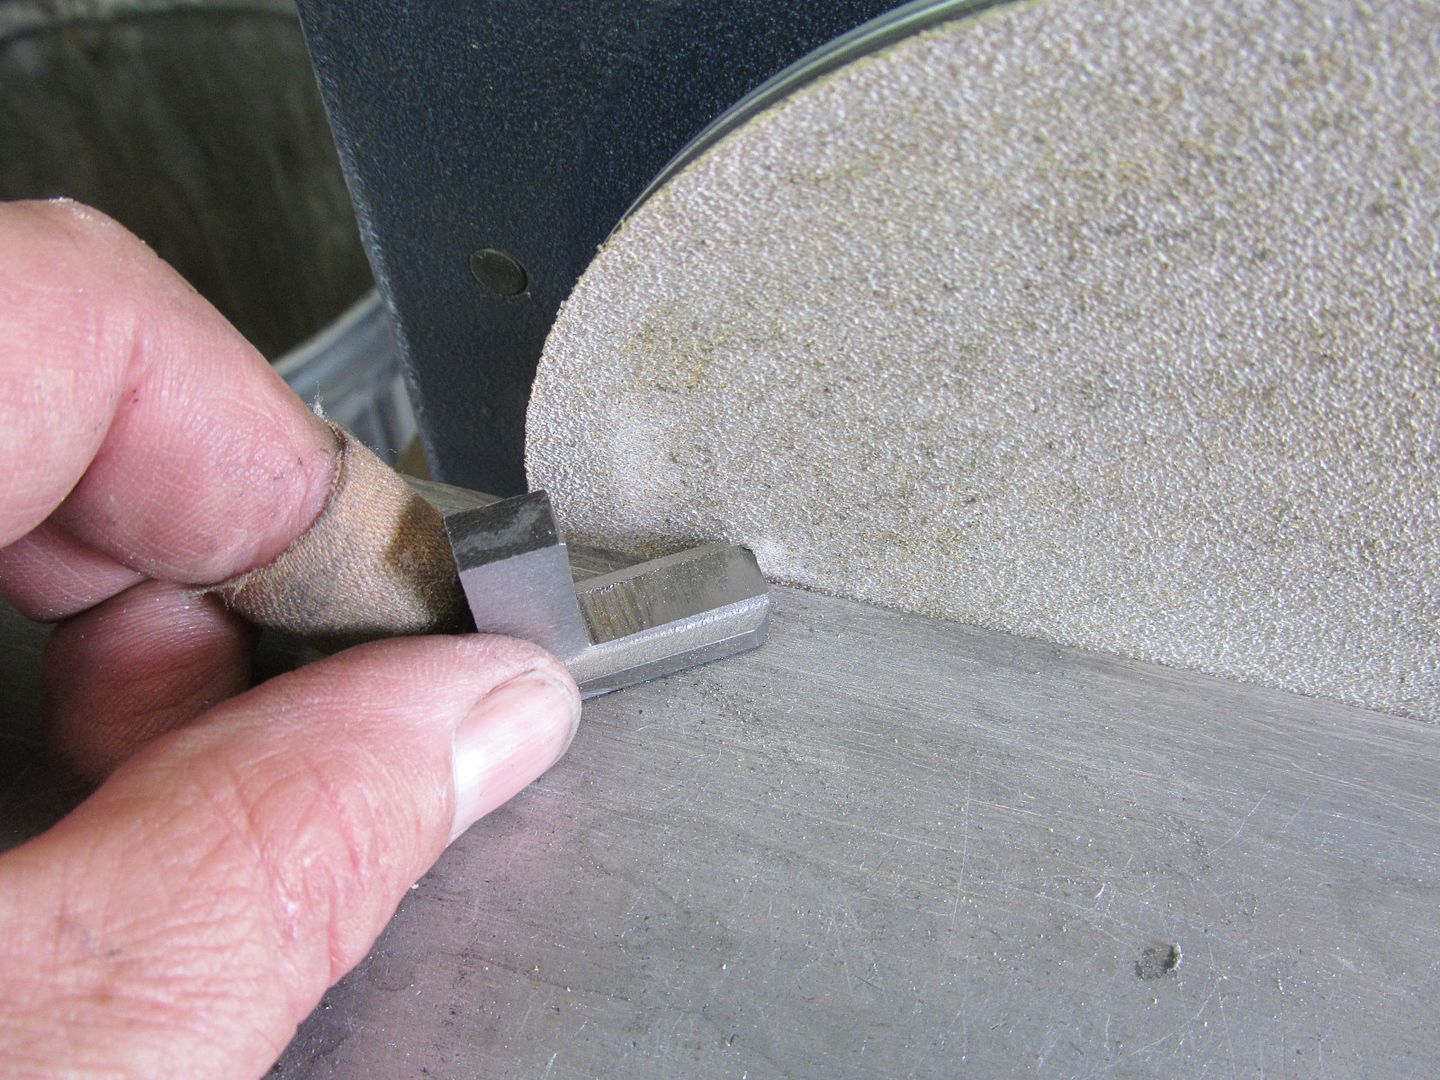
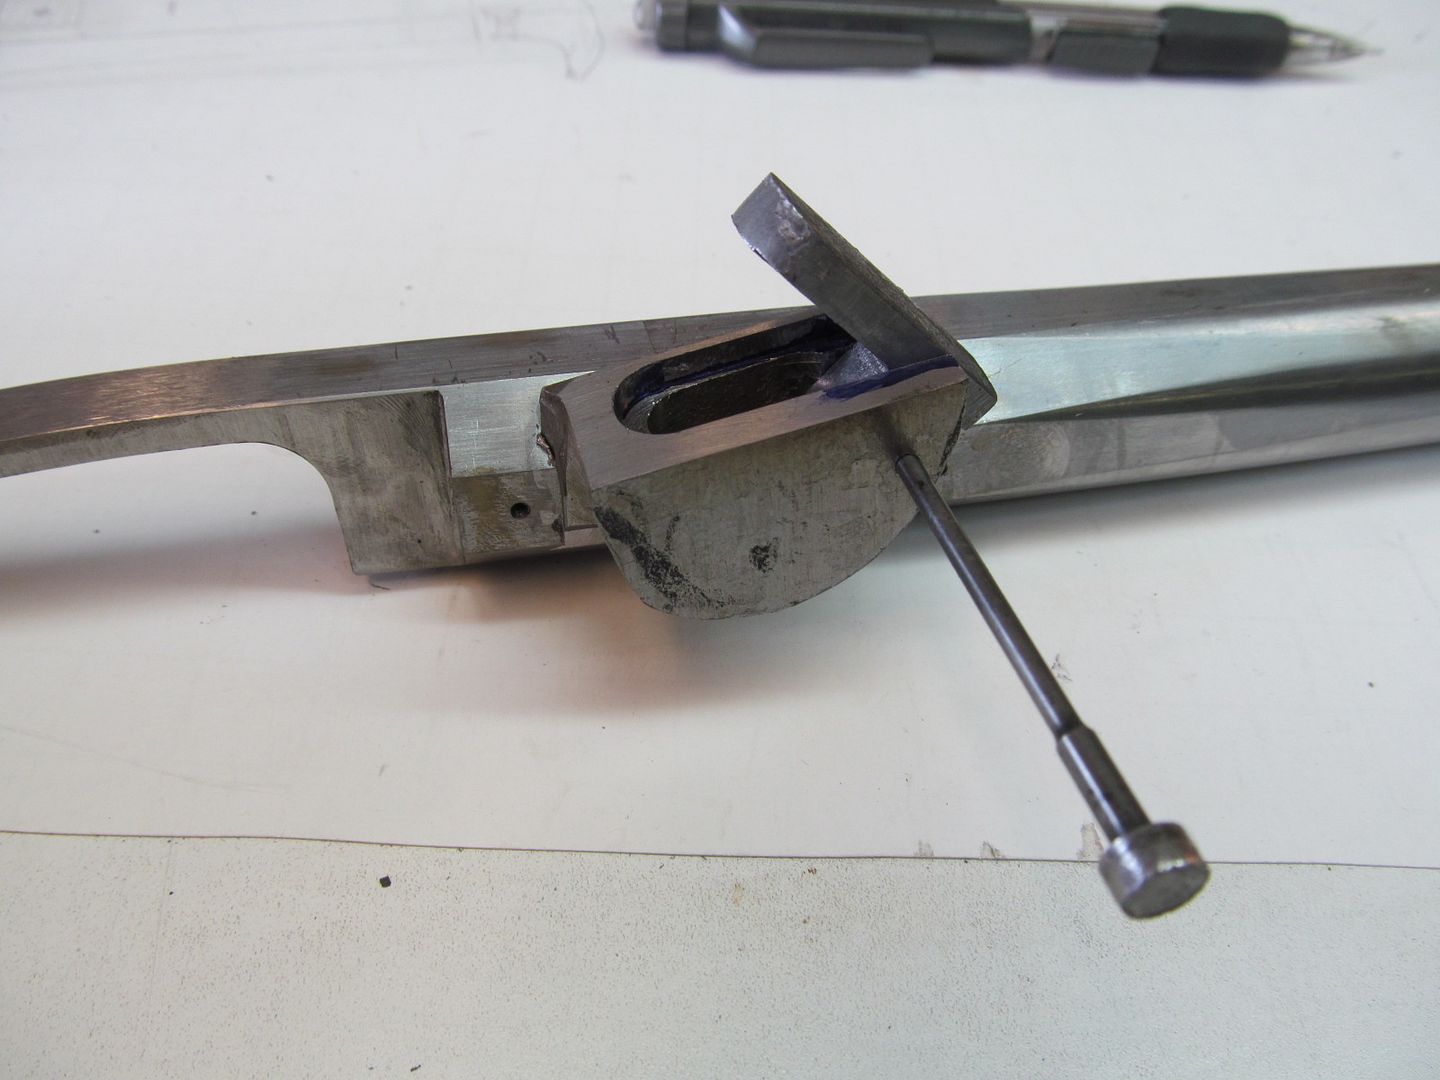
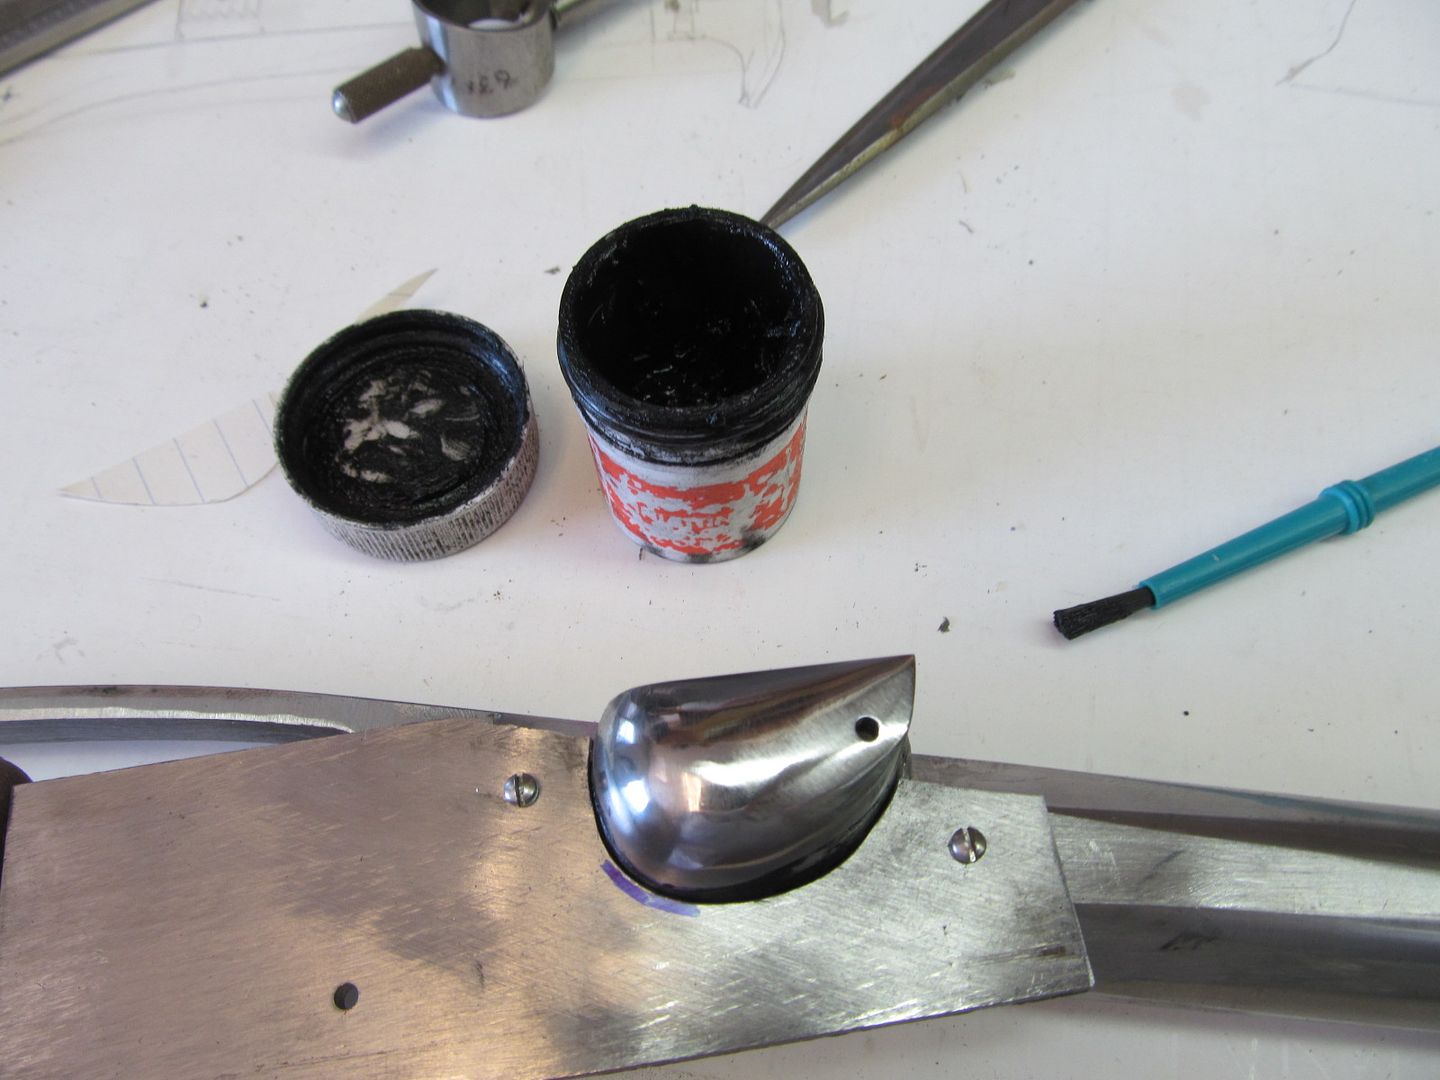
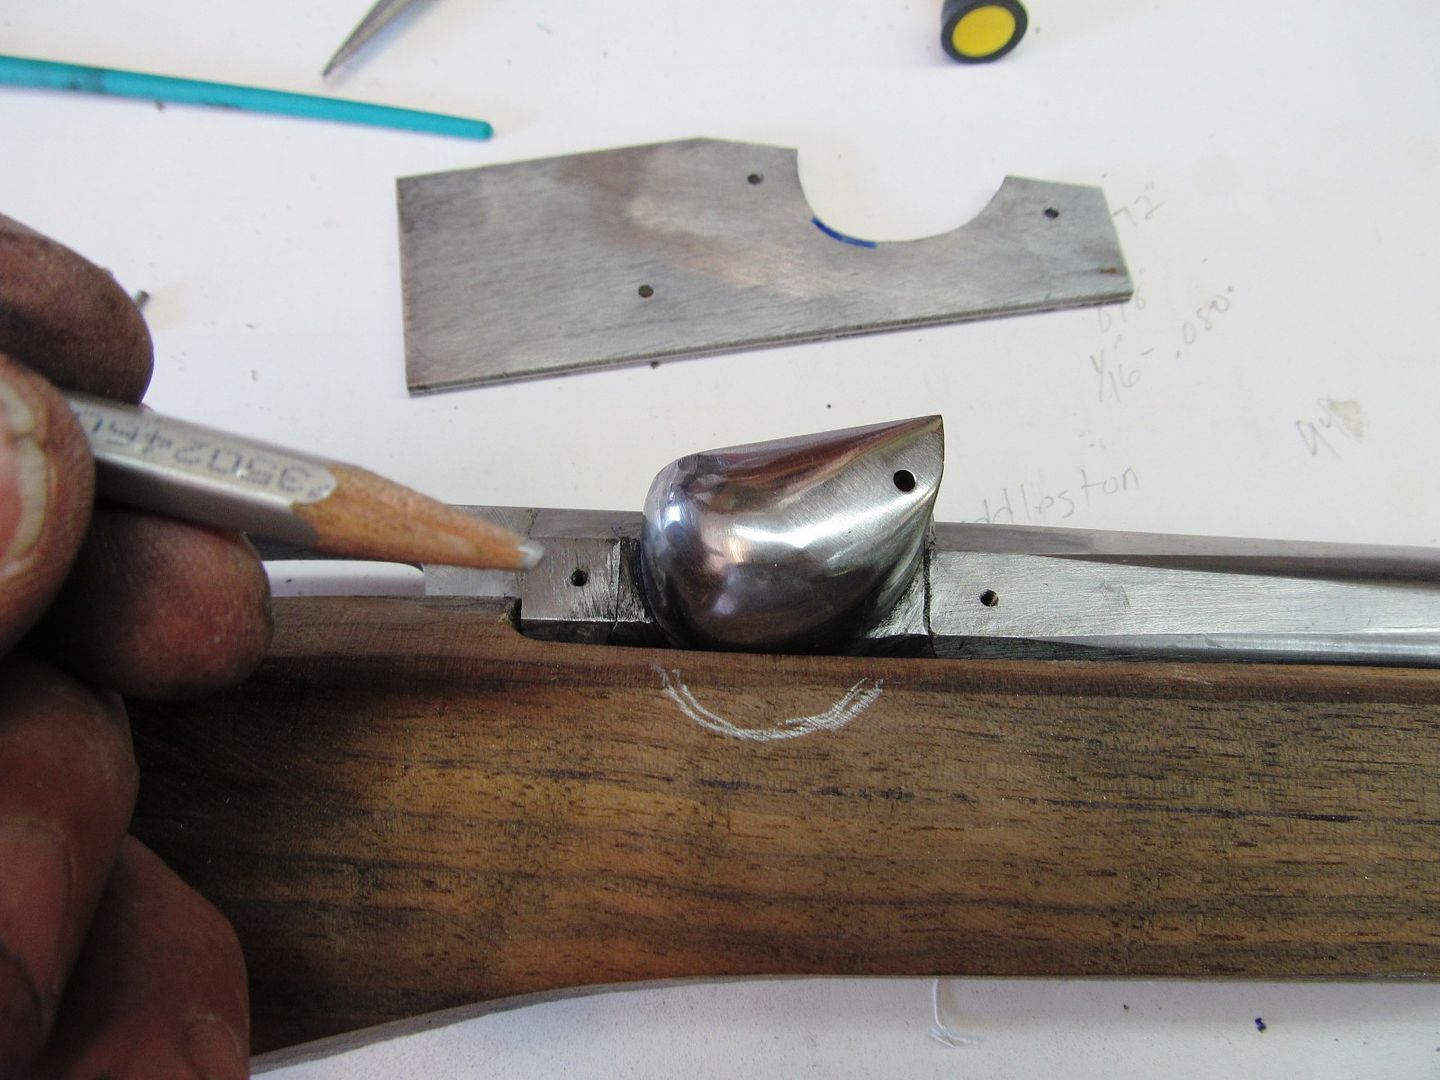
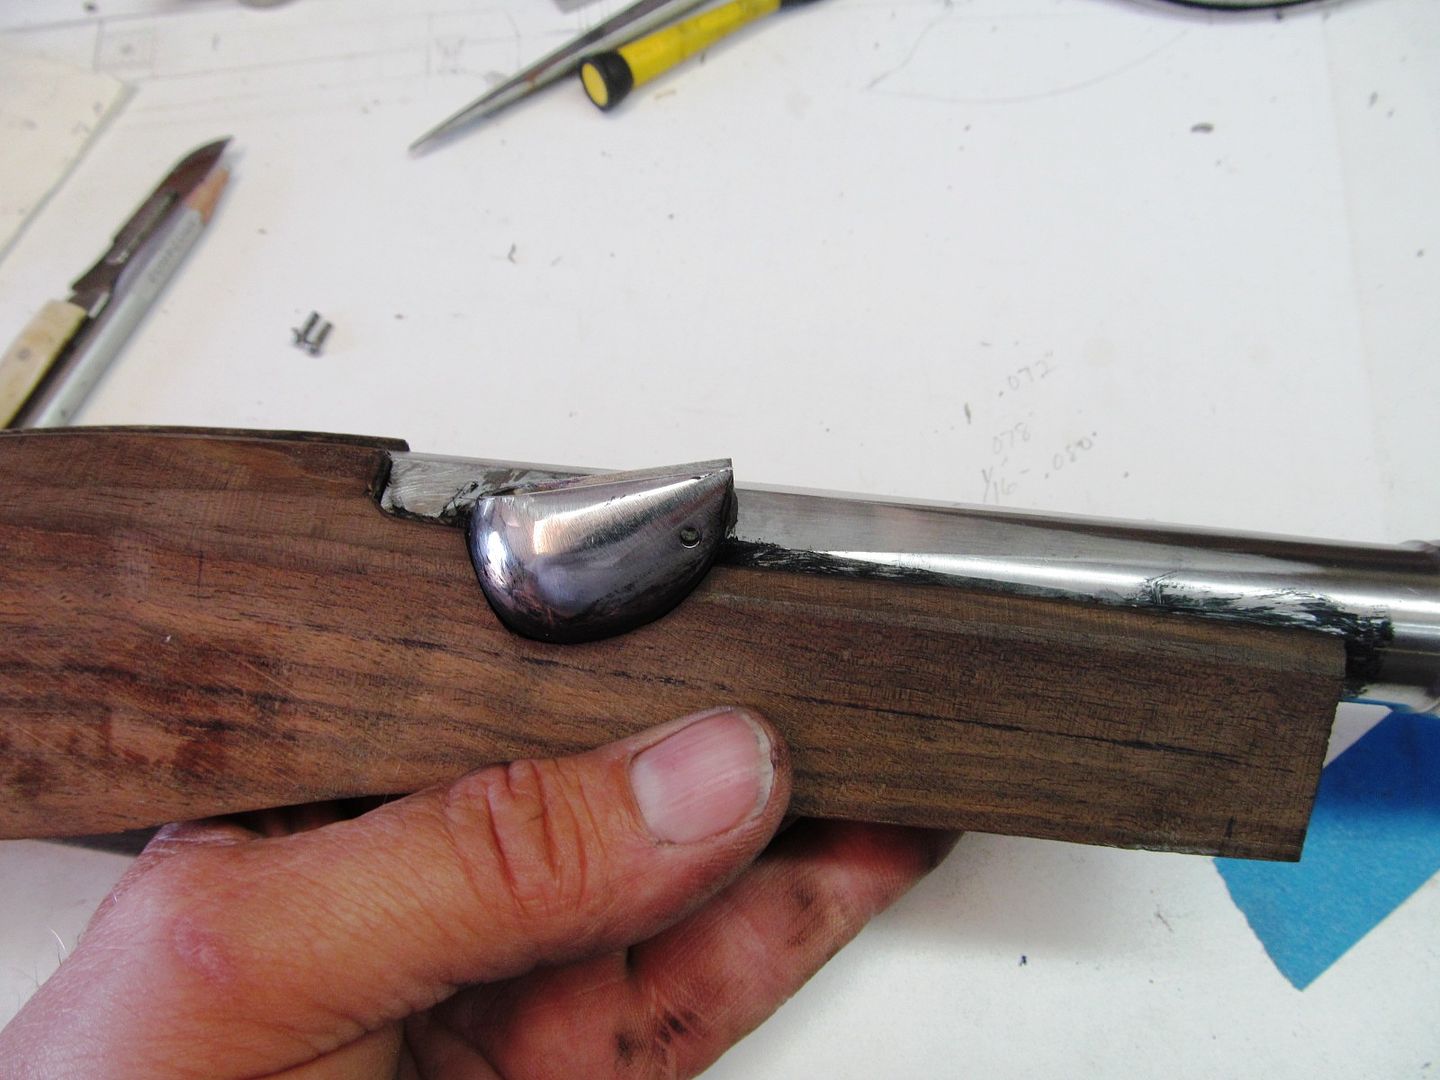
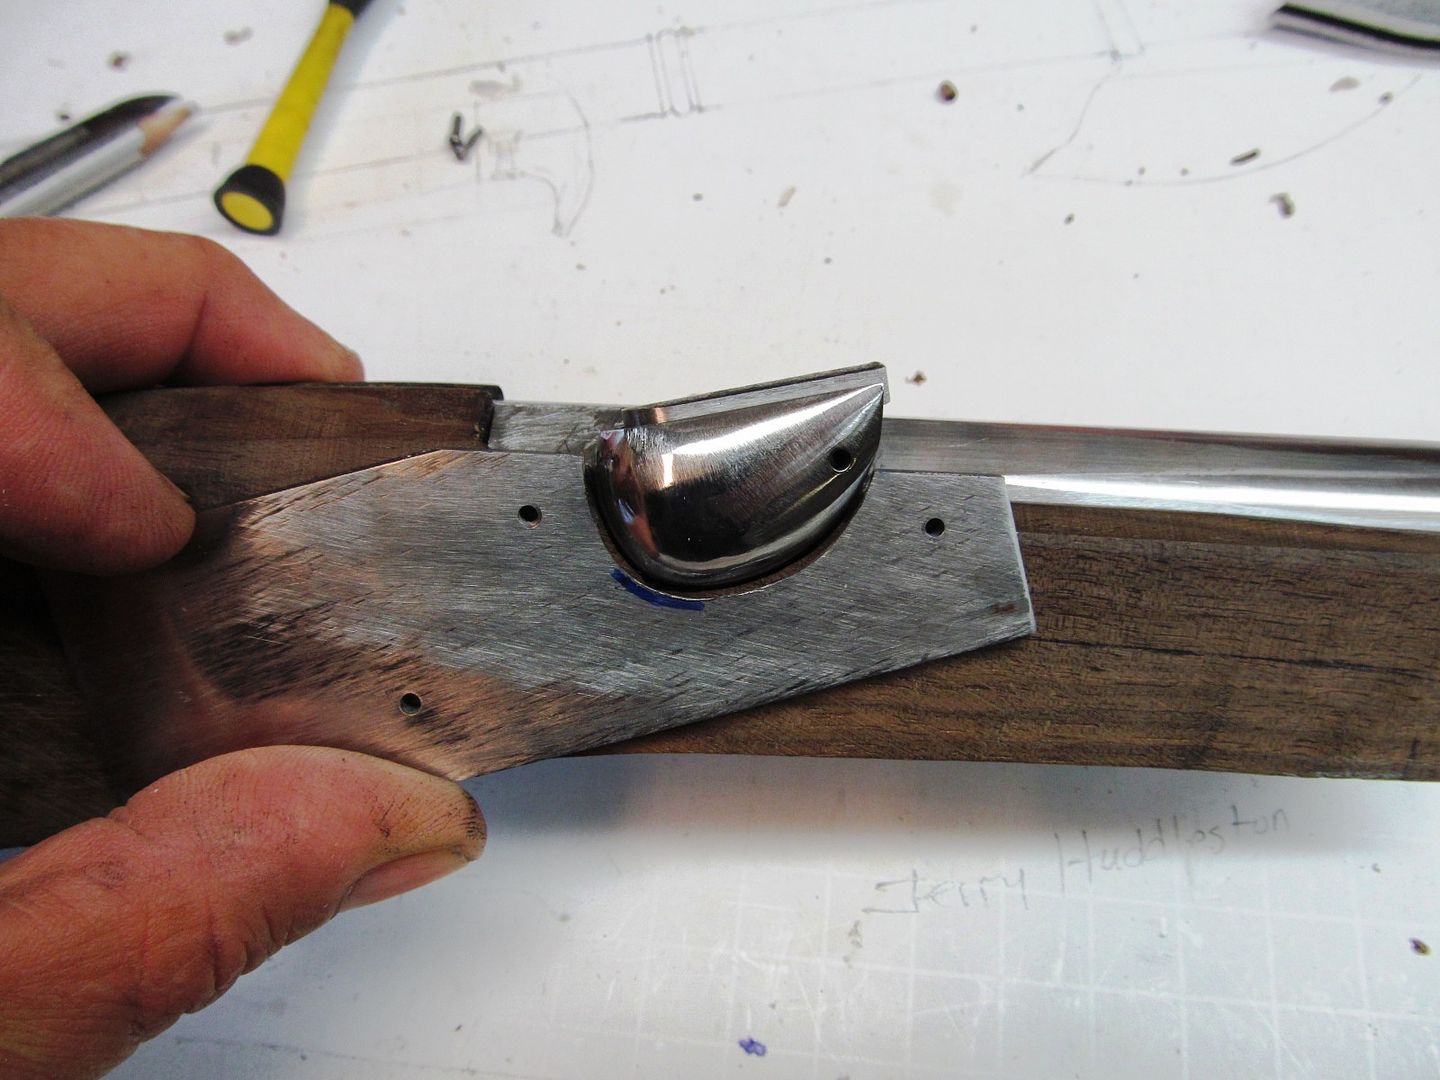
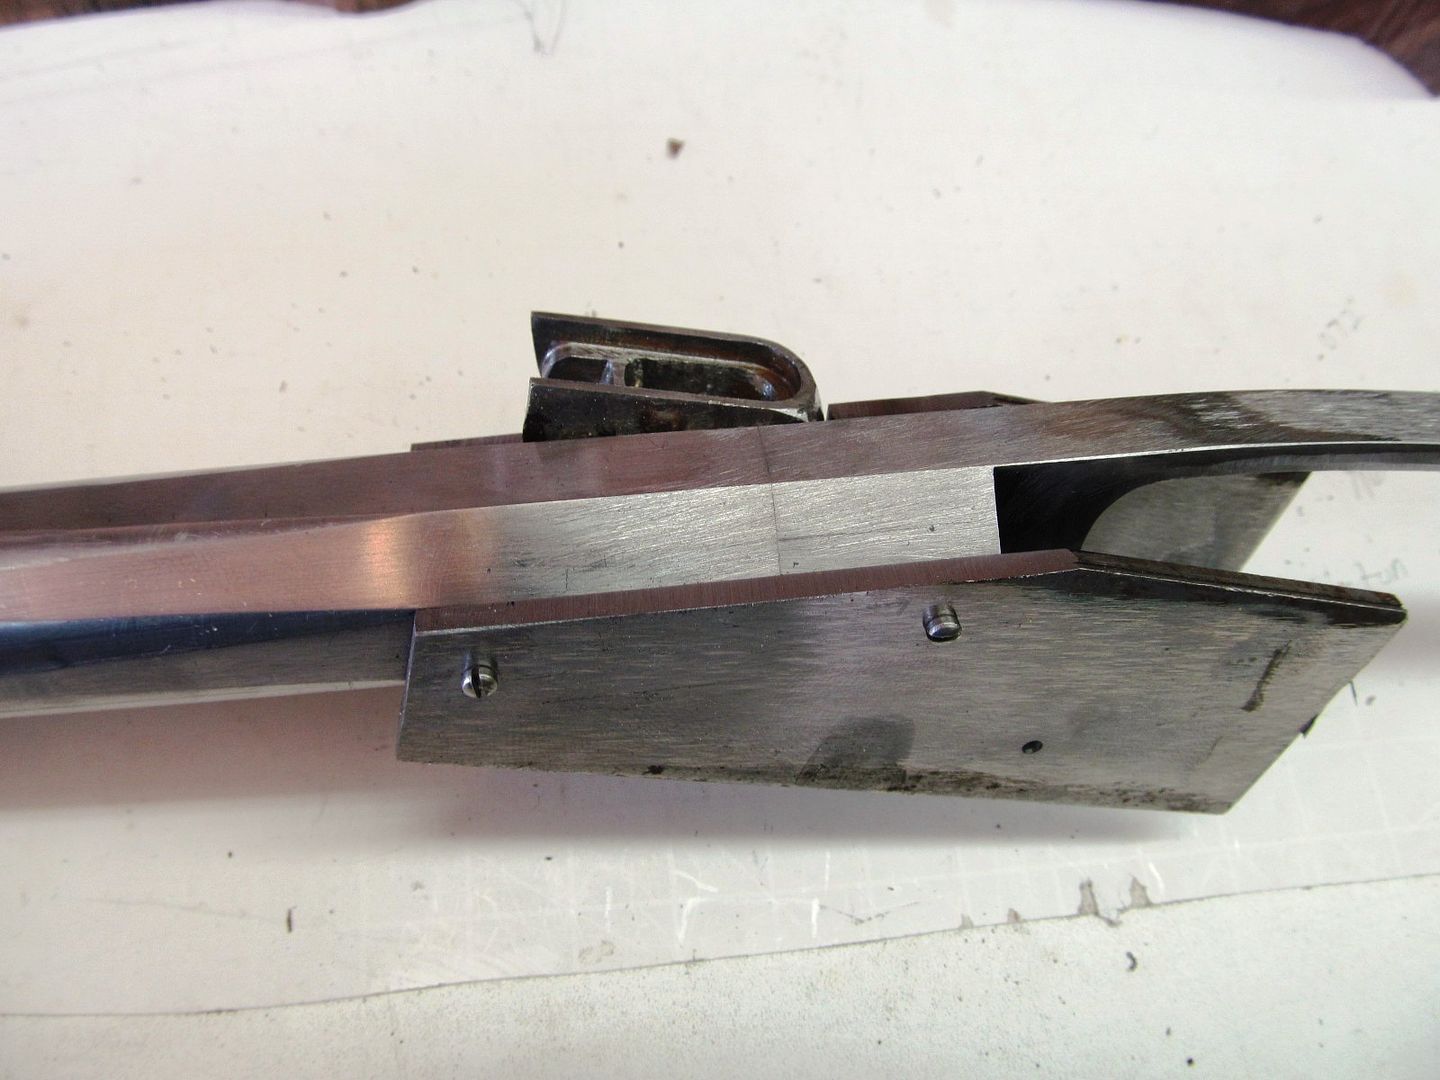
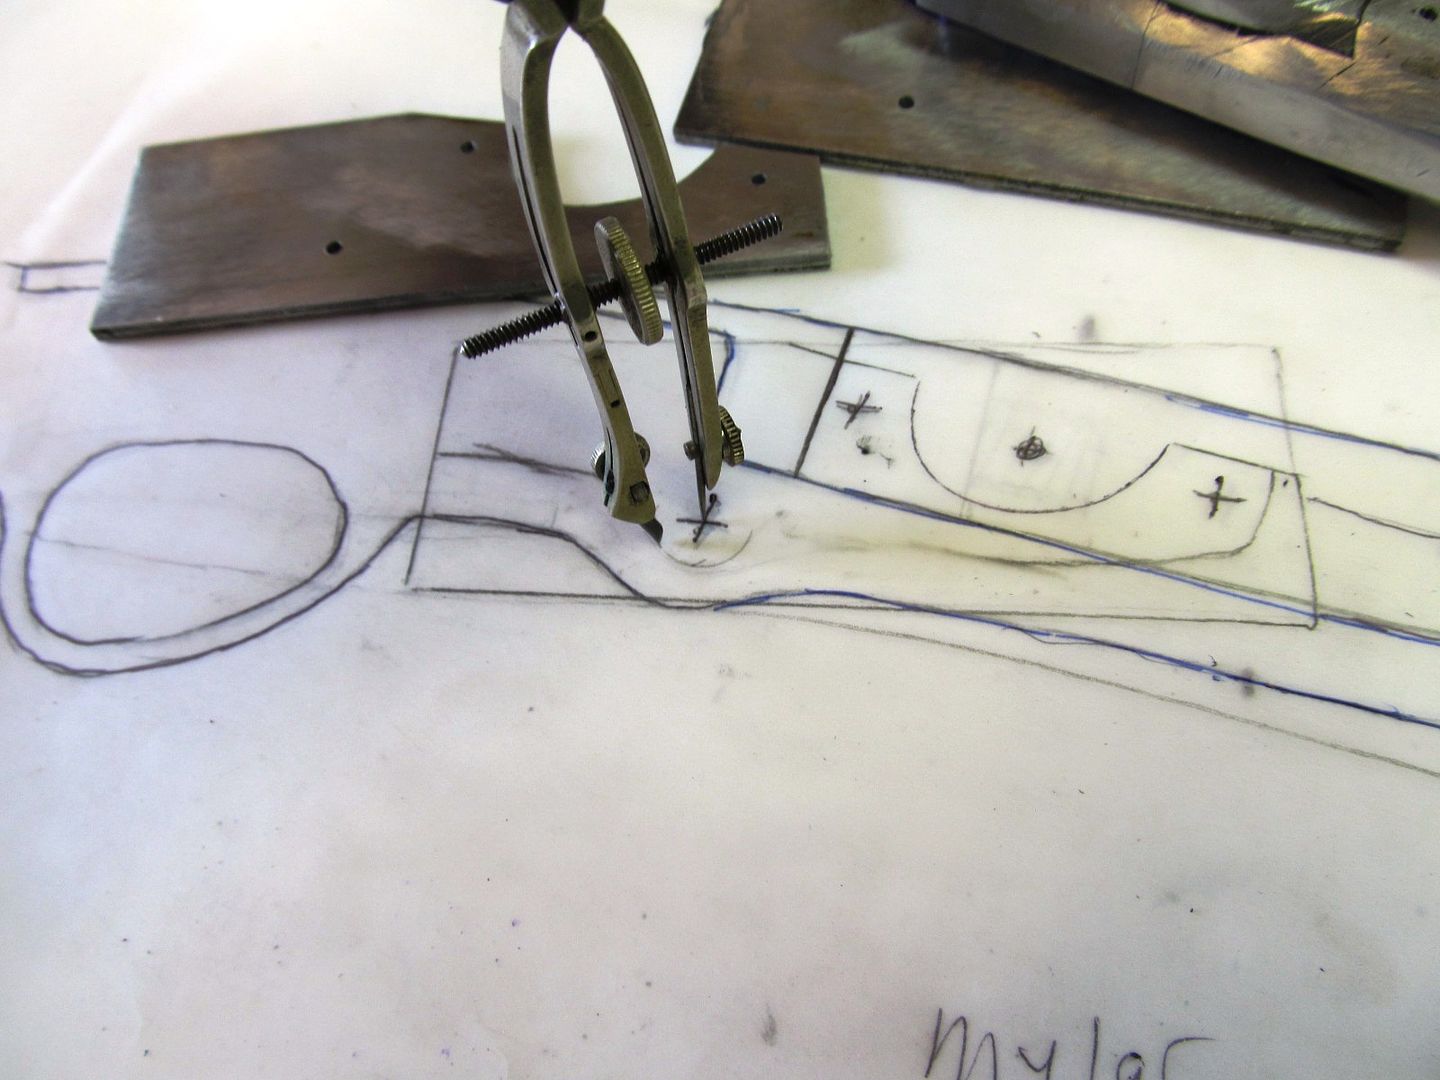
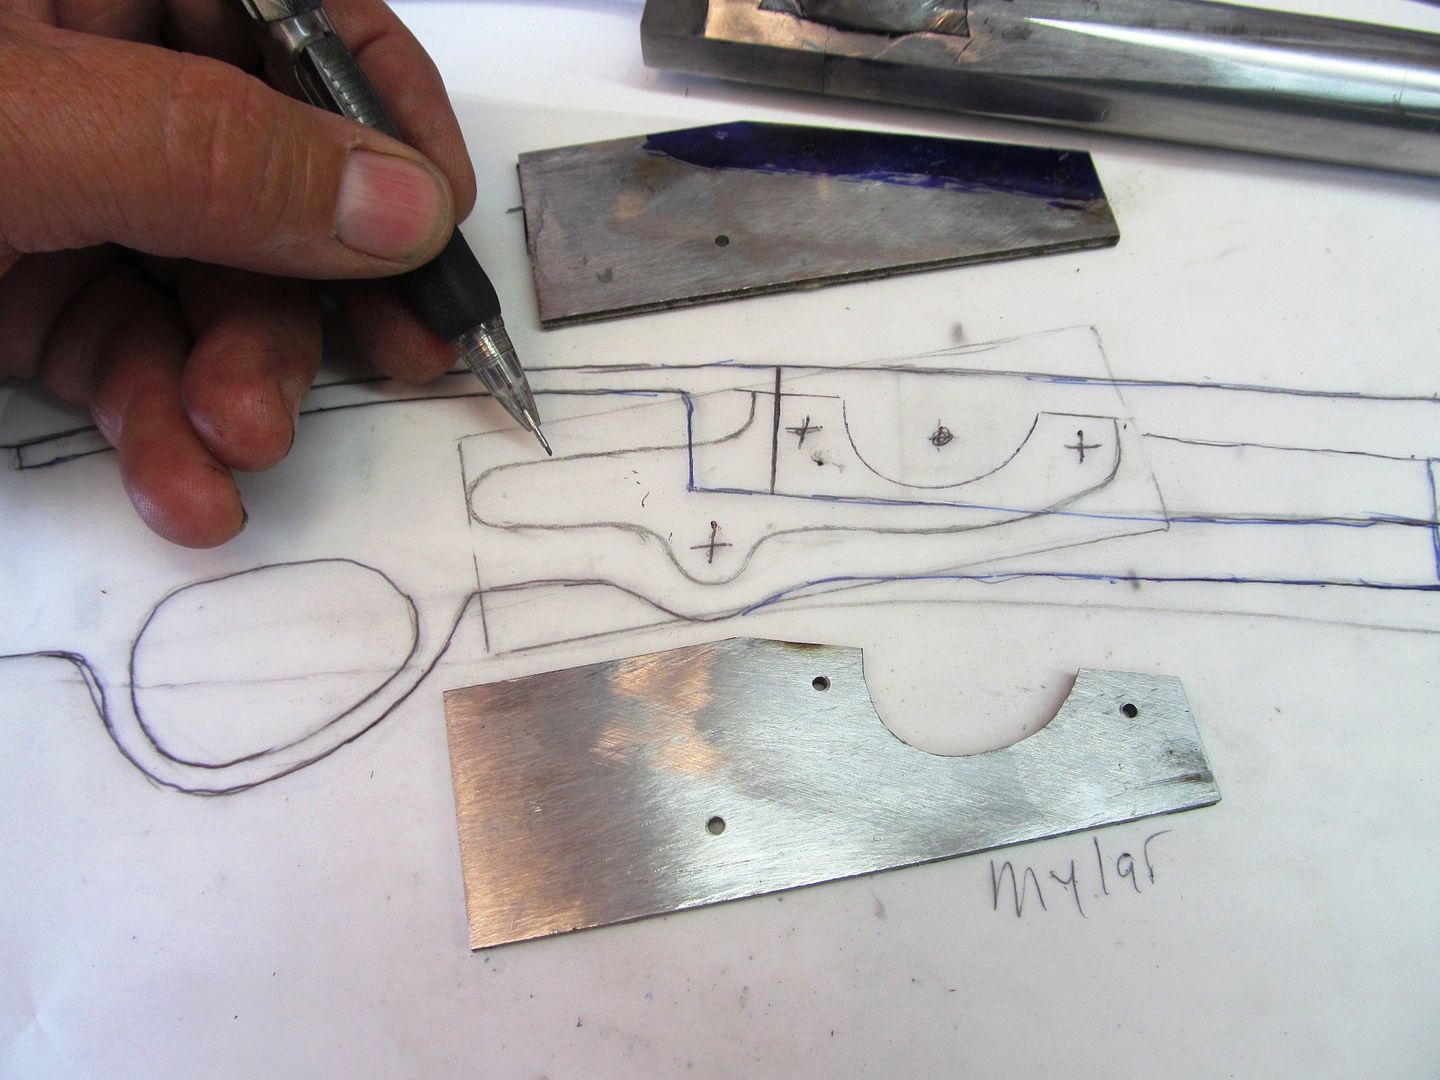
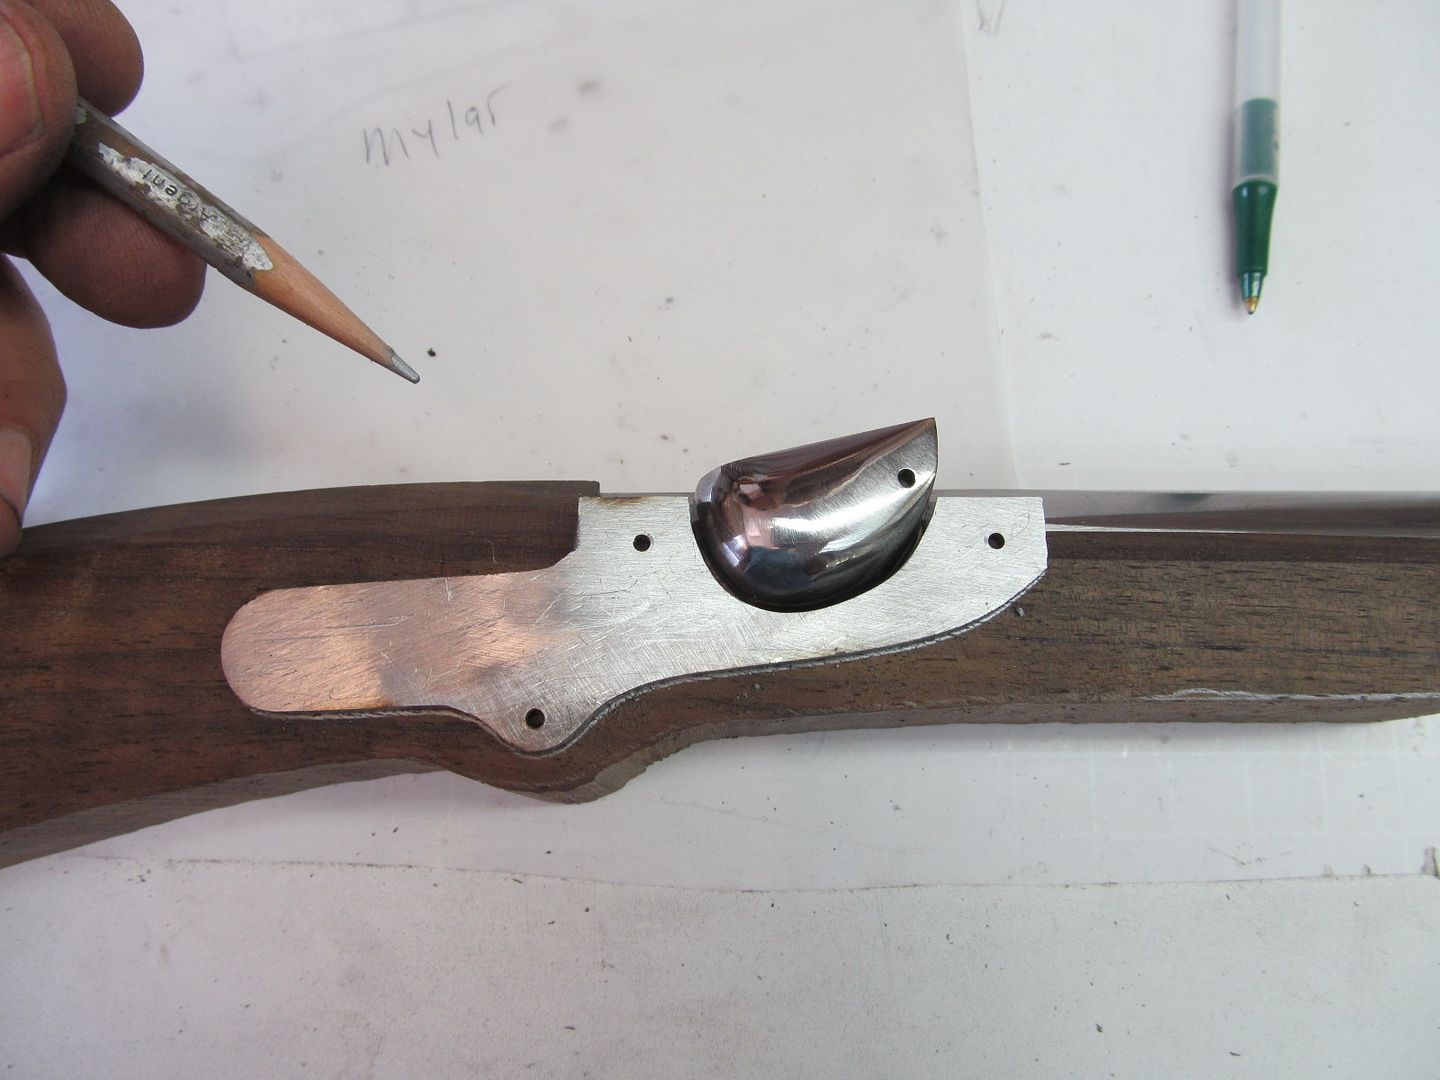
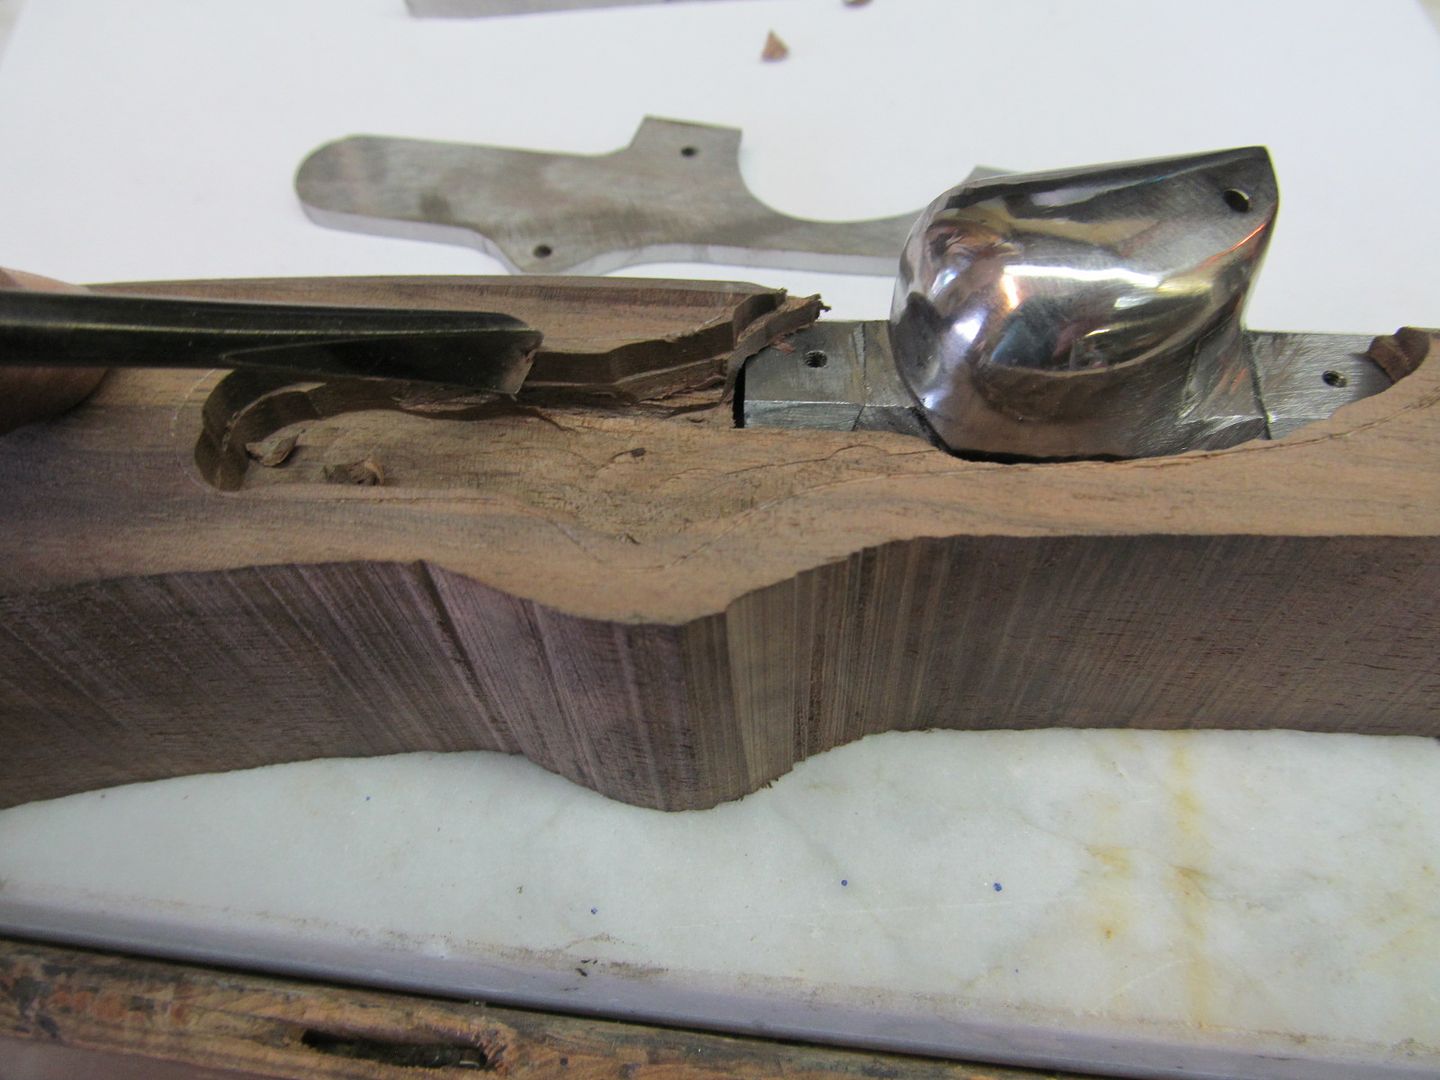
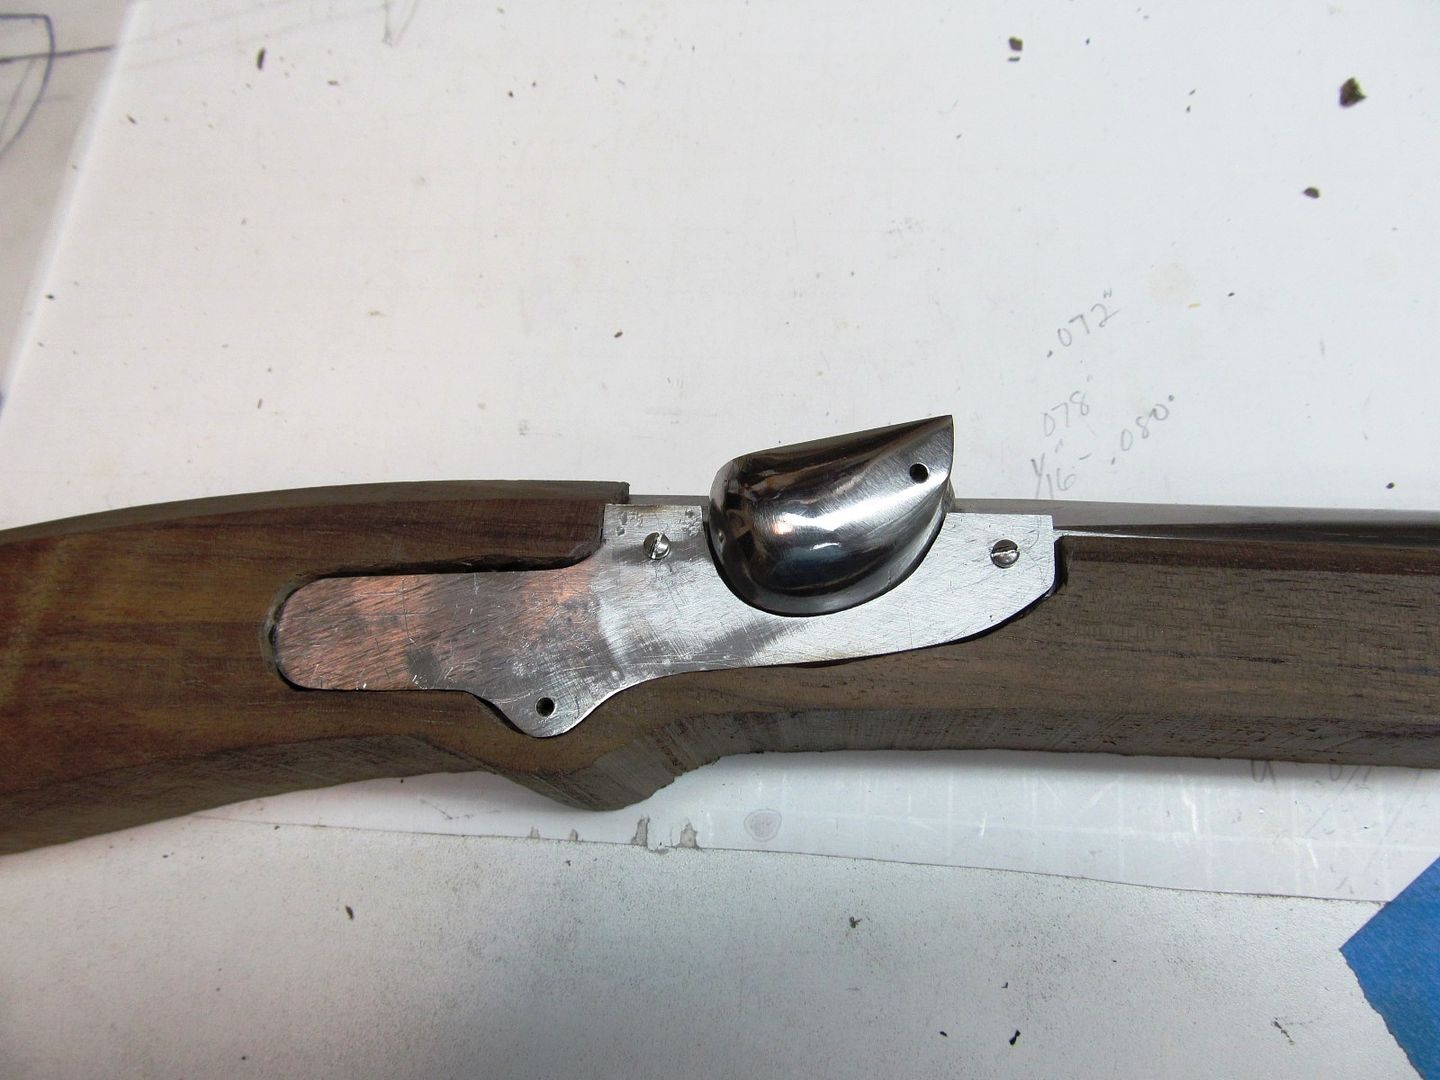
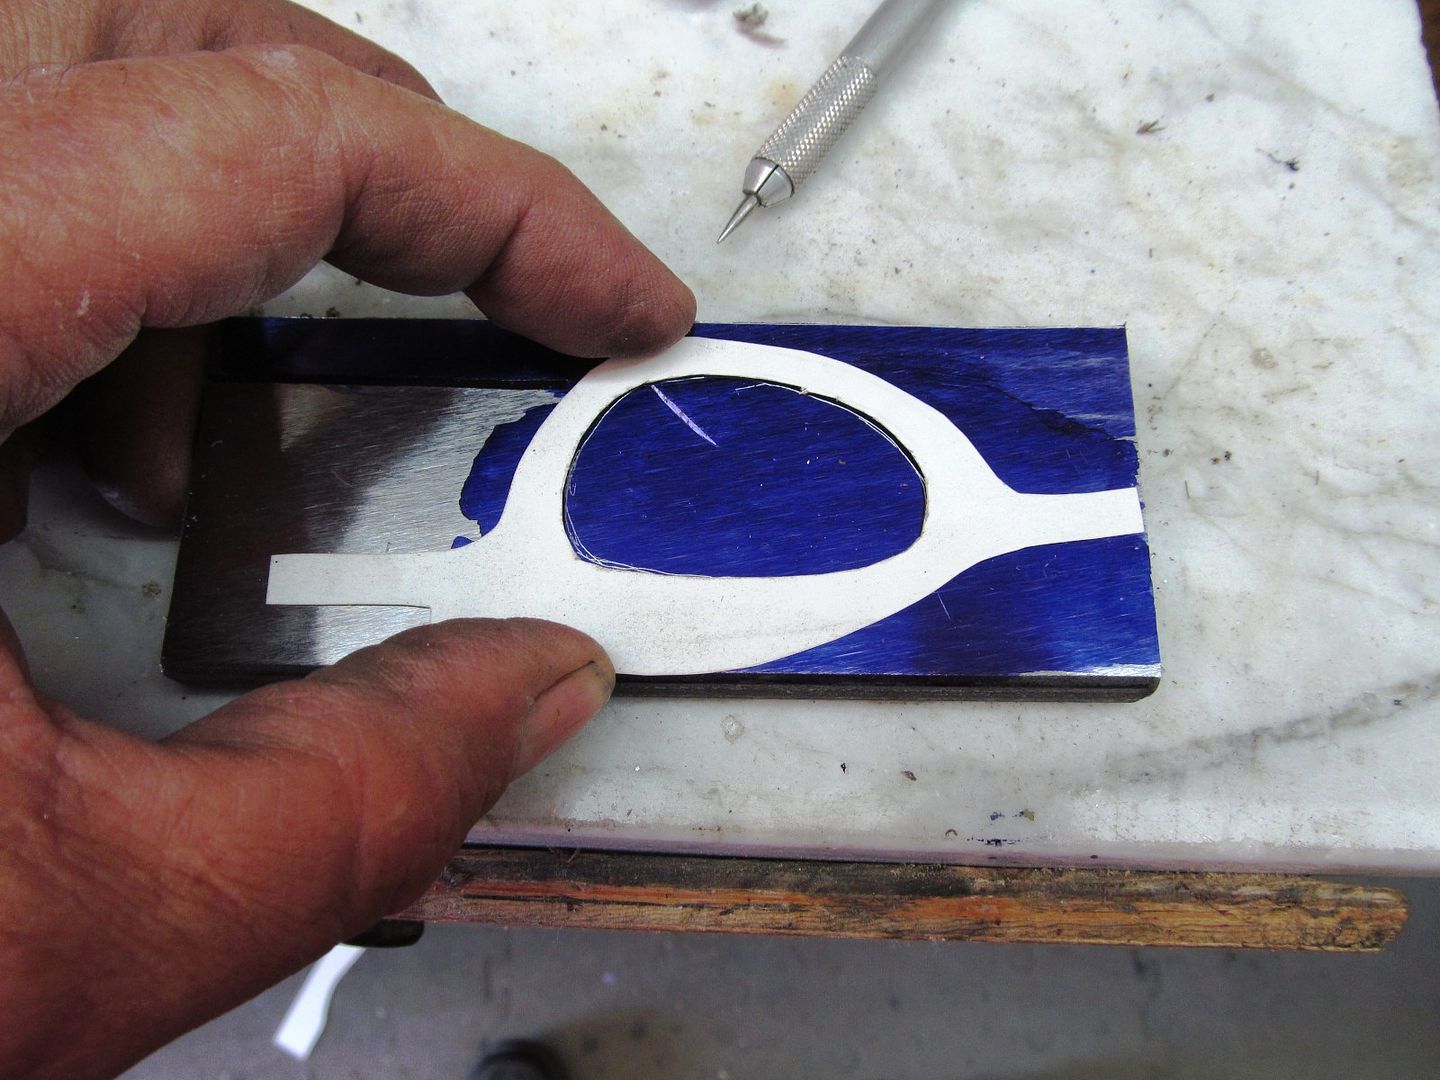
I figured out what shape the mounting plates should be. Their purpose is to mount the barrel breech to the wood very solid and also to give the serpentine a fixed mount to the barrel. The unsightly gaps around the plates will be filled and beauty plates will be inlaid into both sides of the wooden handle later. Right now I need to make sure this thing is rigid.

Bruce Bump
Forum Owner-Moderator
Today I decided that I'll need to make another wooden handle. I full well know why they make a "Prototype" now and then the "Real" thing. My trouble is I'm making metal parts and mounting them into the stock and needing to modify the metal parts here and there to make them fit. The stock is not liking any changes to the parts and gaps are showing up everywhere. My worst fit is from using a dremel router and finishing it off with hand carving tools. My best fit is done on the milling machine and a caliper. I think after this gun is functional and all the parts are working together and no more modifications need to be done to the steel parts I can mill out a new stock. I see why a good stock maker charges a months salary. I just hope it doesnt take me a month to make one. This one is good practice for the new one.
Anyway I worked on the trigger guard today. I still need to slot it for a trigger and drill some mounting holes and do some contouring but it kinda looks like a trigger guard already.
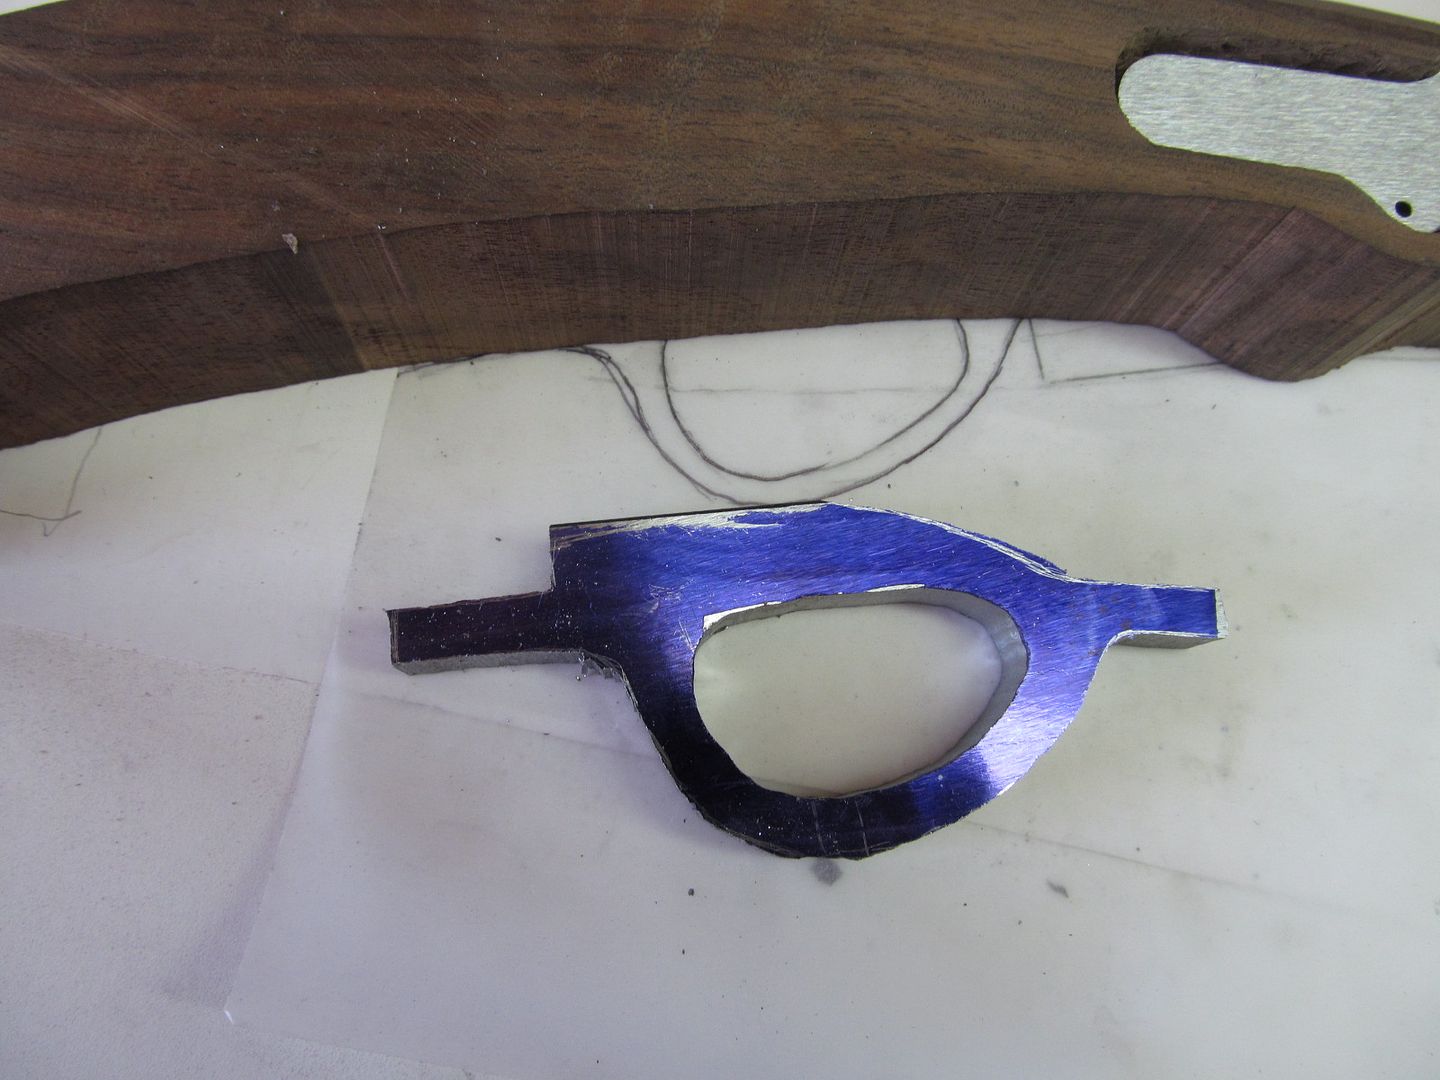
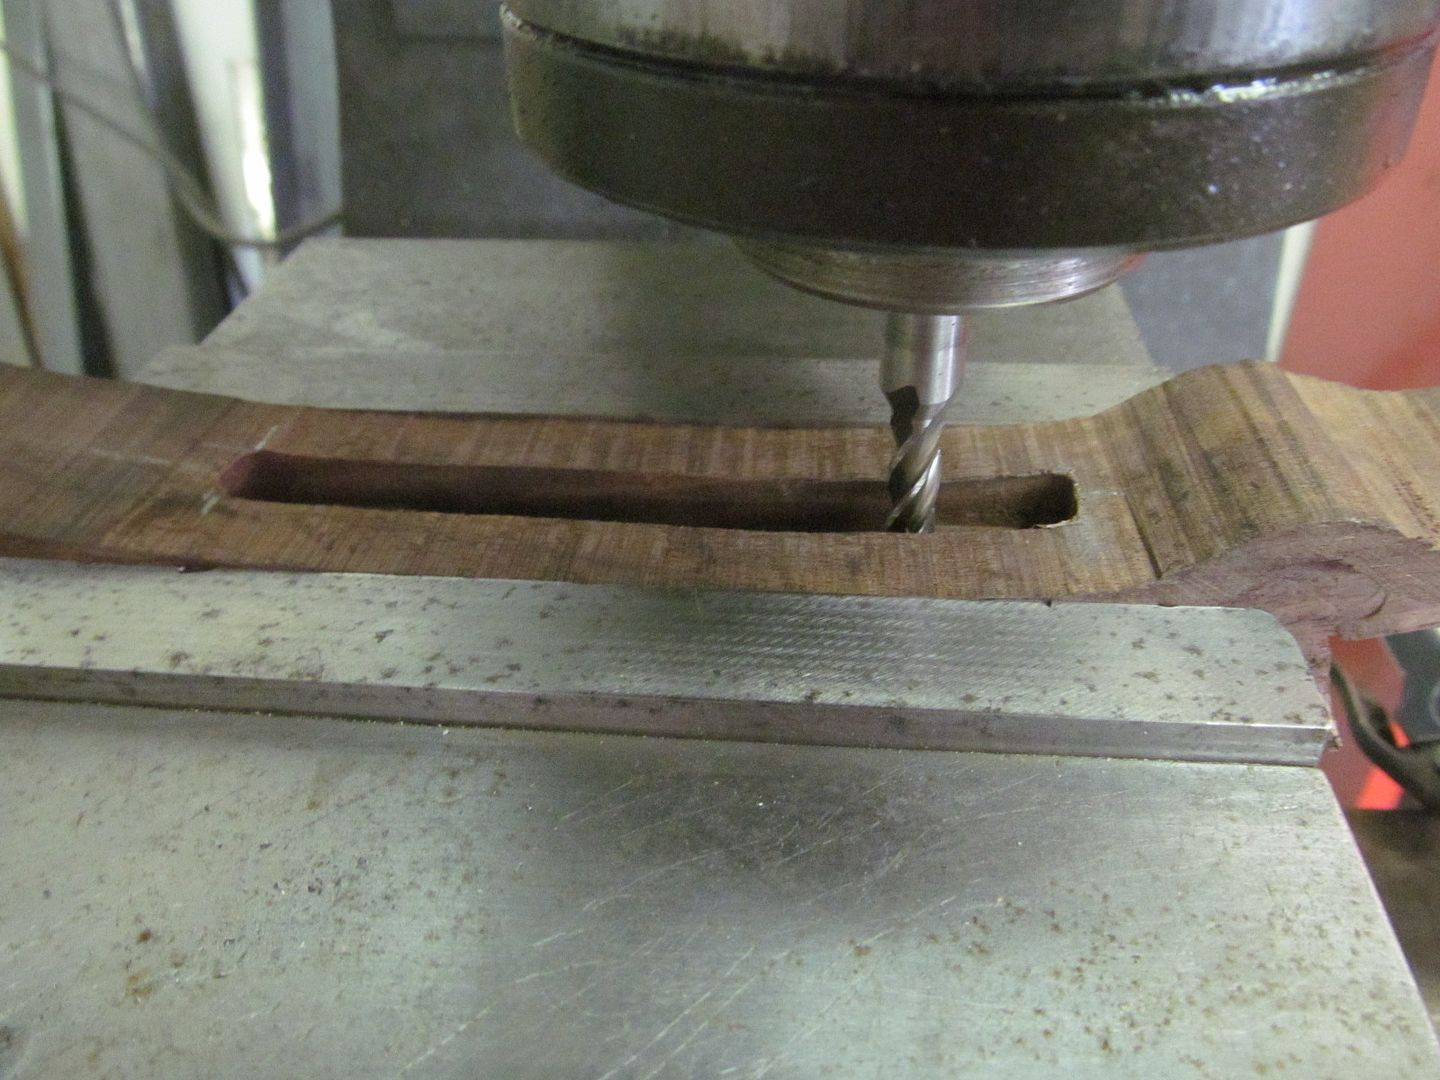
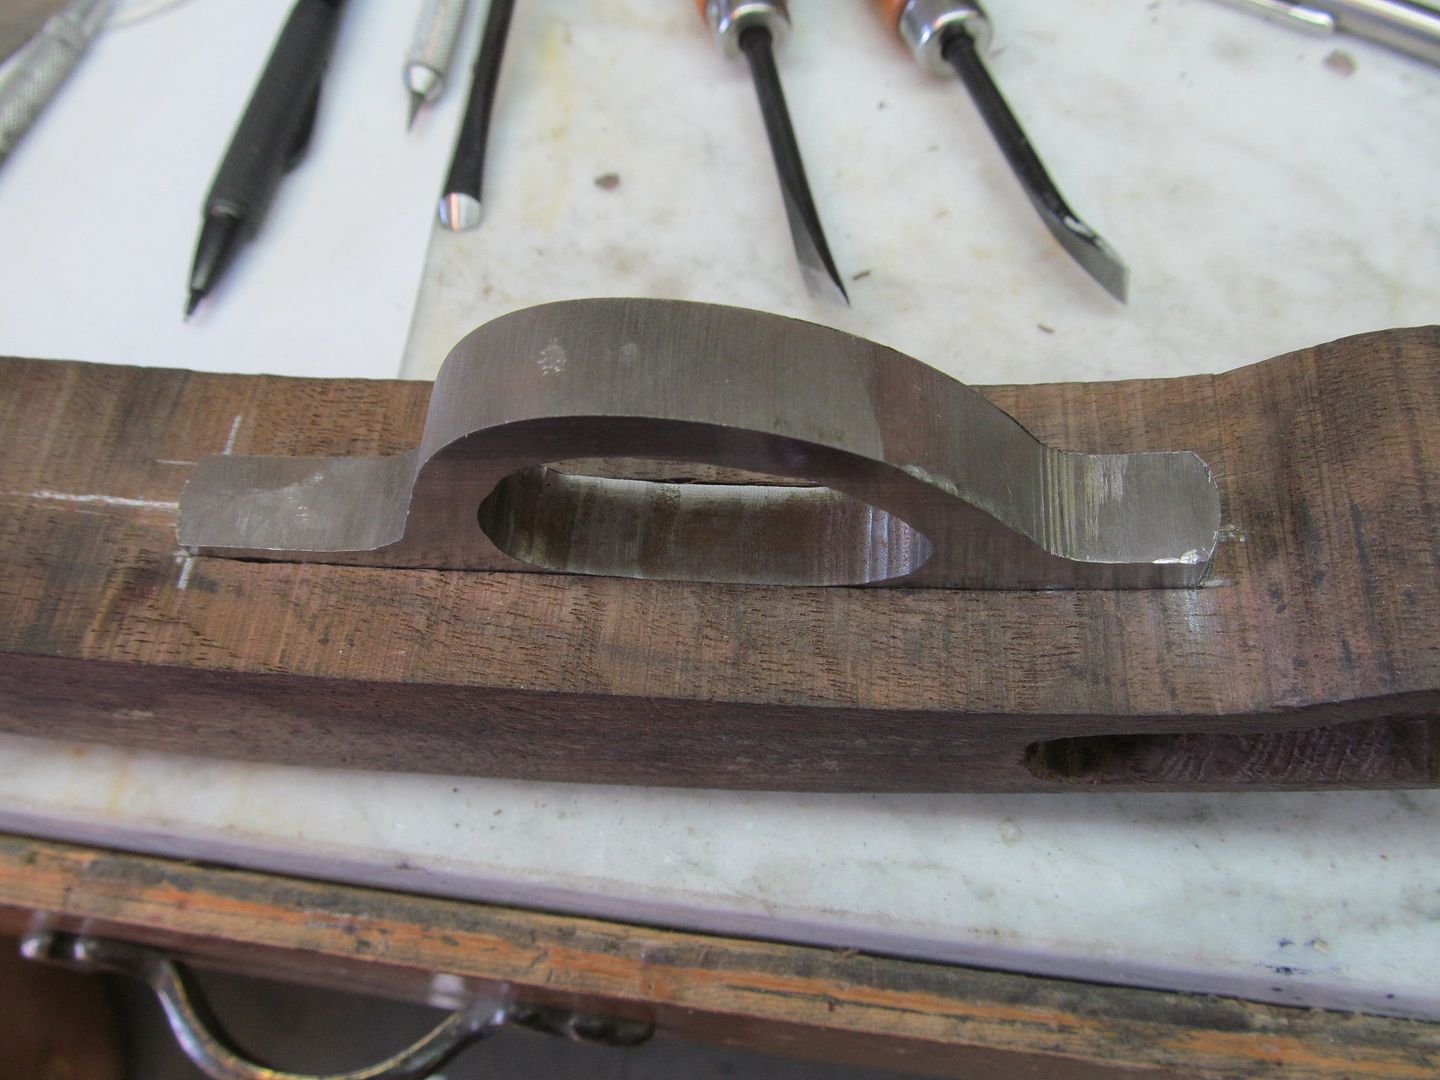
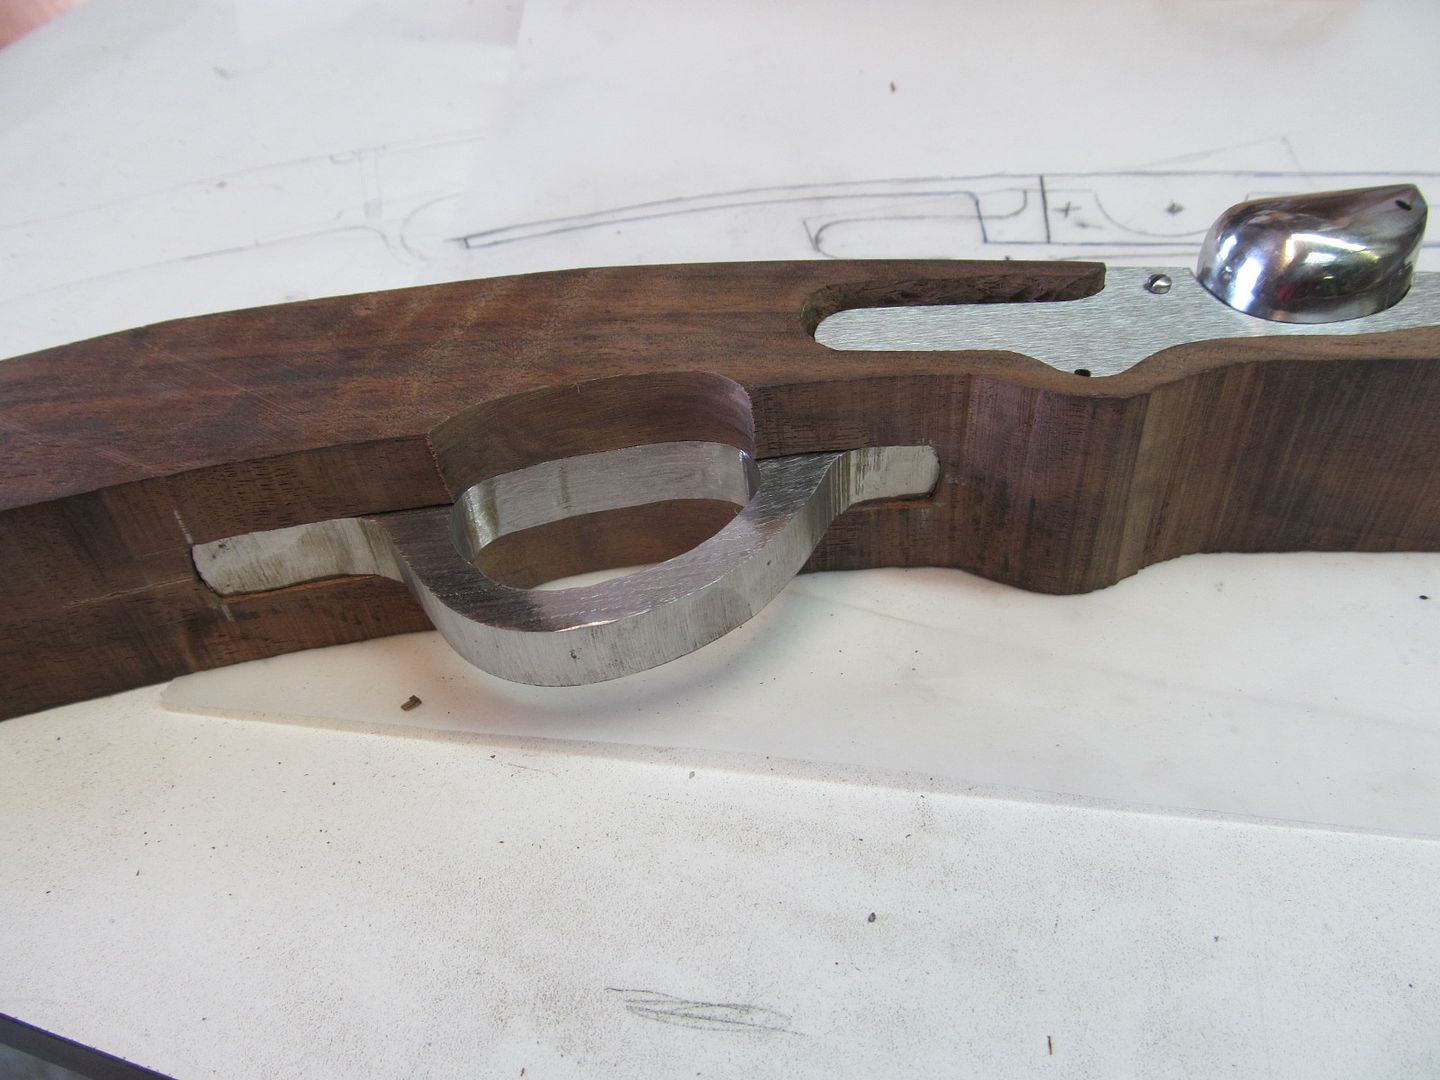
Anyway I worked on the trigger guard today. I still need to slot it for a trigger and drill some mounting holes and do some contouring but it kinda looks like a trigger guard already.